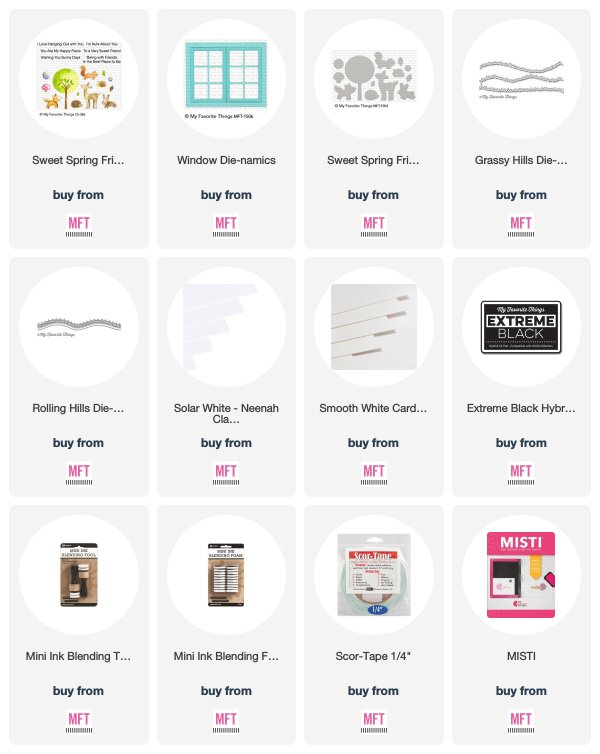
Sweet Spring Friends & Window Die-namics - MFT Stamps April Release Countdown - Day 2

Hello!  It's Day 2 of the MFT Stamps April Release Countdown!  I have two fun new sets to share with you today.


I've created a Shadow Box Card that showcases some of the cute little animals from the new Sweet Spring Friends Stamp Set.  For the opening of the Shadow Box Card, I have used the new large Window Die-namics.  Because there were so many photos, I've created a separate step-by-step picture-tutorial HERE for anyone interested in creating something similar.


I love the new Window Die-namics.  It's a fun way to add some simple interaction to your cards.  Adding it to a Shadow Box Card doubles the fun!


If you've never made a Shadow Box Card, they're pretty simple to make!  Again, for anyone interested in a step-by-step photo tutorial on this card, head on over HERE.


All new products and new product links will be available this coming Tuesday, April 9th at 10AM EDT.  Make sure to stop by the MFT Blog and leave a comment there for a chance to win a $75 MFT Gift Voucher!


Thanks so much for taking the time to stop by!  If you liked this card and want some more crafty inspiration, don't forget to check out my INSTAGRAM feed!

Hugs!
♥ Rachel

Paper Bag Treat Boxes - MFT Stamps April Release Countdown - Day 3

Hello everyone!  We're halfway through the My Favorite Things April Release Countdown and there are still many more amazing new products to share!


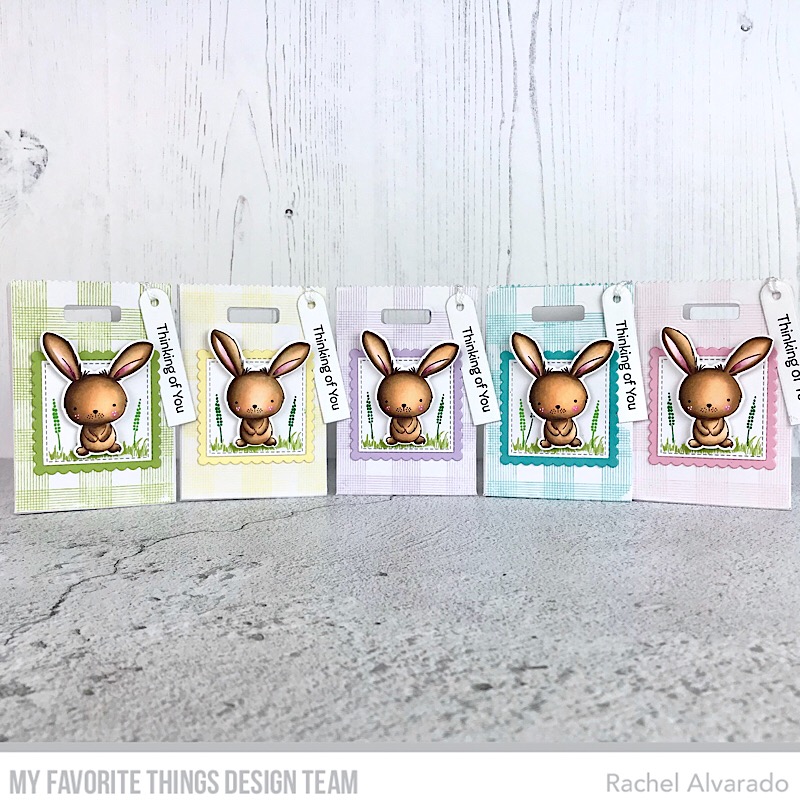
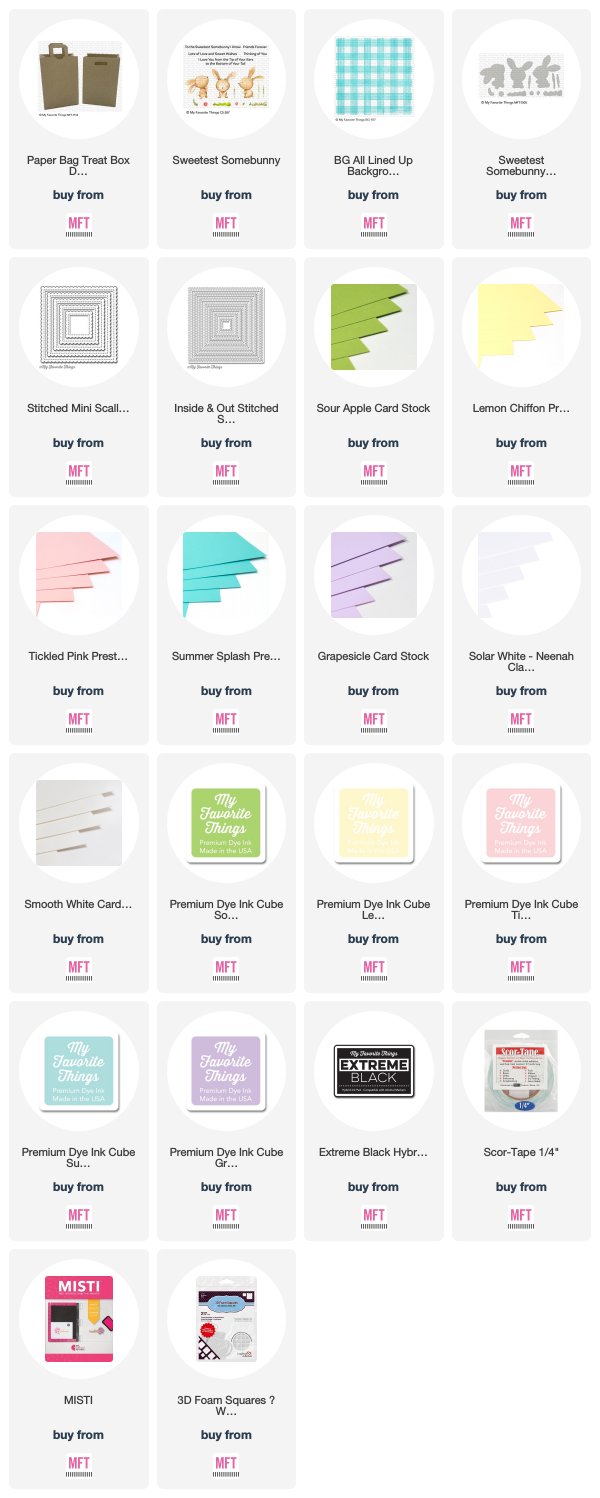
I made some cute little treat bags today using the new Paper Bag Treat Box Die-namics.  I paired it with the upcoming All Lined Up Background Rubber Stamp and Sweetest Somebody Clear Stamp Set.


You can pretty much use these bags for whatever theme you want.  They make perfect gifts, party favors and/or decorations for any event.


They're super easy to make!  To start, I simply diecut two of the Paper Bag panels from White Card Stock.  I used 80lb card stock so that I could easily fold my bags on the score lines that are there once you use the die to cut the panels out.


I then used the All Lined Up Background Stamp to stamp some pastel colors onto the front panel of each bag (I left the backs of the bags white).

MFT Premium Dye Ink Colors Used:
  • Tickled Pink
  • Lemon Chiffon
  • Sour Apple
  • Summer Splash
  • Grapesicle


After adhering the bag pieces together, I colored some bunnies from the Sweetest Somebunny Stamp Set and then cut out some Stitched Scalloped Squares from the same colored Card Stock as the ink colors listed above.  I also diecut some stitched white squares using the Inside & Out Stitched Squares STAX Die-namics and stamped a little scene using the accessory stamps from the same set as the bunnies.


I am showing (above) what these bags look like plain, with no sentiments.


Or you can add whatever sentiment you want to use.  Here, I stamped my sentiment onto some white tag strips that I had diecut using the Tag Builder Blueprints 6 Die-namics.


These new sets will be available this coming Tuesday, April 9th at 10AM EDT!


Make sure to head on over to the MFT Blog for more release inspiration!  Leave a comment there for a chance to win a $75 MFT Gift Voucher!


Thanks so much for taking the time to stop by!  If you liked this card and want some more crafty inspiration, don't forget to check out my INSTAGRAM feed!

Hugs!

♥ Rachel

Piggy Pebbles - MFT Stamps April Release Countdown - Day 4

Happy Friday, friends!  I hope you all enjoyed yesterday's debut of the upcoming April Release from My Favorite Things!  I have two super cute brand new stamp sets to share with you today featuring the latest adorable images from Stacey Yacula!


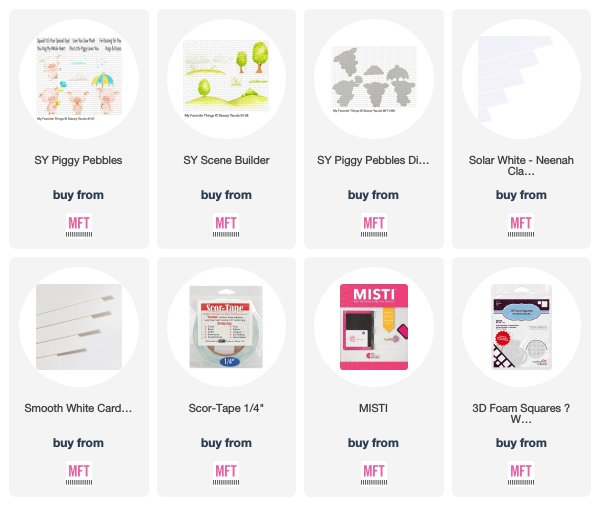
These sweet little pigs are from a fun set called Piggy Pebbles.  If you notice the cute little background, that's also from a new set by Stacey Yacula that's called Scene Builder.


I realized that I had not photographed my image prior to coloring it, so I quickly recreated a similar background to share with you what these images look like once stamped.  The set comes with some other trees etc, so you can easily play around with it for a variety of looks.


I stamped all of my images with Memento Tuxedo Black Ink and colored them with Copic Sketch Markers.

Copic Colors Used:

Grass and Trees: G20, G21, G24, YG03
Sky: BG000
Pig's Body: 0, R000, R00, R11, E33
Pig's Ears: RV000, R81, R85
Pig's Feet: E23, E25, E29


To finish my card, I stamped my sentiment using my Misti into the top left corner of my card.  I then adhered my little piggies using some 3D Foam Squares for added dimension.


All new product and new product links will be available this coming Tuesday, April 9th at 10AM EDT!  Make sure to stop by the MFT Blog to see what the rest of the team has created and leave a comment there for a chance to win a $75 MFT Gift Voucher.


Thanks so much for stopping by!  If you liked this card and want some more crafty inspiration, don't forget to check out my INSTAGRAM feed!

Wishing you all a wonderful day!

♥ Rachel

Therm O Web and Sunny Studio Stamps

Hello, crafty friends!  Therm O Web has teamed up with Sunny Studio Stamps and I have a fun card to share with you today featuring some gorgeous products from both companies!


Prior to this project, I had actually never worked with Therm O Web products but I have to say that it was super easy and a lot of fun.  I can't tell you how many sheets I added foil to just for the fun of it and to see what each color would look like once pressed onto the paper.  I used a heat laminator along with various Deco Foil in order to accomplish this.


The photos don't do justice to the beautiful shimmer and contrasting colors that you can actually see in person.  I went all out for my card today and added a lot of color via Deco Foils and hot foiling.  I definitely went out of my comfort zone as I don't usually have this much shimmer and shine on my cards but it's beautiful and mesmerizing!


For my pinstripe background, I used the Therm O Web Deco Foil Clear Toner Sheets along with the Therm O Web Iridescent Deco Foil.  I also did a layer of foiling in the front of the card.  I wanted to use some swirls to resemble waves and some beautiful tones of blue and purple foil.  To do so, I used the Gina K. Designs Foil-Mates Backgrounds: Swirls & Flourishes along with the Rainbow Shattered Glass Deco Foil Transfer Sheets.


For my images, I stamped a sweet little beach girl and an umbrella from Sunny Studio's Beach Babies Stamp Set.  I colored everything with Copics and then cut them out using their coordinating dies.  I blended some Peacock Feathers and Mermaid Lagood Distress Inks to create some water and then used the Wavy Border Dies to cut it out.

I hope you enjoyed my card today!  Thanks so much for dropping by!

If you liked this card and want some more crafty inspiration, don't forget to check out my INSTAGRAM feed!

Happy Card Making!

♥ Rachel


Picture Perfect - MFT Stamps April Release Countdown - Day 5

Hello friends!  Can you believe that it's time to start the newest MFT Stamps Product Release Countdown?  I'm so excited to share some of these new items with you over the next few days.  You're going to love the April release!


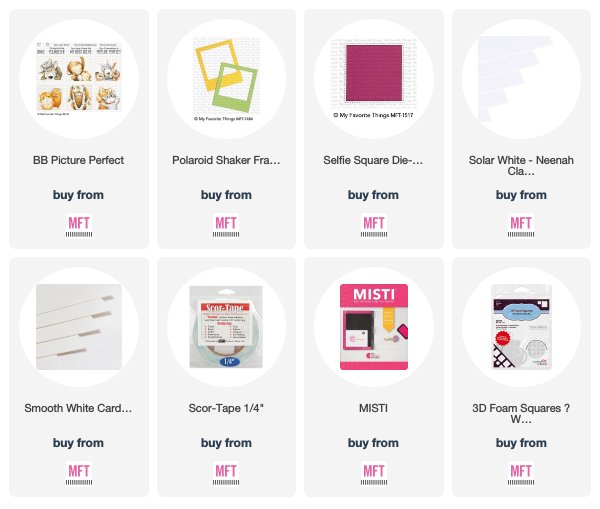
My card today features the newest stamp set from Birdie Brown called Picture Perfect.  Don't you just love those photo-bombing cuties!?  I had a lot of fun creating this card.  I first stamped all of my images with some Memento Tuxedo Black Ink onto a sheet of Neenah Solar White 110lb Card Stock (my favorite!).


I then colored all of my images with Copic Sketch Markers.

Copic Colors Used:

Monkey (Dark Fur): E31, E33, E23, E25, E29
Monkey (Light Fur): E0000, E000, E21, E11, E04
Monkey (Green Background): YG01, YG05
Cat (Black & White): 0, C00, C1, C2, C4, C5, C8, C10
Cat (Brown): E0000, E000, E21, E11, E04
Cats (Blue Background): B00, B02
Hamsters (White Portion): 0, C00, C1, C2, C4
Hamsters (Light Brown): YR00, YR02, Y17, Y35, E35
Hamsters (Dark Brown): E23, E25, E29, E49
Hamsters (Purple Background): BV00, BV01


Once I was finished coloring, I then cut out my images with the new Selfie Square Die-namic.  I also diecut three Polaroid frames from White Card Stock using the new Polaroid Shaker Frame.


I glued each of the "photos" to the back of each frame so that it would look like three separate Polaroid photos.


For the base of my card, I cut a piece of White Card Stock at 8.5" x 7" and scored along the 7" side at 3.5".  To this #8 sized base, I added a panel of Kraft Card Stock cut to 8.25" x  3.25".  I then added each Polaroid picture to the front of the card using some 3D Foam Tape for some added dimension.


The newest release will be available this coming Tuesday, April 9th at 10 AM EDT. 


Head on over to the MFT Blog for more sneak peeks and leave a comment there for a chance to win a $75 MFT Gift Voucher!  I'll be back tomorrow to share another amazing new product!

Thanks so much for dropping by!  If you liked this card and want some more crafty inspiration, don't forget to check out my INSTAGRAM feed!

Happy Card Making!

♥ Rachel

Create Magic - Whimsy Stamps April Release

Hello, friends!  Have you seen the newest release from Whimsy Stamps?  It's amazing!  I love the variety of stamps and dies that are offered every month.  There's something there for everyone! (Affiliate links used.)


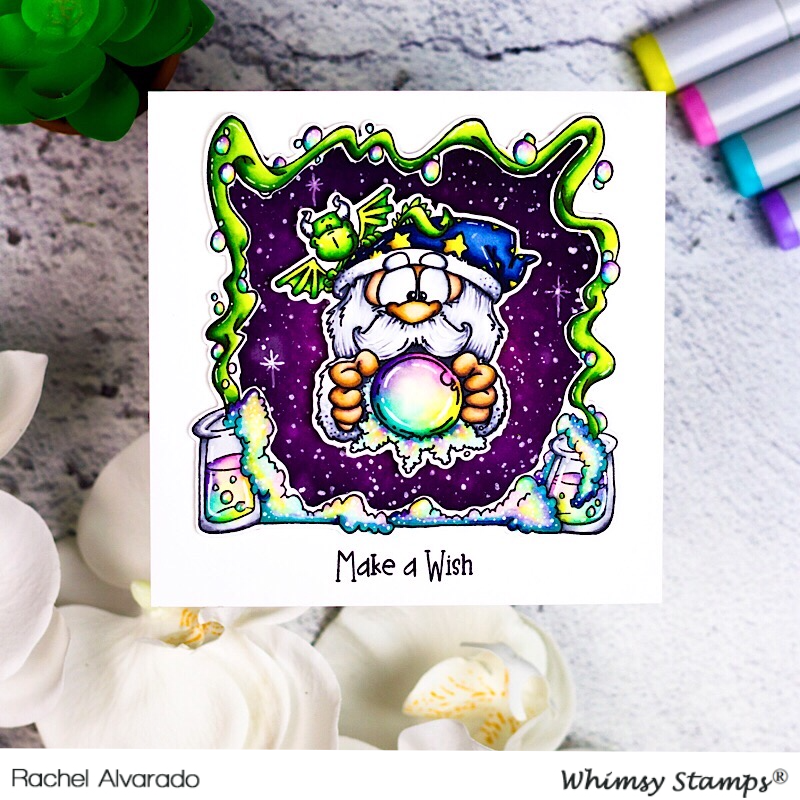
My card today features the new Create Magic Clear Stamps Set combined with the Wizard Potions Frame Rubber Cling Stamp.  This wizard stamp set is so much fun!

Create Magic

There are so many cute images on this set!  I used the one with the wizard holding the crystal ball for my card today.  I stamped all of my images with Memento Tuxedo Black Ink and colored them with Copics.


Skin: E0000, E000, E21, E11, E04
Blues: B91, B93, B95, B97, B99
Whites/Beard: 0, C00, C1, C2, C4
Greens: YG0000, YG01, YG06, YG17, YG99
Yellow: Y04, Y15, E33 
Rainbow/Bubbles Colors: I used THIS tutorial by Mindy Baxter


I cut out all of my images and then created a purple-inked background by blending Spun Sugar, Milled Lavender, Seedless Preserves, Dusty Concord, and Black Soot Distress Inks onto a sheet of Neenah Solar White 110lb Card Stock.  I then splattered this ink panel with some Opaque White Paint to resemble stars in a galaxy.


 I used a White Gel Pen to add some accents throughout my card and then added some Glossy Accents to the crystal ball to give it some spherical dimension.

Wizard Potions Frame

I really love this Wizard Potions Frame Rubber Cling Stamp.  It just adds so much more interest to your cards!

Whimsy Stamps

You can check out the rest of the April Release Products from Whimsy Stamps HERE.

Thanks so much for dropping by!

If you liked this card and want some more crafty inspiration, don't forget to check out my INSTAGRAM feed!

Wishing you all a wonderful day!

♥ Rachel

MFT Stamps Hits & Highlights - Shake It Up

Hello, crafty friends!  For this month's MFT Stamps Hits & Highlights the Design Team was challenged to use the largest frame from the A2 Rectangle Frame Die-namics along with the A2 Rectangle Shaker Pouches.


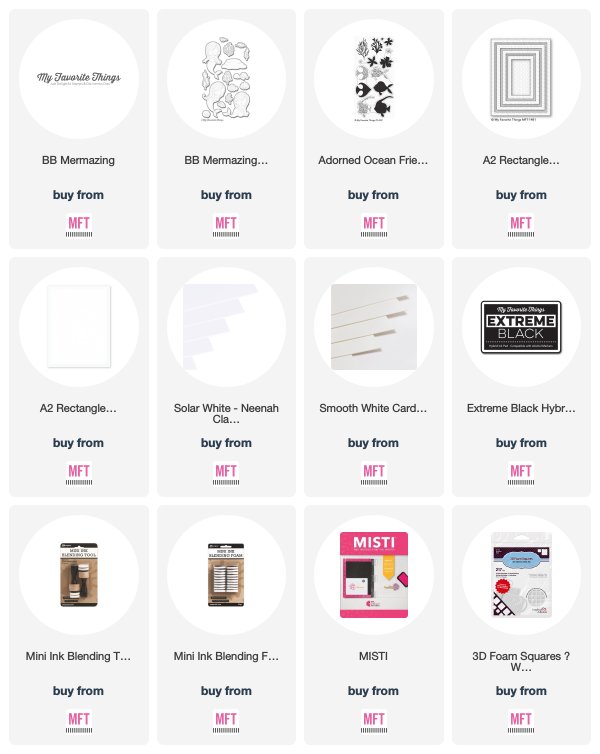
I absolutely love the A2 Rectangle Shaker Pouches and Frame.  I recently made a few other cards using these same two pieces but for my card today, I went with the BB Mermazing Stamp Set.  This is one of my favorite stamp sets from Birdie Brown (truly, I love them all) and I had a lot of fun creating this underwater scene.


To start, I first created my background by blending some Distress Inks (colors listed above) onto a sheet of Neenah Solar White 110lb Card Stock.  I splattered it with some water and then blotted it dry with a paper towel to create some more interest and an underwater effect.


I stamped all of my images with Copic friendly Black Ink, colored them with Copic Sketch Markers, and used their coordinating dies to cut them out.  I used the Adorned Ocean Friends Stamp Set to heat emboss some underwater foliage in Fine Detail White Embossing Powder.  Once finished, I adhered my images with some liquid adhesive and then poured my embellishments carefully into the middle of the card.


I then was able to glue on both my Shaker Pouch and then Frame around the outer edge of my standard A2-sized card.


I just love the final effect!  I used a mixture of White Seed Beads and small clear sequins for my shaker embellishments.


 MFT March Birthday Project
  
Here are the two other cards that I've recently made using the A2 Shaker Pouch and Frame.

MFT March Tips & Tricks

   If you haven't yet tried these two items, you should give it a go! These A2-sized Shaker Pouches make creating large and gorgeous shaker cards so easy.  Make sure to head on over to the MFT Blog to see what other creations the team has come up with!
 
Plus, get 20% OFF on these two items today only over at the MFT Online Boutique!


Thanks so much for dropping by!  I hope you enjoyed my card today!

If you liked these cards and want some more crafty inspiration, don't forget to check out my INSTAGRAM feed!

Wishing you all a lovely day!

♥ Rachel