It's a Mice Time to Celebrate! - MFT Stamps February Release Countdown - Day 5

It's hard to believe that the month of February is almost upon us!  However, that means that it's time for a new MFT Release Countdown!


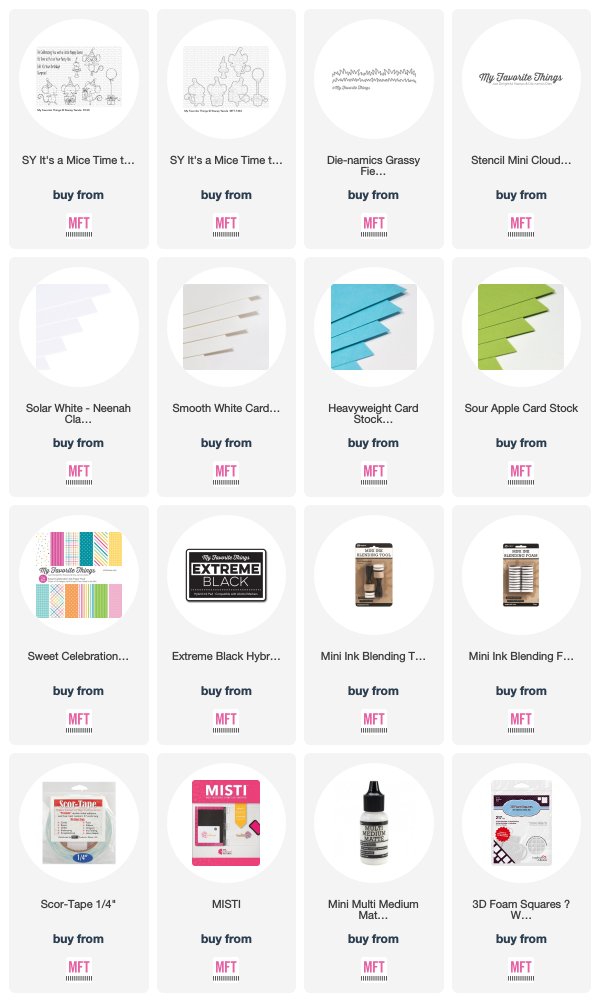
I am so excited to share the newest Stacey Yacula stamp set with you today!  It's called "It's a Mice Time to Celebrate" and it's filled with a bunch of cute partying mice.  As many of my followers know, I love to create box cards or cards with scenes and/or dimension.  I thought that these mice would be perfect for such a card today.  To start, I first created the box/base of my card.  You can see a quick and simple video that I made HERE on how to create this A2 sized box frame.


I then used some Blu Raspberry Card Stock and some patterned paper from the Sweet Celebration Paper Pack to decorate my box panels.  I added some grass using the Grassy Fields Die-namics and some Sour Apple Card Stock.


I also added some clouds in the background by blending some Tumbled Glass Distress Oxide Ink onto a sheet of Smooth White Card Stock using the Mini Cloud Edges Stencil.


Lastly, I adhered my images which I had stamped with Copic friendly Black Ink, colored with Copics, and used the coordinating dies to cut out.


Make sure to stop by the MFT Blog for more sneak peeks and don't forget to leave a comment there for a chance to win a $75 MFT Gift Voucher!


Stay tuned for more peeks at the February Product Launch over the next few days!  All new products will be available this coming Tuesday, February 5th at 10 AM EST!


I hope you enjoyed my card today!  Thanks so much for stopping by!  If you liked this card and want some more crafty inspiration, don't forget to check out my INSTAGRAM feed!

Wishing you all a lovely day!

♥ Rachel

Mermaid - Little Blue Button Stamps

Hello, friends!  I am back with my final Guest Design post for Little Blue Button Stamps.  I have greatly enjoyed working with these beautiful images!  Today, I have a colorful single-layered card to share with you today showcasing the gorgeous Mermaid Digital Stamp.


To start, I first downloaded my image to my computer, sized it to my liking and then I printed it onto a sheet of Neenah Classic Crest Solar White 80lb Card Stock.  I wanted my mermaid to look like she was serenely sitting on a rock while daydreaming, so I loosely drew in my background scenery with a pencil and then retraced it with a Copic .05 mm Black Multiliner Pen.


I then used Copics to color my image.

Copic Colors Used:
  • Skin: E0000, E000, E21, E11, E04
  • Hair: YR15, YR18, R29, R59
  • Rock: C00, C1, C2, C4, C5
  • Sand: E30, E31, E23, E25, E29
  • Ocean: BG11, BG13, BG49, V01
  • Sky: BG0000, BG000, V000, V01
  • Tail: G000, G20, YG01, YG07, G17, Y15, Y17, E33
 

Lastly, I stamped my sentiment with black ink.

Little Blue Button Stamps

You can check out the other sweet digi stamps from Little Blue Button Stamps online store HERE.  Use the code rachel15 to save an additional 15% until January 31st!

 I hope you enjoyed my card today!  Thank you so much for stopping by!  If you liked this card and want some more crafty inspiration, don't forget to check out my INSTAGRAM feed!

Wishing you all a wonderful day and happy card making!

♥ Rachel


Angel Celeste - Whimsy Stamps

Hello, friends!  I have a gorgeous rubber cling stamp called Angel Celeste to share with you today. (Affiliate links used.)


To start, I first used my MISTI stamping tool to stamp my image onto a sheet of Neenah Classic Crest Solar White 110lb Card Stock.  I then used Copic Markers to color my image.

  • Skin: E0000, E000, E21, E11, E04
  • Hair: YR20, YR21, YR24, E35, E37
  • Wings: 0, C00, C0, C1, C2, C4
  • Mint Green: G0000, G000, G00, G02, W2, W5
  • Cloud: B0000, B000
  • Pink: RV000, RV00, RV52, RV55
  • Blue Stars: B12

Once finished, I then masked off a circle over the top part of my image so that it would look like a moon once I colored my background.  I used various blues, blue greens and violets Copic Markers and followed a video tutorial provided by Alyce from Kit and Clowder in order to color the background of my card.


Once my image was colored and dry, I then trimmed it down slightly less than 5.25" x 5.25" and added the gorgeous stitched square frame from the Shaker Maker Combo Die Set.  I then placed some 3D Foam Adhesive Tape over top of this first frame, added some shimmery shaker embellishments from the All is Calm shaker gemstone set.  I just love how these little gemstones went perfectly with the stars that Angel Celeste has falling out of her hands!


Lastly, I added a sheet of acetate over the entire portion of my card and then added one more frame from the Shaker Maker Combo Die Set on top.  I added a sentiment from the sweet Bunny Balloons Clear Stamp Set.


Thank you so much for stopping by today!  If you liked this card and want some more crafty inspiration, don't forget to check out my INSTAGRAM feed!

Wishing you a lovely day and Happy Cardmaking!

♥ Rachel


Angel Celeste

Shaker Maker Combo Die Set

Bunny Balloons

All is Calm

Everything's Rosy - Sunny Studio Stamps

Hello and happy Friday!  Today, I am showcasing the Everything's Rosy Stamp Set from Sunny Studio Stamps.  This is one of the most gorgeous rose layering stamp sets that I have ever seen.  And the fun part is that they are super easy to use!


I have two cards to share with you today.  I used both the Everything's Rosy Stamp Set and Frilly Frames Lattice Background Die Set on both of my cards.  For my first card (shown above), I decided to create a shaker card beneath the lattice.  To do this, I first added a clear sheet of acetate behind the lattice with a light amount of liquid adhesive.  I then added small strips of foam tape around the sides before adding some Studio Katia Crystal Clear Mini Sequins.


For the roses themselves, I used some Altenew Ink.

  • Blue Roses: Sea Glass, Ocean Waves, Dusk, and Desert Night
  • Sepia Rose: Sand Dunes, Rocky Shore, Mocha, and Espresso
  • Leaves: Bamboo, Parrot, Olive, and Moss


Lastly, I added a sheet from the Classic 6"x6" Gingham Paper Pad and some Tiny Dew Drops.


For my second card, I used the same sets but different colors.  It's amazing how switching up the colors helps to change up the look of your card completely.  I first diecut the Frilly Frames Lattice Die Set 3 times from White Card Stock and glued them together.  I wanted to get bolder look with the lattice and accentuate it by giving it some more depth.


Once again, I used the Altenew Ink Mini Cubes for my roses and leaves.  In addition, I also two Mini Ink Cubes from My Favorite Things.  I added a beautiful blue sheet of patterned paper from the Gingham Jewel Tones 6"x6" Patterned Paper.

Colors Used:
  • Yellow roses: MFT Lemon Chiffon, MFT Sunshine, Altenew Buttercream, Altenew Caramel Toffee, and Altenew Paper Bag
  • Leaves: (Altenew) Bamboo, Parrot, Olive, and Moss 
 I hope you enjoyed my cards today!  If you like flowers, don't hesitate to check out these gorgeous rose layering stamps!  You won't be disappointed!

Sunny Studio Stamps

Thank you so much for stopping by today!  If you liked this card and want some more crafty inspiration, don't forget to check out my INSTAGRAM feed!

Wishing you a lovely day and Happy Cardmaking!

♥ Rachel


Sending Hugs - MFT Stamps Wednesday Sketch Challenge #421

Hello, crafty friends!  Today starts a brand new Wednesday Sketch Challenge from My Favorite Things!


I decided to flip the sketch today and use a strip of some pink & white heart-patterned paper from the Sweet Stack Paper Pack for the bottom portion of my card.  I combined this with the newly released Joyful Hearts Bears illustrated by Stacey Yacula.


To start, I stamped my images onto a sheet of Neenah Solar White 110lb Card Stock.  I then colored them with Copic Sketch Markers. (Brown: E31, E23, E25, E29; Pink: RV0000, RV00, RV52, RV55).  I used the coordinating dies to cut them out.


For my background, I used the new Lots of Heart Stencil and lightly blended some Spun Sugar and Worn Lipstick Distress Oxide Inks.  Lastly, I heat embossed my sentiment onto a strip Licorice Card Stock and used the smallest of the Essential Fishtail Sentiment Strips Die-namics to cut it out.


Here is a look at this week's sketch layout.  Come play along for a chance to win a $50 MFT Gift Voucher (winner chosen randomly).  Head on over to the MFT Challenge & Inspiration Blog to see the beautiful designs from the rest of the team.


Thank you so much for stopping by today!  If you liked this card and want some more crafty inspiration, don't forget to check out my INSTAGRAM feed!

Wishing you a lovely day and Happy Cardmaking!

♥ Rachel


MFT Stamps Heart Art Card Kit and Joyful Heart Bears Release Day

Hello, everyone!  The time has come to shop the newest MFT Stamps Card Kit as well as the latest stamp set by Stacey Yacula!  I have two projects to share with you today.


For my first project, I created a fun pop-up box card featuring the Stacey Yacula Joyful Heart Bears.  These bears are super sweet!  And even though this card has a lot of Valentine's Day colors, this stamp set can be used at any time of the year.


I first stamped my images onto a sheet of Neenah Solar White 110lb Card Stock and used Copic Markers to color them.

Copic Colors Used:

  • Bears: W1, W2, W4, W5, W7 (Blush: R20)
  • Red: R14, R29, R46, R89
  • Teal: BG10, BG11, BG15, BG49

For the grass, I used the Grassy Edges Die-namics with some Sour Apple Card Stock.  I added some beautiful red heart patterned paper to the box panels from the Hearts & Stripes Paper Pack as well as some Summer Splash Prestige Card Stock.  I used liquid adhesive to attach everything to the inner shelves of my card and used some clear acetate to add the butterflies to make them look as if they were actually flying.


I used the same set for my second project but this time I combined it with the Heart Art Card Kit.  The Heart Art Stamp Set actually fits almost perfectly over the heart balloon that the bear is carrying.  I didn't stamp the heart into the balloon but rather stamped it with Ripe Raspberry Premium Dye Ink onto a separate sheet of paper, diecut it and then glued it on top of the balloon heart that comes with the Joyful Heart Bears Set.


For the background, I used the Mini Cloud Edges Stencil with some Tumbled Glass Distress Oxide Ink.  For the grass, I did the same thing but with the Grassy Edges Stencil and both Twisted Citron and Peeled Paint Distress Oxide Inks.


I then used some 3D Foam Adhesive Squares to add all of my images.


If you like all of the elements of the Heart Art Card Kit, you can buy the bundle at a discounted price while supplies last.  Otherwise, you can pick and choose each item separately.  


Stop by the MFT Blog for links to all of the amazing designs by the rest of the design team.  Leave a comment of each DT Member's Release Day Blog Post for a chance to win a $50 MFT Gift Voucher!


Here are all of the projects that I made with the new Card Kit and Joyful Heart Bears Set!  Thanks so much for dropping by!

If you liked these cards and want some more crafty inspiration, don't forget to check out my INSTAGRAM feed!

Wishing you all a wonderful day and happy card making!

♥ Rachel

Mama Elephant Instagram Hop - Flying With Friends

Hello everyone!  I am so excited to be a part of the very first ever Mama Elephant Instagram Hop!  If you want to join in on the fun and see all of the crafty inspiration and have a chance to win some amazing prizes, head on over to my INSTAGRAM feed to get started!


I have a fun, interactive Double Slider Card today (see quick video below of card in action) that features the brand new and super adorable Flying With Friends Stamp Set.  This set can compliment the previously released Fly With Me Stamp Set or easily stand alone.  To start, I first stamped my images with black ink onto a sheet of Neenah Classic Crest Solar White 110lb Card Stock.  I then used my Copic Sketch Markers to color them.


Colors Used:

  • Grey: C0, C1, C2, C4, C5
  •  Pink: RV000, RV52, RV55, RV66
  •  Green: G20, YG01, G24, YG67
  •  Teal: BG10, BG11, BG13, BG18
  •  Purple: V000, V01, V04, V06, V09
  •  White: 0, C00, C1, C2, C4

Once I was finished coloring my images, I then used the coordinating dies to cut them out.


Here is a picture of what my card looks like prior to pulling on the interactive reverse slider tab.  To create the hidden slider, you can google videos on Double Slider Cards.  I simply used a craft knife to cut out my slider slots and a strip of a plastic bag for the mechanism itself.  When you pull on the tab, a little mouse with a purple balloon comes floating up out of the clouds!


I blended some Tumbled Glass Distress Oxide Ink for my background sky and then added some clouds cut from white card stock using the Landscape Trio - Creative Cuts.  I used a double layer of 3D Foam Adhesive Tape to attach them to the base of my card (which measures 8.5" x 3.5").  Lastly, I added some small clouds from the Fly With Me Stamp Set that I had also lightly shaded with Copic Markers.


Flying With Friends


I hope you enjoyed my card today!  Don't forget to head on over to INSTAGRAM to join the hop and see the amazing projects created by so many talented designers!

https://mamaelephant.com/

Thank you so much for dropping by!  Wishing you all a wonderful day!

♥ Rachel

MFT Stamps - Heart Art Card Kit - Day 2

Hello!  I'm back with a second card to share with you for the second day of the new Card Kit Release Countdown from MFT Stamps.


For my project today, I used the Heart Trio Shaker Window Dies to create a fun shaker card.  I first diecut a 5.5" x 3" panel from White Card Stock and then diecut both the top and the bottom of this panel with the straight die from the Stitched Scallop Basic Edges 2 Die-namics Set.  Following this, I then used the Heart Trio Shaker Window Die-namics to cut out my row of triple heart windows.


I then added my shaker embellishments in two of the windows and a piece of pink patterned paper from the Sweet Stack Paper Pad behind the heart windows.


I then added a pink stamped heart in the center heart window using the Heart Art Stamp Set and some Ripe Raspberry Premium Dye Ink.  Lastly, I added some pink heart frames using the Mini Heart Shaker Window & Frame Die-namics and a sheet of Ripe Raspberry Prestige Card Stock. 


The Heart Art Card Kit will be available this coming Tuesday, January 22nd at 10AM EST.  Head on over to the MFT Blog and leave a comment there for a chance to win a $25 MFT Gift Voucher.


Thanks so much for dropping by!  If you liked this card and want some more crafty inspiration, don't forget to check out my INSTAGRAM feed!

Wishing you all a lovely day!

♥ Rachel