MFT Stamps - Filled with Joy Card Kit Release

Hello crafty friends!  The Filled with Joy Card Kit from MFT Stamps is now available in the MFT Boutique!  And there's something new!  You can now purchase parts of the kit separately on the day that the kit is released!  No more waiting for your favorite kit products to release!


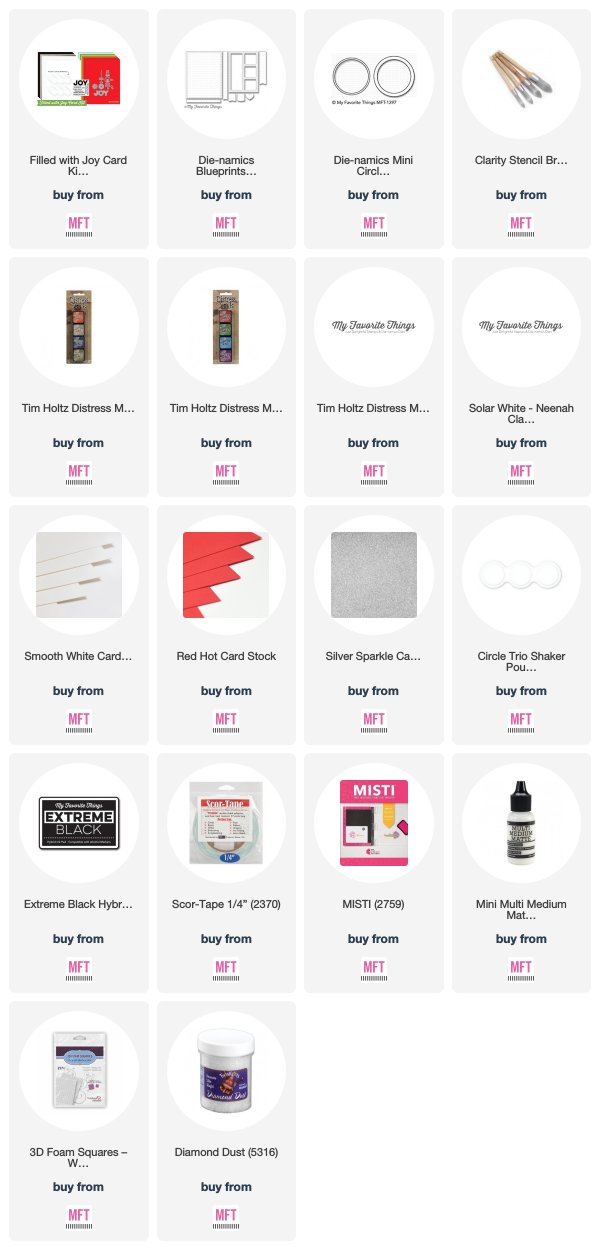
For my card today, I wanted the letters JOY to be the focal point.  I first diecut a piece of Neenah Classic Crest Solar White 110lb Card Stock with the large stitched scalloped rectangle die from the Blueprints 27 Die-namics.  I then lightly blended some green Distress Inks (Twisted Citron, Mowed Lawn and Peeled Paint) in the center of this panel using a few Clarity Stencil Brushes.


Next, I splattered some Opaque White Paint onto this panel and then set it aside to dry.  Once dry, I then diecut a circular window in the lower center of this panel using the Mini Circle Shaker Window & Frame Die-namics that is currently free right now with orders $60 or more.


Before gluing in my shaker pouch, I stamped my sentiment with Black Ink into the lower right corner of my card.  I then cut one of my shaker circles from the set of three that it comes in and adhered it into the window that I created.


For my letters, I first diecut them with a sheet of Smooth White Card Stock along with the circular frame that comes with the window.  I then colored these pieces with some red Copic Sketch Markers (R05, R17, R46, R59) and used a White Gel Pen to add some accents.  I added a few ornament strands using some Silver Sparkle Card Stock and filled my window with some sparkling Diamond Dust.  Once finished, I attached this all to my vertical A2 sized Red Hot card base.


Make sure to stop by the MFT Blog for more inspiration.  Also, leave a comment on each Design Team Member's Release Day Blog Post for a chance to win a $50 MFT Gift Voucher!


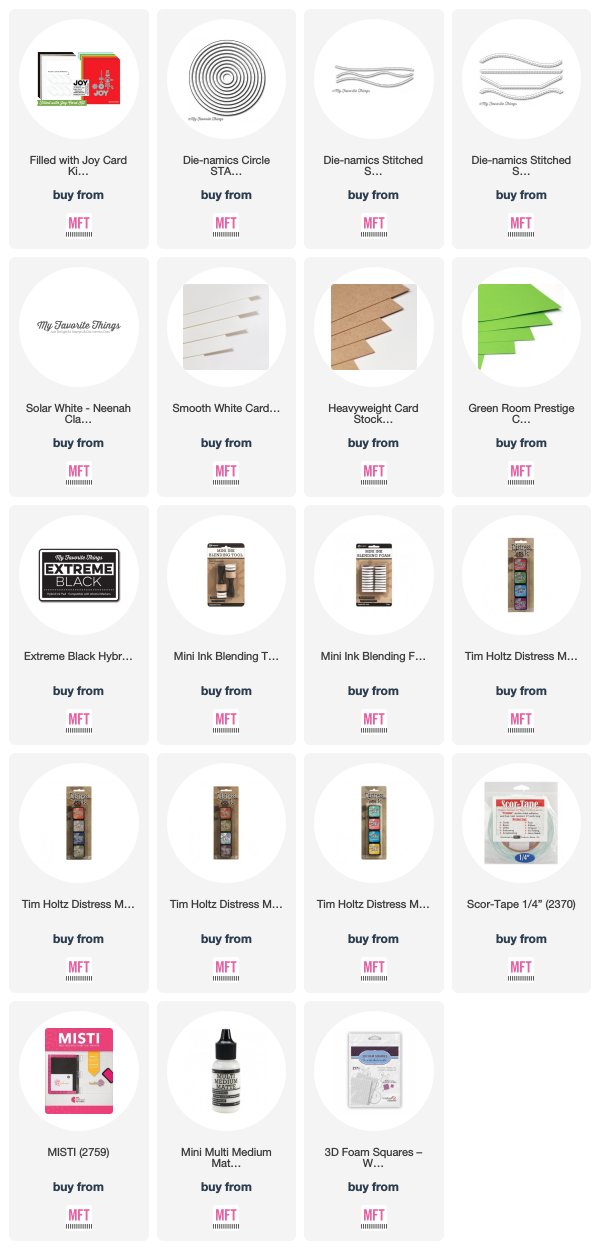
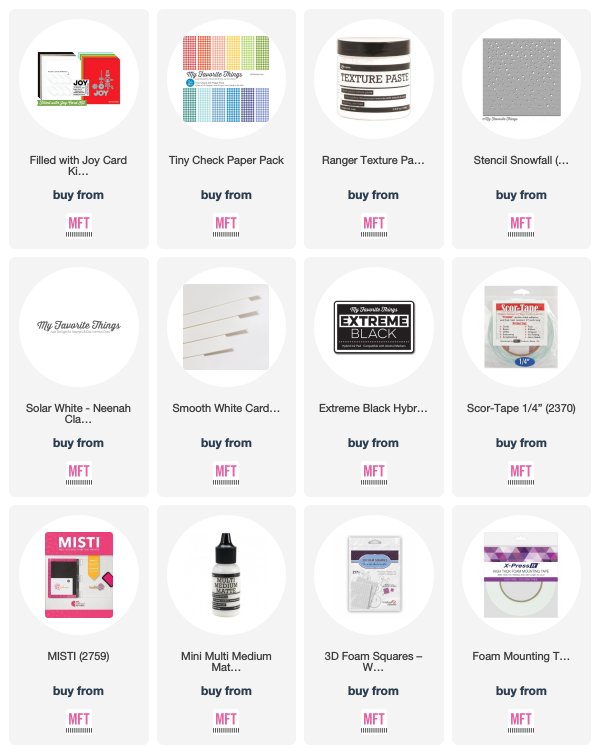
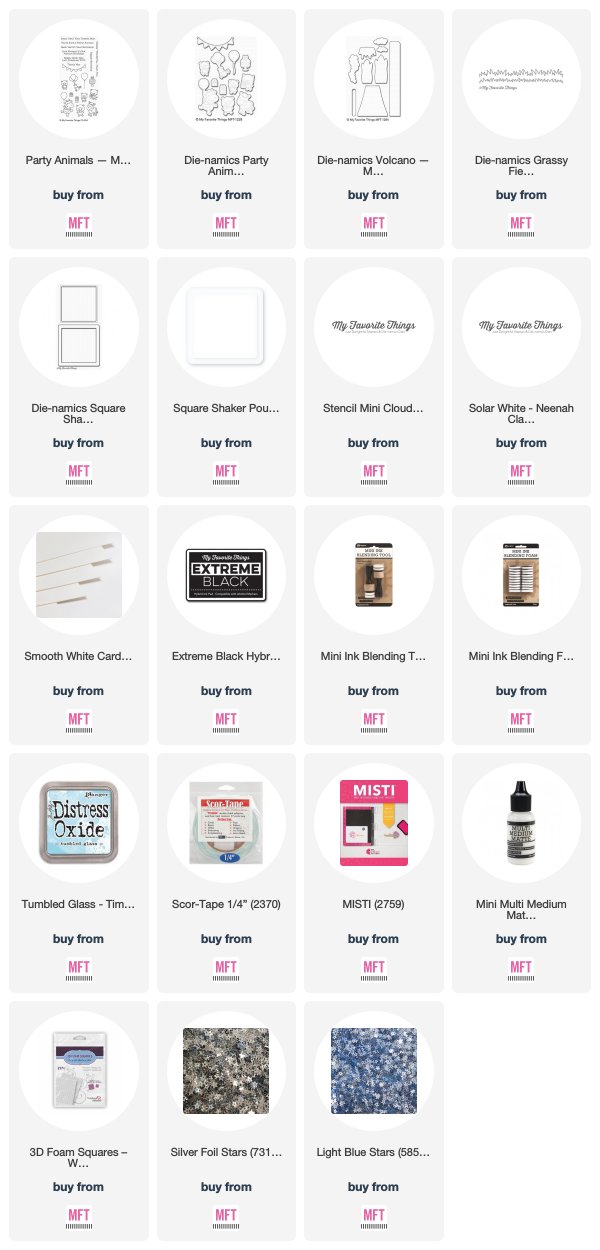
Here are some other examples that I made using this new release.

Thanks so much for stopping by!  If you liked this card and want some more crafty inspiration, don't forget to check out my INSTAGRAM feed!

Wishing you all lovely day and happy card making!

♥ Rachel

MFT Stamps - Filled with Joy Card Kit - Day 2

Hello everyone!  Have you been enjoying the designs posted by the MFT Design Team using the newest MFT Stamps Card Kit?  If you haven't yet seen them, head on over to the MFT Blog and check them out!  The "Filled with Joy" Card Kit is seriously awesome!


I have two cards to share with you today using this fun new kit.  For this first one, I first blended some Distress Inks (Ripe Persimmon, Abandoned Coral, Barn Door and Fired Brick) onto a piece of Neenah Solar White 110lb Card Stock.  I then spritzed this with some water, blotted it dry with a paper towel and then splattered some opaque white paint for added interest.


Once dry, I then heat embossed my sentiment with Fine Detail White Embossing Powder and then adhered the word JOY (which I had diecut from white card stock) below my sentiment with some 3D Foam Adhesive Squares.


I then added my ornaments after I diecut them from both White and Silver Sparkle Card Stock.  Lastly, I added a few snowflakes that I diecut from the Stylish Snowflakes Die-namics Set.


My second card features the cute snowman that comes with this set.  I added a body to him by diecutting a larger circle using the Circle STAX Die-namics Set 1 and then some arms by using the tree trunks from the Home Sweet Home Die-namics Set.  I diecut his scarf from Smooth White Card Stock and colored with Green Copics (G20, YG13, YG17, G29).  I added a top hat by diecutting it from the beautiful Black Velvet Paper that comes with this kit.


For my card background, I splattered some "snow" onto Kraft Card Stock with some Opaque White Paint and then added some stitched snow drifts from the Stitched Snow Drifts Die-namics. 


I placed a side panel to the left of my snowman by diecutting a green piece of card stock with the Stitched Scallop Basic Edges 2 Die-namics.  To this green panel, I added the word JOY cut from some Silver Sparkle Card Stock and replaced the "O" with a white snow flake.


This kit will be available in limited quantities on Tuesday, September 25th at 10AM EDT.  Once again, make sure to stop by the MFT Blog for more Card Kit inspiration and leave a comment there for a chance to win an MFT Gift Voucher.


Thanks so much for stopping by!  If you liked this card and want some more crafty inspiration, don't forget to check out my INSTAGRAM feed!

Wishing you all a wonderful day and happy card making!

♥ Rachel

MFT Stamps - Filled with Joy Card Kit - Day 1

Hello friends!  I am so excited to share with you the newest Card Kit from My Favorite Things!  It's called the "Filled With Joy" Card Kit and it's sure to get you in the mood for the holiday season.  I absolutely LOVE this kit.  It's packed with super cute stamps, dies, shaker pouches and beautiful papers.


How much fun is that snowman?  For my card today, I used the "Joy" Word Die-namics that comes with the kit and did some partial die-cutting on a 4.25" x 5.5" piece of white card stock.  I then used the snowman head to replace the "O".


For my card background, I used the Stencil Snowfall on a piece of Kraft Card Stock and used some White Texture Paste for the snow.  I love this texture paste because it pops right up off your project giving it great depth and dimension.


I diecut the snowman's hat with some Smooth White Card Stock and colored it with Copics Sketch Markers.  For his scarf, I used the Tiny Check Patterned Paper Pack.  Lastly, I stamped the sentiment with Black Ink at the bottom of my card and attached the bottom portion to my base with some 3D Foam Adhesive Tape.


I hope you enjoyed my card today!  For more Card Kit Inspiration, make sure to stop by the MFT Blog and see what the rest of the participating DT Members have created.  Also, leave a comment on the MFT Blog for a chance to win a $25 MFT Gift Voucher!


Thanks so much for dropping by!  If you liked this card and want some more crafty inspiration, don't forget to check out my INSTAGRAM feed!

Wishing you all a wonderful day!

♥ Rachel


Birthday Box Slider Card - MFT Birthday Project

Hello everyone!  For this month's MFT Birthday Project Challenge,  it's all about making cards with and interactive element!  So, that can be anything from a shaker card,  a slider card or to a card with a lot of interactive folds etc.


For my card today, I created a box card that has both a hidden slider panel (similar to one I made HERE) as well as a shaker window in the front (short video showing how the card works is posted below).  I used the Party Animals Stamp Set to create this fun card.


I stamped all of my images with black ink onto smooth white card stock, colored with Copics and used the coordinating dies to cut them out.  I used the Square Shaker Window & Frame for the front shaker portion of my card, combined with the Square Shaker Pouches and a mix of silver and blue stars from Pretty Pink Posh.


I added some grass using the Grassy Fields Die-namics and blended the sky using some Tumbled Glass Distress Oxide Ink with the Mini Cloud Edges Stencil.


I stamped my sentiment onto one of the side panels using some black ink.


Here's a short video of the card in action.


Make sure to stop by the MFT Challenge & Inspiration Blog to see what the rest of the participating team members have created!


Thank you for stopping by!  If you liked this card and want some more crafty inspiration, don't forget to check out my INSTAGRAM feed!

Wishing you all a wonderful day and happy card making!

♥ Rachel

You're a Superstar - MFT Hits & Highlights

Hello friends!  For today's MFT Hits & Highlights post, the designers were challenged to create a project around the idea *of* stars.


For my project today, I created a fun card using the BB You're Super Stamp Set.  I went with the idea of a Superhero Superstar standing bravely in front of a starry city backdrop.  I first stamped my image onto smooth white card stock, colored her with Copics and used the coordinating dies to cut her out.


For the background, I blended some distress inks (Stormy Sky, Faded Jeans, Chipped Sapphire and Black Soot) onto a smooth piece of white card stock.  Once blended, I spritzed this lightly with water, blotted it with  a paper towel and then splattered some "stars" with some opaque white paint.  Once this was dry, I then used some white ink and the Sunrise Radiating Rays Stencil to blend some rays of light beaming up into the night sky.


After my background sky was finished, I added a few layers of a city skyline using the Our Town Die-namics with some Black Licorice Card Stock.  I added some pieces of Lemon Chiffon Prestige Card Stock behind each window section to resemble lights.  Lastly, I heat embossed my sentiment from the Friendship Rocks Set with Fine Detail White Embossing Powder and attached my Superhero with a few 3D Foam Squares for added dimenion.


Make sure to stop by the MFT Blog to see the amazing designs the rest of the team has come up with!

Thanks so much for stopping by!  If you liked this card and want some more crafty inspiration, don't forget to check out my INSTAGRAM feed!

Wishing you all a wonderful day and happy card making!

♥ Rachel

You HOG My Heart - MFT Stamps Color Challenge 101

Hello everyone!  I hope you are all having a wonderful week so far!  It's time for the latest Color Challenge from MFT Stamps.  It's such a pretty color scheme!


The colors for Challenge 101 are Summer Splash, Tropical Teal, Wild Cherry and Coral Crush.


For my card today, I went with a fun but simple design.  I used one of the sweet little pigs from the BB Hog Heaven Stamp Set to utilize both the Wild Cherry and Coral Crush colors in my design.  I stamped my pig with Copic friendly Black Ink onto some smooth white card stock, colored him with Copics and then used the coordinating dies to cut him out.


For my background, I heat embossed the BG Radiating Halftone Background Stamp onto a smooth piece of white card stock with some Clear Embossing Powder.  I then blended a portion of this piece with some Summer Splash and Tropical Teal Premium Dye Inks.  Once dry, I used one of the Stitched Rectangle Dies from the Stitched Rectangle STAX Die-namics Set 2 to trim this piece down.


I lightly colored the ground with some Warm Grey Copics and then stamped my sentiment in Black Ink using my Misti Tool for placement.  I layered this piece with a piece of Tropical Teal Card Stock and then placed my entire panel onto a white, top folding A2 card base.  Lastly, I adhered my pig with a few 3D Foam Squares for some added dimension.


I challenge you to come play along with us!  One winner will be chosen randomly to win a $50 MFT Gift Voucher!

Make sure to stop by the MFT Challenge & Inspiration Blog for more challenge details and also to see the amazing designs done by the rest of the participating team members.

Thank you all so much for dropping by!  I hope you enjoyed my card today!  If you liked this card and want some more crafty inspiration, don't forget to check out my INSTAGRAM feed!

Wishing you all the most wonderful day!

♥ Rachel

Troll Wizard Bundle - Craftin Desert Divas

Hello friends!  I have a second and super fun post to share with you today!  Craftin Desert Divas just came out with a new release bundle this morning featuring some familiar looking Troll Wizards!  It's called the Troll Wizard Bundle and it's available today only at a special introductory price. (Don't worry though, if you happen to miss out, you can order each item separately once this deal is over).


This set is perfect for creating cards for all of those Harry Potter fans that you know!  For my card today, I created a fun moonlit background for Harry to fly in.


To create my background, I masked off a moon with a circular masking piece and placed it onto a 4.25" x 5.5 piece of Neenah Solar White 80lb Card Stock. I then blended this piece with some Distress Inks (Stormy Sky, Faded Jeans, Chipped Sapphire and Black Soot).  I spritzed this with some water and blotted it dry with a paper towel.  Once dry, I used the 6"x6" Magic Castle Stencil to add my Hogwarts Castle with some more Black Soot Distress Ink.


Once dry, I gently laid a piece of paper over the castle and then splattered some Opaque White Paint over the rest of my background panel to resemble stars.  I then removed the mask for my moon and colored it with some Cool Grey Copic Sketch Markers.  Once all of this was dry, I then used the Magic Castle Stencil again to add in some clouds with white ink and a sponge dauber.


I heat embossed my sentiment with Detail White Embossing Powder.  For my image of Harry Potter, I first stamped him onto smooth white card stock, colored him with copics and then cut him out.  I adhered him to the card with some 3D Foam Adhesive Squares for some added dimension.  Lastly, I drew in a few more details in my night sky with a white gel pen.

Troll Wizard Bundle

Isn't this set so adorable?  Click on the image above for a closer look or HERE for more details about what's included.

http://craftindesertdivas.com/


Thanks so much for stopping by!  If you liked this card and want some more crafty inspiration, don't forget to check out my INSTAGRAM feed!

Wishing you all a wonderful day and happy card making!

♥ Rachel

Hello Love Bug - MFT Wednesday Sketch Challenge 402

Hello!  It's time for a new Wednesday Sketch Challenge from My Favorite Things!  The Wednesday Sketch Challenges are the perfect time to push your creativity and play along for a chance to win a $50 MFT Gift Voucher!


For my take on this week's Sketch Challenge, I created a fun little outdoor scene with ladybugs.  My ladybugs came from both the Love Bugs and Sending a Smile Stamp Sets.  The leaves came from the Painted Poppies and Wildflowers Stamp Sets.


I first stamped all of my images onto a sheet of Neenah Solar White 110 lb Card Stock, colored them with Copics and used the coordinating dies to cut them out.  I then created a bright blue sky background by blending some Salty Ocean Distress Ink onto a sheet of Smooth White Card Stock.  I spritzed this blend lightly with water and patted it dry with a paper towel.


I attached my leaves and ladybugs to this piece and trimmed off any excess.  I then added a white scalloped rectangle frame using the Stitched Rectangle Scallop Edge Frames Die-namics.  I glued this entire rectangular panel to the base of my card which I had layered with a sheet of patterned paper from the Black & White Dots Paper Pack.


Lastly, I added my sentiment by stamping it with black ink onto some white card stock and diecutting it with one of the rectangular dies from the Hearts in a Row Vertical Die-namics Set.


Here's a look at this week's sketch layout.  What will you create?


Come play along and head over to the MFT Challenge & Inspiration Blog to see the designs from the rest of your team and to add the link to your project when it's completed.


Thank you for stopping by!  If you liked this card and want some more crafty inspiration, don't forget to check out my INSTAGRAM feed!

Wishing you all a wonderful day and happy card making!

♥ Rachel