Hello, crafty friends! For this month's MFT Stamps Hits & Highlights the Design Team was challenged to use the largest frame from the A2 Rectangle Frame Die-namics along with the A2 Rectangle Shaker Pouches.

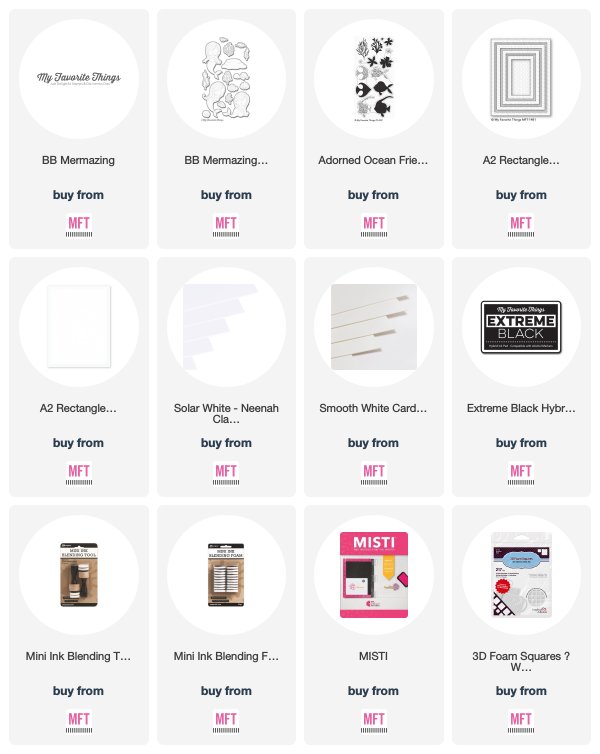
I absolutely love the A2 Rectangle Shaker Pouches and Frame. I recently made a few other cards using these same two pieces but for my card today, I went with the BB Mermazing Stamp Set. This is one of my favorite stamp sets from Birdie Brown (truly, I love them all) and I had a lot of fun creating this underwater scene.

To start, I first created my background by blending some Distress Inks (colors listed above) onto a sheet of Neenah Solar White 110lb Card Stock. I splattered it with some water and then blotted it dry with a paper towel to create some more interest and an underwater effect.

I stamped all of my images with Copic friendly Black Ink, colored them with Copic Sketch Markers, and used their coordinating dies to cut them out. I used the Adorned Ocean Friends Stamp Set to heat emboss some underwater foliage in Fine Detail White Embossing Powder. Once finished, I adhered my images with some liquid adhesive and then poured my embellishments carefully into the middle of the card.


I then was able to glue on both my Shaker Pouch and then Frame around the outer edge of my standard A2-sized card.

I just love the final effect! I used a mixture of White Seed Beads and small clear sequins for my shaker embellishments.

Here are the two other cards that I've recently made using the A2 Shaker Pouch and Frame.

If you haven't yet tried these two items, you should give it a go! These A2-sized Shaker Pouches make creating large and gorgeous shaker cards so easy. Make sure to head on over to the MFT Blog to see what other creations the team has come up with!


Plus, get 20% OFF on these two items today only over at the MFT Online Boutique!

Thanks so much for dropping by! I hope you enjoyed my card today!
If you liked these cards and want some more crafty inspiration, don't forget to check out my INSTAGRAM feed!
Wishing you all a lovely day!
♥ Rachel