
Hello again! We're now halfway through our MFT Stamps December Countdown Release! I have a really fun card to share with you today. This one took a little bit of trial and error for me but I finally was able to get my idea to work! I created a Two-Directional Slider Loop Card.

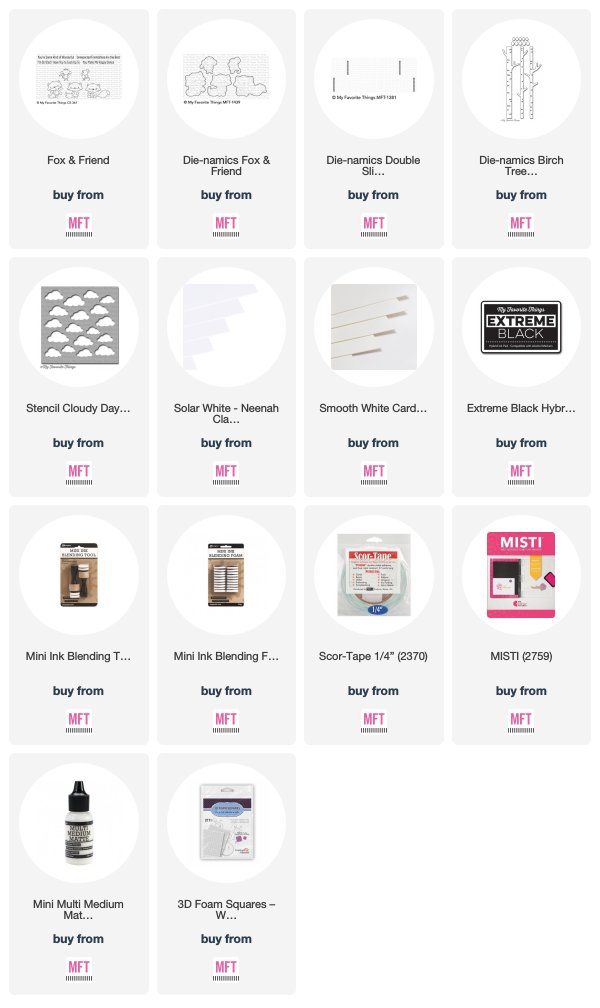
My card features the new and super cute Fox & Friend Set. I love how much fun these animals look like they're having! I wanted to have a card that moved in both directions but that had only one slider to pull. I'm sure that there are other cards out there with this concept but since I was unable to find anything and link the video, I figured out a way that worked for me and took some step by step pictures to hopefully help you re-create this fun type of card.

The final effect is that the images slide TOWARD each other when you pull on the tab. So much fun! (Believe me, I was happy enough to dance when I finally got this to work and to work smoothly, lol).
Here's a quick video of this card in action.

To start, I first blended a background sky onto a 4.25" x 5.5" piece of Smooth White Card Stock with some Distress Inks (Tumbled Glass, Salty Ocean, and Blueprint Sketch). I lightly spritzed it with water and blotted it dry with a paper towel. Once dry, I then blended in some opaque white clouds using the Cloudy Day Stencil and some White Ink. I then used the larger of the Double Slider Loop Die-namics to evenly cut two slots near the bottom of my panel.

All you need to do next is simply cut a small rectangular slot along both the top and bottom sides of the slider loop path (as shown in the photo above). I used my craft knife and a ruler to get them as straight as possible. The cuts are not perfect but they work perfectly!

I then cut a slider pull panel using the Pull Panel Die from the Volcano Die-namics Set. I stamped the word "PULL" on the edge of this piece using the Interactive Labels Stamp Set. I then cut a long strip from a Ziploc Freezer Bag and looped it through the slots from the front sides and stapled them together in the back. Once my loop was attached, I then stapled my Pull Piece to the back of the loop. Here's where the magic happens. I then attached a strip of 100lb White Card Stock to the front of this plastic strip using some Scor Tape.

This is the view from the back. After I stapled my Pull Piece to one edge of the plastic slider loop, I then glued another piece of 100lb Card Stock to the back of the Pull Piece and then pulled both the bottom and top of this strip through the slots that I cut so that it would be attached to the back but seen in the front of the card (as shown in previous photo).

Once that was complete, I adhered some Birch Trees that I had blended with Distress Inks (Tea Dye, Aged Mahogany, and Gathered Twigs) with some liquid adhesive. I then added some 3D Foam Tape to the bottom base of my card to hold my grass (which would hide the slider loop) but still allowed my card to move freely. I did not need to add any foam tape to the back of my card. I simply used some tape runner to attach this panel directly to a top folding A2 sized card base. I did not add any adhesive to the back of my loop so that it could still move easily once this panel was attached to a card base.

For my grass, I blended some Distress Inks (Twisted Citron, Mowed Lawn, and Peeled Paint) onto a strip of Smooth White Card Stock. I used the Grassy Fields Die-namics to cut it and then trimmed it down to fit my card. Before attaching it, I splattered it with some of those same Distress Inks as listed above and also some Opaque White Paint. I used the extra pieces that I trimmed off to diecut some leaves from the Birch Trees Die-namics.

Lastly, I attached my images with a double layer of 3D Foam Adhesive Squares to the strips of card stock that were sticking out. I colored these images with Copic Sketch Markers and used the coordinating dies to cut them out.
** Here's an excellent video tutorial by Karolyn Loncon on how to use the MFT Double Slider Loop Slot Die-namics. **
** Here's an excellent video tutorial by Karolyn Loncon on how to use the MFT Double Slider Loop Slot Die-namics. **

Thanks so much for dropping by today! I hope you found this post helpful! Make sure to stop by the MFT Blog and leave a comment for a chance to win a $75 MFT Gift Voucher! Also, don't forget to check out the other creations posted by the Design Team for some more sneak peeks and inspiration.

If you liked this card and want some more crafty inspiration, don't forget to check out my INSTAGRAM feed!
Wishing you all a wonderful day and happy card making!
♥ Rachel
Wishing you all a wonderful day and happy card making!
♥ Rachel
Love it! So cute.
ReplyDeleteThank you, Barbara! So happy you like it! :0)
DeleteYour card is amazing, love it!
ReplyDeleteThank you, Cynthia! I appreciate your sweet comments! :-)
DeleteThis is SO FUN!! I love that interactive element!
ReplyDeleteThank you, Nora! I love the interactive part too! Once I figured out how to get it to work, it was pretty easy to do.
Delete