
Hello everyone! I have a scenic Christmas Card to share with you today.

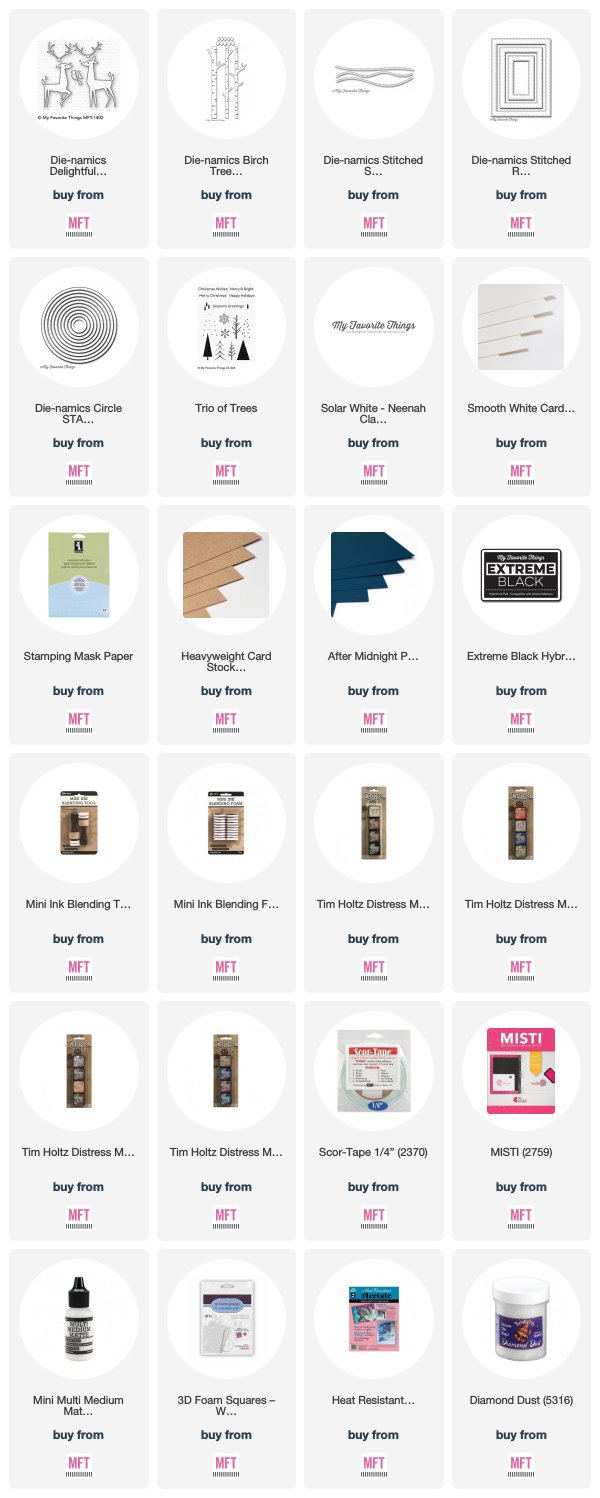
When I was little, I always loved seeing the deer in my backyard walking around after a fresh snowfall. My card today features the new Delightful Deer Die-namics as I tried to capture a snowy-night scene.


To create the snowy night background, I first pulled out four different Distress Inks.
- Stormy Sky
- Faded Jeans
- Chipped Sapphire
- Black Soot
I then trimmed a piece of Neenah Solar White 80 lb Card Stock to 4.25" x 5.5". I added a circular piece of masking paper that I diecut using the Circle STAX Die-namics. I then blended the Distress Ink starting around the "moon" using the lightest ink and fading out to the darkest where the light would be the least prevalent. Lastly, I used some watered down Opaque White Ink and splattered it (to resemble snow) onto this panel with a small paint brush.

As you can see, there's a frame around this shaker card. I really like a clean look when I do this type of shaker card and I'm horrible at trimming foam tape to look flush along the edges, lol.


A little trick that I do in order to get that clean look is to cut my frame multiple times and quickly glue them together so that it's one solid piece that also gives enough depth to add my shaker embellishments.

I used the Stiched Snow Drifts Die-namics to cut some snowy hills and I cut the deer from some Kraft Card Stock.


The deer look rather one-dimensional when you first diecut them. However, with a little added Distress Ink (or any ink that blends well), you can add a lot of depth and dimension to your diecuts. I simply added both Tea Dye and Gathered Twigs Distress Inks to various parts of the deer's body to add some shadows and dimension. There's really no right or wrong way to do it and even though it looks intimidating, I encourage you to give it a try! The trick is to have a light hand and to tap off any excess ink prior to adding it to your diecuts.

I stamped my sentiment (from the Trio of Trees Stamp set) with Black Ink onto the smaller of the two snow drifts and added some trees using the Birch Trees Die-namics. For the moon, I colored it loosely with some Cool Grey Copics (0, C00, C1, C2, C4). For my shaker embellishment, I added some gorgeous Diamond Dust prior to adding my acetate window and final frame. Once finished, I adhered this entire shaker panel to an A2 top folding card base cut from a sheet of After Midnight Prestige Card Stock.

Make sure to stop by the MFT Blog to see what other Tips & Tricks the rest of the participating DT Members have shared today!
I hope you've enjoyed my card today! Thanks so much for dropping by!
If you liked this card and want some more crafty inspiration, don't
forget to check out my INSTAGRAM feed!
Wishing you all a wonderful day!
♥ Rachel
Love the pretty scene you created on your card. The inked background is perfect.
ReplyDeleteThank you so much, JoAnn! :0)
DeleteI absolutely LOVE your snowy, night sky. Beautiful card.
ReplyDeleteThank you, Beverly! I'm so happy that you liked it!
DeleteYet another gorgeous card, Rachel. Great tips, too!
ReplyDeleteThank you, Julie! I appreciate your sweet comments!
DeleteYour card is so striking and beautiful, Rachel. That background is fabulous. Thank you so much for the tips you shared. Gotta remember that one about the frame for shakers. :)
ReplyDeleteThank you, sweet Jeanne! So glad that you liked it! It definitely takes a little bit more time to create a stacked paper frame but it looks so much cleaner, in my opinion. :0)
DeleteI just love your card Rachel! But heck, I love each and every card you make!
ReplyDeleteThank you for all the tips!!! Very appreciated!
You are SO sweet, Christine! I truly appreciate each and every comment! <3
DeleteThis is such a beautiful card! I just love how you created the sky background. :)
ReplyDeleteThank you so much for your lovely comments! <3
DeleteBeautiful card! Thanks for the tip on the shaker frame.
ReplyDeleteThank you, Robin! :0)
Delete