Party Penguins - MFT February Release Countdown - Day 1

Hello, MFT fans!  There are only 24 hours left until this new and awesome release becomes available to you!  I have a super fun stamp set to share with you today!


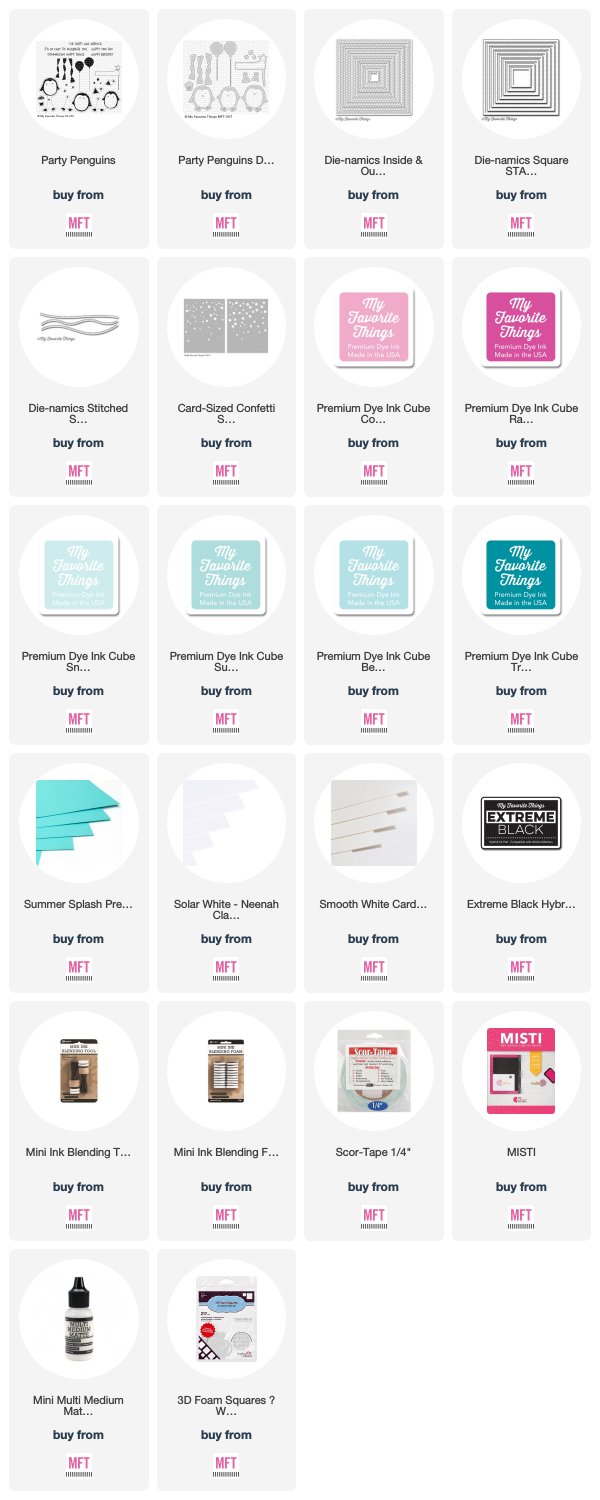
I have created a fun Shadow Box Card featuring the new Party Penguins Stamp Set.  I love this set so much!  As much as I love to color, sometimes it's nice to have a set that does all of the work for you.  I simply stamped almost all of the images seen here in this picture.


MFT Premium Dye Inks Used:
  • Sno Cone
  • Berrylicious
  • Summer Splash
  • Tropical Teal
  • Cotton Candy
  • Razzle Berry


I did add a little bit of Cool Grey Copic coloring (0, C00, C0, C1, C3) to the belly of the penguins to give them a little more depth.  For the background, I used the new Card-Sized Confetti Stencil Set for the very background of my card.  I love how you can use different colors to achieve such a fun effect!


For my shadow box itself, I created it to fit perfectly into a standard A6-sized envelope.  I used the Inside & Out Stitched Square Die-namics for the front window and for the scalloped frame, I used the Stitched Square Scallop Frame Die-namics with a sheet of Summer Splash Prestige Card Stock.


Make sure to stop by the MFT Blog for more inspiration!  Leave a comment there for a chance to win a $75 MFT Gift Voucher!

I hope you enjoyed my card today!  Thanks so much for stopping by!  If you liked this card and want some more crafty inspiration, don't forget to check out my INSTAGRAM feed!

Wishing you all a lovely day!

♥ Rachel
Arrgg! Pirates - Whimsy Stamps February Release

Hello, crafty friends!  I have one more post to share with you today.  This card features a fun new stamp set from Whimsy Stamps called "Arrgg! Pirates." 


 I just love this set!  I've always been a big fan of pirate-themed stamps and I love how this one varies from most of the pirate-themed sets out there.  (Affiliate links used.)

Arrgg! Pirates
Arrgg! Pirates Stamp Set

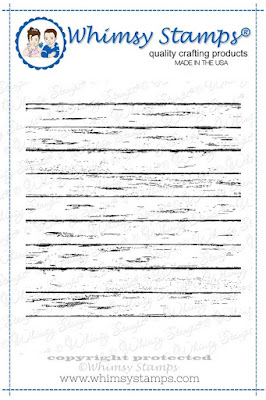
 To start, I first created my background panel.  To do so, I first stamped some dark brown ink onto a sheet of brown card stock using the Farmhouse Shiplap Background Rubber Cling Stamp.

Farmhouse Shiplap Background Rubber Cling Stamp

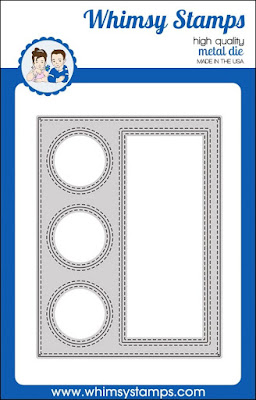
I then used the newly released Peekaboo Window 3 Die to cut out this wood-grained paper panel.  This window die is absolutely gorgeous!  I love the stitching and all of the window options on it.  It can be used either horizontally (the way I used it on my card today) or vertically.

Peekaboo Window 3 Die

 Once I diecut this panel, I then went to work on creating my background scene.


I blended some Distress Ink (Cracked Pistachio and Peacock Feathers) onto a sheet of Neenah Solar White 80lb Card Stock to create the water.  I then lightly spritzed this panel with water and blotted it dry with a paper towel.  Once dry, I lined up where my circular windows would go and then used my MISTI to stamp and heat emboss some tiny fish with Super Fine Detail White Embossing Powder.  Both the fish and the underwater foliage came from the Let's Be Mermaids Stamp Set.

Let's Be Mermaids Stamp Set

I then made my sky by diecutting a cloud stencil from acetate using the Grass and Cloud Edger Die Set.  I then blended over this piece lightly with some Tumbled Glass Distress Oxide Ink onto another sheet of Neenah Solar White 80lb Card Stock.

Grass and Cloud Edger Die Set

I then stamped my images with Copic friendly Black Ink onto a sheet of Neenah Solar White 110lb Card Stock and used Copic Markers to color all of my images.


Copic Colors Used:
  • Reds: R02, R08, R46, R89, RV99
  • Browns: E30, E33, E23, E25, E27, E29
  • Greens: YG0000, G20, YG01, YG07, YG17, G28
  • Yellow: Y13, Y15, Y17, E35
  • Boots: E40, E41, E42, E43, E44, E47
  • Blue Vest: B0000, B000, B04, B06

Lastly, I added some sparkly shaker embellishments after I closed of the windows with a piece of acetate and used 3D Foam Tape to create some space for the embellishments to move around.

Whimsy Stamps

You can check out the amazing February release from Whimsy Stamps HERE or check out all of the other beautiful stamps that they have to offer HERE.

Thanks so much for stopping by!  If you liked this card and want some more crafty inspiration, don't forget to check out my INSTAGRAM feed!

Wishing you all a wonderful day and happy card making!

♥ Rachel

Birthday Bear & Friends - MFT February Release Countdown - Day 2

Hello again!  I'm back with another project for day 2 of the MFT February Release Product Countdown.


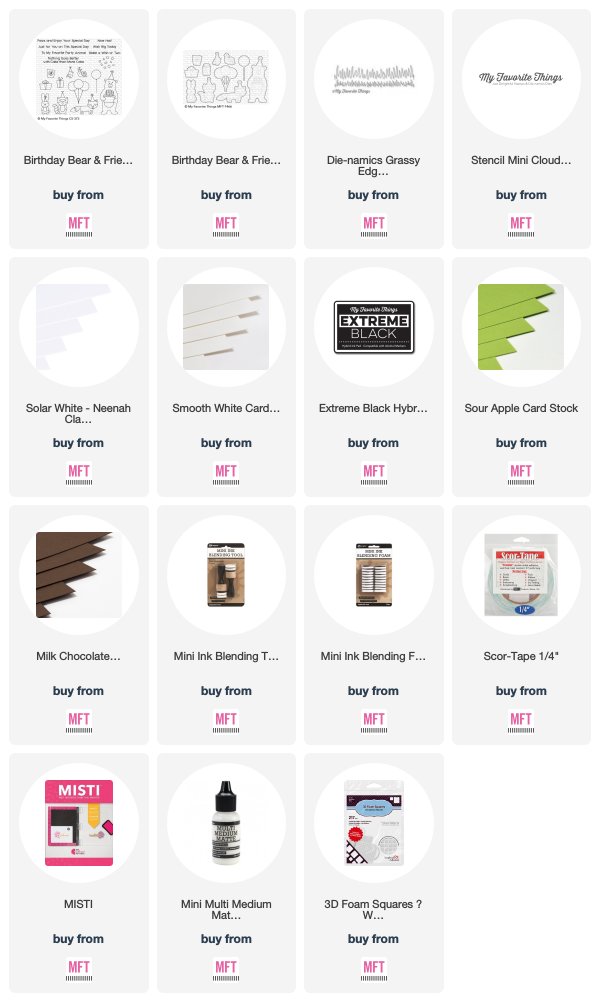
For my card today, I used the Birthday Bear & Friends Stamp Set.  I first stamped all of my images onto Smooth White Card Stock, colored everything with Copics and then used the coordinating dies to cut them out.


I created my card background by diecutting a piece of Sour Apple Card Stock with the Grassy Edges Die-namics.  I then blended some clouds using the Mini Cloud Edges Stencil and Tumbled Glass Distress Oxide Ink.  Lastly, I added some Birch Trees cut from Milk Chocolate Prestige Card Stock to make my background look more like a forest.


I stamped my sentiment onto my piece of grass and adhered all of the background images with liquid adhesive.  Lastly, I added my animal images with some 3D Foam Adhesive Squares.


There are only 2 more days until this new release becomes available!  Make sure to stop by the MFT Blog for more sneak peeks and don't forget to leave a comment there for a chance to win a $75 MFT Gift Voucher!


I hope you enjoyed my card today!  Thanks so much for stopping by!  If you liked this card and want some more crafty inspiration, don't forget to check out my INSTAGRAM feed!

Wishing you all a lovely day!

♥ Rachel

Pure Innocence Birthday Girls - MFT February Release Countdown - Day 3

Hello again and thank you for dropping by for another MFT Stamps Release Countdown post!  For my card today, I am featuring the two newest Pure Innocence Stamps.  They are both so precious!


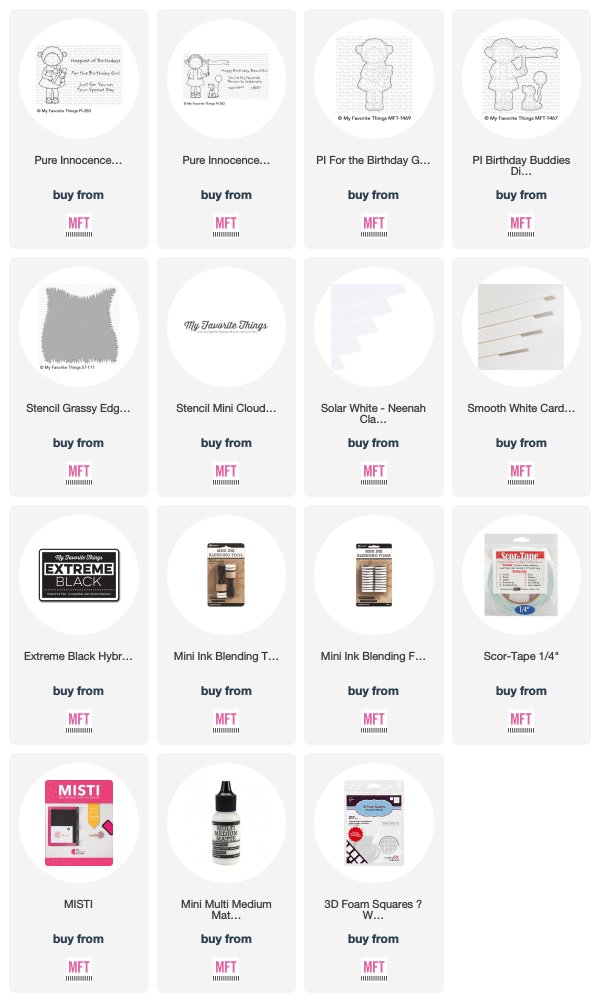
To start, I first stamped my images onto Neenah Solar White 110lb Card Stock, colored with Copics and used the coordinating dies to cut them out.


Copic Colors Used:

  • Girl in blue dress: Skin (E11, E15, E17, E18); Hair (E23, E25, E27, and E29); Dress (B0000, B000, B00, B02, B05); Pinks: (RV0000, RV000, RV52, RV55, and RV66)
  • Girl in pin dress: Skin (E0000, E000, E21, E11, E04); Pink Dress (RV0000, RV000, RV52, RV55, and RV66) Whites (0, C00, C02, C03, C04).


 I then created an easy background using both the Grassy Edges and Mini Cloud Edges Stencils and Tumbled Glass Distress Oxide Ink and Mowed Lawn Distress Oxide Ink respectively.  Lastly, I stamped my sentiment into the flag that the one girl is holding and then attached all of my images to my card with 3D Foam Adhesive.


We are halfway through the MFT Stamps February Release Countdown!  Make sure to stop by the MFT Blog and leave a comment there for a chance to win a $75 MFT Gift Voucher!


I hope you enjoyed my card today!  Thank you so much for stopping by!  If you liked this card and want some more crafty inspiration, don't forget to check out my INSTAGRAM feed!

Wishing you all a a lovely day!

♥ Rachel

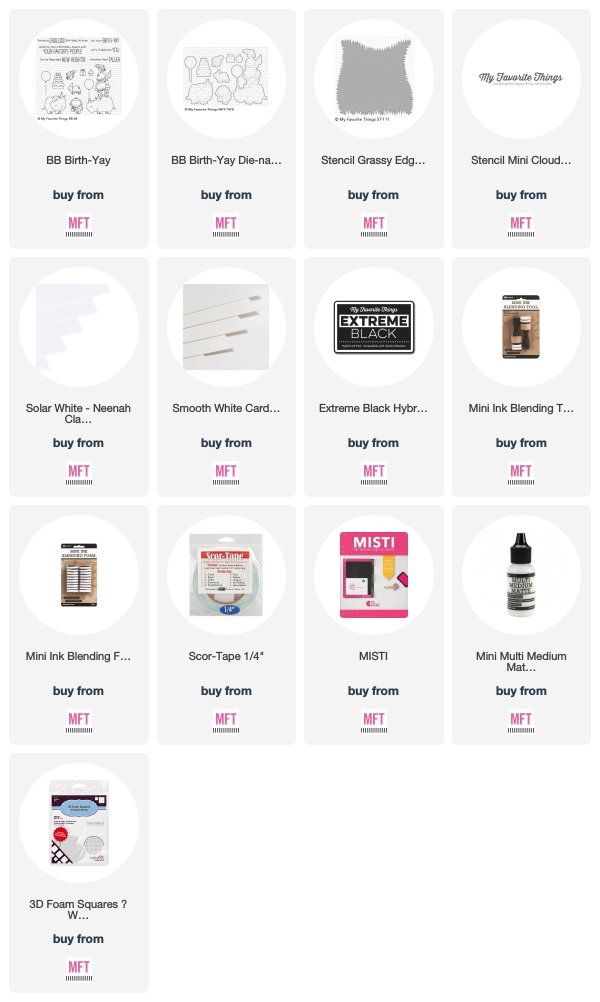
BB Birth-Yay - MFT Stamps February Release Countdown - Day 4

Hello friends!  I'm back with the newest Birdie Brown stamp set to share with you today from MFT Stamps!


The BB Birth-Yay Stamp Set features a bunch of cute animals getting ready to party.  My favorite image from the set is the one I've used today.  Yup, that's all one image!  I created a 5" x 5" square card to feature this sweet little image among some bright blue clouds and fresh green grass.


For my background, I blended some Tumbled Glass Distress Oxide Ink onto a sheet of Neenah Solar White 80lb Card Stock with the Mini Cloud Edges Stencil.  I then used the Grassy Edges Stencil along with some Mowed Lawn Distress Oxide Ink to blend in some grass.  These two stencils make creating a background super easy!


I colored my image with Copics after I stamped it with Copic friendly ink onto a sheet of Neenah Solar White 110lb Card Stock.  I then used the coordinating die to cut it out.  Lastly, I stamped my sentiment with Black Ink onto the upper left-hand section of my card and adhered my image with some 3D Foam Adhesive Squares.


Make sure to stop by the MFT Blog for more sneak peeks and leave a comment there for a chance to win a $75 MFT Gift Voucher!


I hope you enjoyed my card today!  Thank you so much for taking the time to drop by!  If you liked this card and want some more crafty inspiration, don't forget to check out my INSTAGRAM feed!

Wishing you a lovely day and Happy Cardmaking!

♥ Rachel
Puppy Dog Kisses - Sunny Studio Stamps

Hello, everyone!  I have a fun slimline card to share with you today featuring the new Puppy Dog Kisses Stamp Set from Sunny Studio Stamps!  I absolutely love all of the puppy stamp sets that Sunny Studio Stamps has to offer!


To make this scene a little more festive, I added a few furry friends from the Party Puppy Stamp Set as well.  To start, I stamped all of my images onto a sheet of Neenah Solar White 110lb Card Stock and used the Puppy Dog Kisses and Party Puppy Kisses Die Sets to cut them out.  All of my images were colored with Copics.


To create the base of my card, I trimmed a piece of White Card Stock to 8.5" x 7" and then scored on the shorter side at 3.5".  I then layered it with a piece of Neenah Solar White Card Stock that was cut to 8.25" x 3.25".


I used Copics to loosely color some grass and the sky on this panel. (Sky: B0000, B000; Grass: G20, G21, G24).  I then added all of my images with some 3D Foam Adhesive Squares.  Lastly, I heat embossed my sentiment onto a strip of black card stock with Fine Detail White Embossing Powder.

Sunny Studio Stamps

Thanks so much for stopping by  I'll be back next Friday with some more crafty inspiration!  If you liked this card and want some more crafty inspiration, don't forget to check out my INSTAGRAM feed!

Wishing you all a wonderful weekend!

♥ Rachel


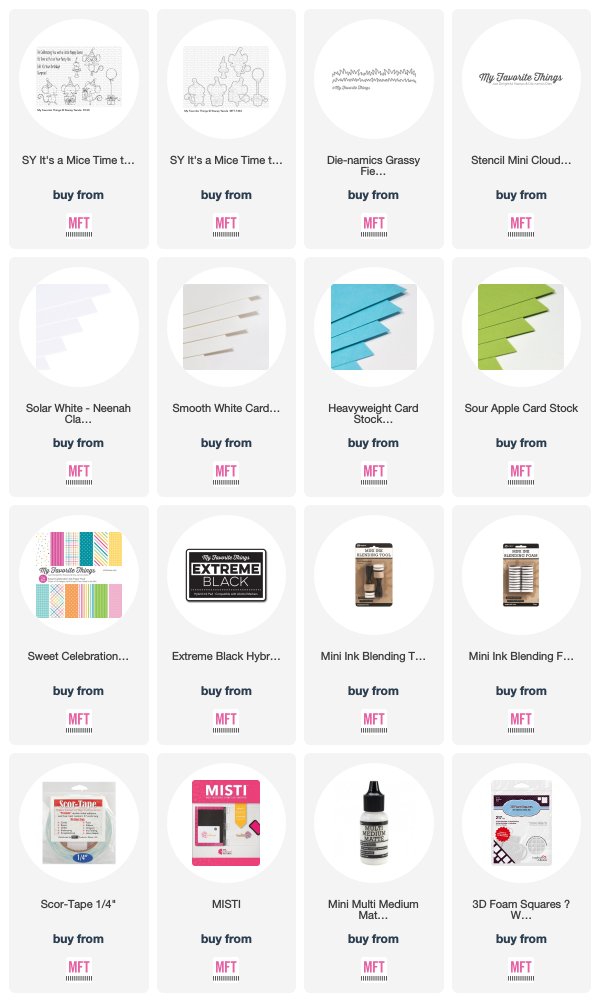
It's a Mice Time to Celebrate! - MFT Stamps February Release Countdown - Day 5

It's hard to believe that the month of February is almost upon us!  However, that means that it's time for a new MFT Release Countdown!


I am so excited to share the newest Stacey Yacula stamp set with you today!  It's called "It's a Mice Time to Celebrate" and it's filled with a bunch of cute partying mice.  As many of my followers know, I love to create box cards or cards with scenes and/or dimension.  I thought that these mice would be perfect for such a card today.  To start, I first created the box/base of my card.  You can see a quick and simple video that I made HERE on how to create this A2 sized box frame.


I then used some Blu Raspberry Card Stock and some patterned paper from the Sweet Celebration Paper Pack to decorate my box panels.  I added some grass using the Grassy Fields Die-namics and some Sour Apple Card Stock.


I also added some clouds in the background by blending some Tumbled Glass Distress Oxide Ink onto a sheet of Smooth White Card Stock using the Mini Cloud Edges Stencil.


Lastly, I adhered my images which I had stamped with Copic friendly Black Ink, colored with Copics, and used the coordinating dies to cut out.


Make sure to stop by the MFT Blog for more sneak peeks and don't forget to leave a comment there for a chance to win a $75 MFT Gift Voucher!


Stay tuned for more peeks at the February Product Launch over the next few days!  All new products will be available this coming Tuesday, February 5th at 10 AM EST!


I hope you enjoyed my card today!  Thanks so much for stopping by!  If you liked this card and want some more crafty inspiration, don't forget to check out my INSTAGRAM feed!

Wishing you all a lovely day!

♥ Rachel