Hello, crafty friends! I have one more post to share with you today. This card features a fun new stamp set from Whimsy Stamps called "Arrgg! Pirates."
I just love this set! I've always been a big fan of pirate-themed stamps and I love how this one varies from most of the pirate-themed sets out there. (Affiliate links used.)
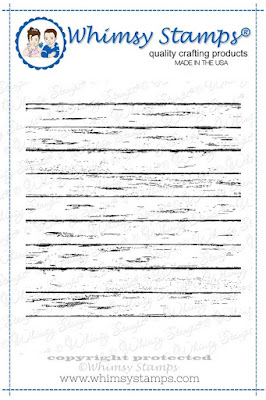
To start, I first created my background panel. To do so, I first stamped some dark brown ink onto a sheet of brown card stock using the Farmhouse Shiplap Background Rubber Cling Stamp.
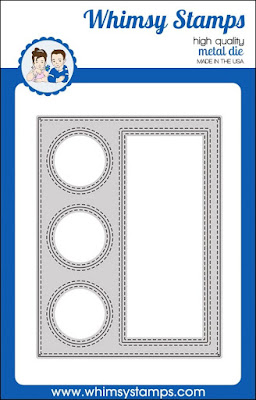
I then used the newly released Peekaboo Window 3 Die to cut out this wood-grained paper panel. This window die is absolutely gorgeous! I love the stitching and all of the window options on it. It can be used either horizontally (the way I used it on my card today) or vertically.
I just love this set! I've always been a big fan of pirate-themed stamps and I love how this one varies from most of the pirate-themed sets out there. (Affiliate links used.)
 |
| Arrgg! Pirates Stamp Set |
To start, I first created my background panel. To do so, I first stamped some dark brown ink onto a sheet of brown card stock using the Farmhouse Shiplap Background Rubber Cling Stamp.
I then used the newly released Peekaboo Window 3 Die to cut out this wood-grained paper panel. This window die is absolutely gorgeous! I love the stitching and all of the window options on it. It can be used either horizontally (the way I used it on my card today) or vertically.
I blended some Distress Ink (Cracked Pistachio and Peacock Feathers) onto a sheet of Neenah Solar White 80lb Card Stock to create the water. I then lightly spritzed this panel with water and blotted it dry with a paper towel. Once dry, I lined up where my circular windows would go and then used my MISTI to stamp and heat emboss some tiny fish with Super Fine Detail White Embossing Powder. Both the fish and the underwater foliage came from the Let's Be Mermaids Stamp Set.
I then made my sky by diecutting a cloud stencil from acetate using the Grass and Cloud Edger Die Set. I then blended over this piece lightly with some Tumbled Glass Distress Oxide Ink onto another sheet of Neenah Solar White 80lb Card Stock.
I then stamped my images with Copic friendly Black Ink onto a sheet of Neenah Solar White 110lb Card Stock and used Copic Markers to color all of my images.
Copic Colors Used:
- Reds: R02, R08, R46, R89, RV99
- Browns: E30, E33, E23, E25, E27, E29
- Greens: YG0000, G20, YG01, YG07, YG17, G28
- Yellow: Y13, Y15, Y17, E35
- Boots: E40, E41, E42, E43, E44, E47
- Blue Vest: B0000, B000, B04, B06
Lastly, I added some sparkly shaker embellishments after I closed of the windows with a piece of acetate and used 3D Foam Tape to create some space for the embellishments to move around.
You can check out the amazing February release from Whimsy Stamps HERE or check out all of the other beautiful stamps that they have to offer HERE.
You can check out the amazing February release from Whimsy Stamps HERE or check out all of the other beautiful stamps that they have to offer HERE.
Thanks so much for stopping by! If you liked this card and want some more crafty inspiration, don't forget to check out my INSTAGRAM feed!
Wishing you all a wonderful day and happy card making!
♥ Rachel
Wishing you all a wonderful day and happy card making!
♥ Rachel


Oh my gosh, this is fantastic! What a fun die! What terrific images and your coloring is so bold and bright. I love it. Great way to get the wood texture. I just adore how you used the circles as windows. Fantastic work!
ReplyDeleteThank you for your sweet comments and support, Jeanne! 🤗💗 So happy you like it!
Delete