PI So Much Love - MFT Stamps January Release Countdown - Day 3

Hello!  I hope you all are enjoying the January MFT Stamps Product Release Countdown!  We are now halfway through the countdown yet still have so many more amazing new products to share!


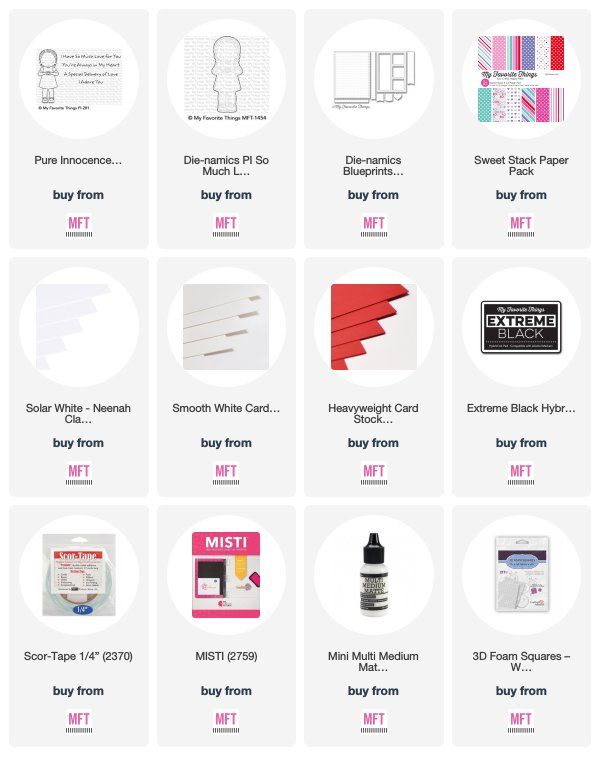
I'd like to introduce you to the newest Pure Innocence Stamp Set today called So Much Love.  I just love this set!  I combined this sweet little girl with the Lots of Hearts and Lots of Hearts Outlines Die-namics to create a fun little shaker card.


To start, I stamped my girl onto a sheet of Neenah Solar White 110lb Card Stock with Black Ink, colored her with Copic Sketch Markers and used the coordinating dies to cut her out.

Copic Colors Used:
  • Skin: E0000, E000, E21, E11, E04
  • Shoes: W4, W5, W7, W9
  • Purple Dress: V000, V01, V04, V06, V09
  • Pink Sleeves: RV0000, RV00, RV52, RV55


I then used the Blueprints 27 Die-namics to cut out a beautiful stitched scalloped rectangle from White Card Stock.  I also used the Lots of Hearts Die-namics to cut out some heart windows for which to place some shaker embellishments inside.


I used a patterned piece of paper from the new Sweet Stack Paper Pad behind the front panel of my card to add some more color.  Lastly, I heat embossed my sentiment with Fine Detail White Embossing Powder on a small strip of Electric Red Card Stock and adhered it to the front of my card.


Don't forget to stop by the MFT Blog to see the other products being showcased today and for some more inspiration from the rest of the team!  Also, leave a comment there for another chance to win a $75 MFT Gift Voucher.


I hope you enjoyed my card today!  Thank you so much for stopping by!  If you liked this card and want some more crafty inspiration, don't forget to check out my INSTAGRAM feed!

Wishing you all a a lovely day!

♥ Rachel


Cute Chemists - MFT January Release Countdown - Day 4

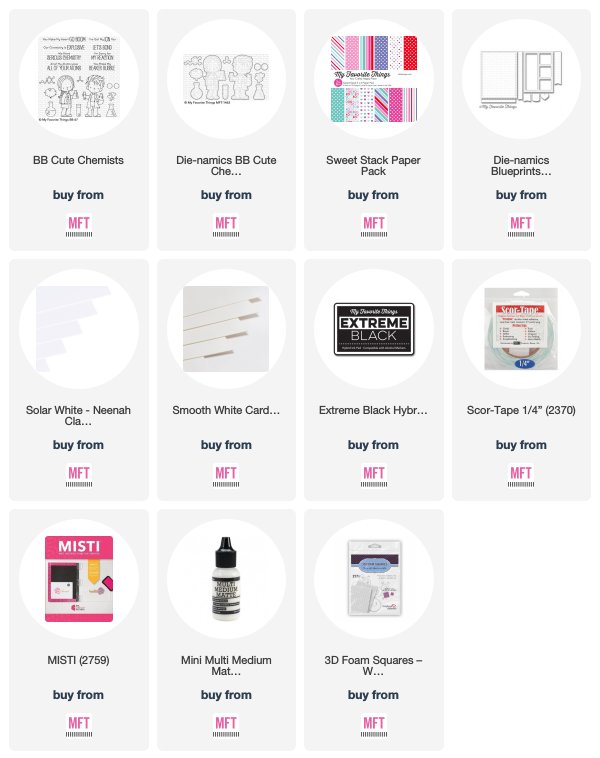
Hello friends!  I'm back with the second day of the MFT Stamps January Release Product Countdown!  Today, I am featuring the newest Birdie Brown Stamp Set called Cute Chemists.  I paired some of the images from this super cute set with the Blueprints 27 Die-namics to create a fun little Valentine's themed card.


All of my images were stamped with Copic friendly Black Ink onto Neenah Solar White 110lb Card Stock, colored with Copics and then die cut using the coordinating dies.


Copic Colors Used:
  • Skin: E0000, E000, E21, E11, E04
  • Reds: R14, R27, R46, R89
  • Greens: YG01, G20, YG07, YG17, G28
  • Blues: B000, B01, B02, B05
  • Whites: 0, C00, C01, C02, C04
  • Khaki Pants: E81, E84, E87, E89 


I added a fun sheet of patterned paper from the new Sweet Stack Patterned Paper Pad and a stitched white frame using Blueprints 27 Die-namics.  This is my favorite of all the Blueprints Die-namics since it gives you a number of different options and I absolutely love that stitched rectangular scallop die.


I added my images to the front of my card using some 3D Foam Adhesive Squares and then heat embossed my sentiment with Fine Detail White Embossing Powder onto a strip of Black Licorice Card Stock.


There are only four more days until this amazing new release becomes available!  Make sure to stop by the MFT Blog for more sneak peeks and inspiration and leave a comment there for another chance to win a $75 MFT Gift Voucher!


I hope you enjoyed my card today!  Thank you so much for taking the time to drop by!  If you liked this card and want some more crafty inspiration, don't forget to check out my INSTAGRAM feed!

Wishing you a lovely day and Happy Cardmaking!

♥ Rachel

Treat Tags with Hershey Nuggets - MFT January Release Countdown - Day 5

Hello MFT fans!  It's time to start the newest Product Release Countdown!  I honestly don't know how they keep coming up with so many new and amazing products each month, but I am so happy that they do!  You're going to LOVE this release!


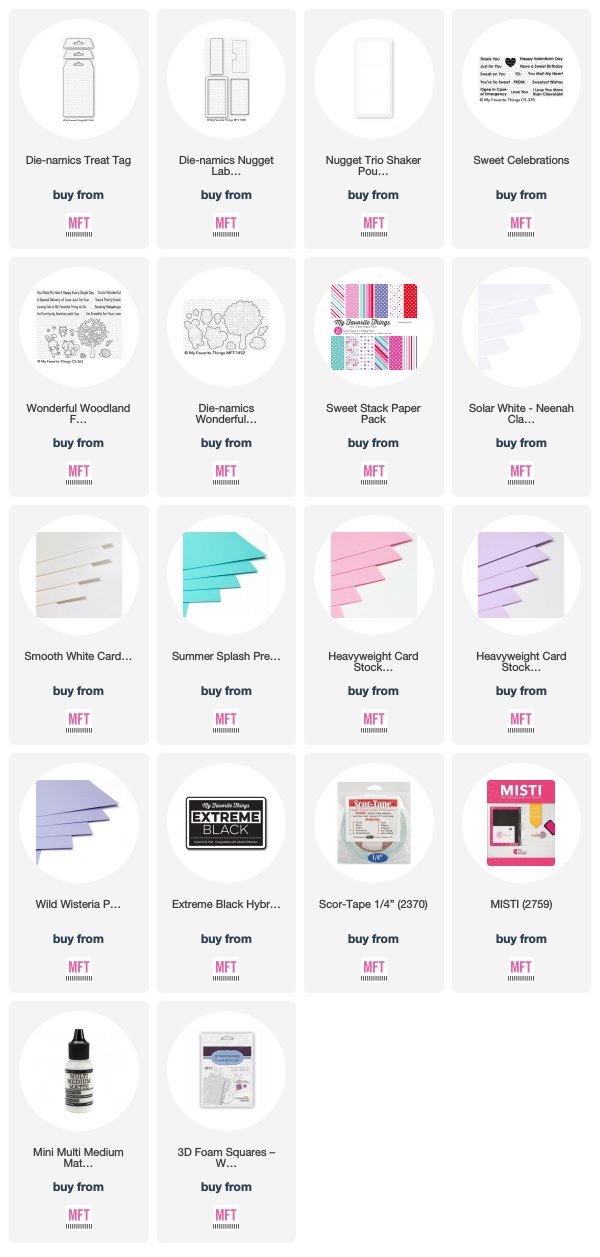
I'm featuring a couple of new products today.  I have created some fun and easy Valentine's Day Treat Tags filled with yummy Hershey's Chocolate with Almond Nuggets.  I used the new, large Treat Tag Die-namics and the gorgeous Sweet Stack Patterned Paper to first cut out the base of my tags.


I then used the Nugget Label, Window, & Frame Die-namics to cut a window in which to place the Nugget Trio Shaker Pouch.  Once the pouch was in place, I simply added my chocolate nuggets (they fit perfectly) and then adhered a backing to it from colored card stock.


Prior to attaching the back portions of my tags, I used the rip-die that comes with the Nugget Label, Window, & Frame Die-namics on the back of each tag.  This helps the recipient to access their candies easily without having to tear the entire tag apart.  I also stamped some fun sentiments on the back of each tag using the Sweet Celebrations Stamp Set.


Once this was finished, I then added my frame around the front of each nugget window and added a frilly top cut from White Card Stock to each tag.  I then added some ribbon and a few more sentiments from the Sweet Celebrations Stamp Set.  I used the smallest die from the Hearts in a Row Vertical Die-namics to cut out each sentiment before adding it to my tag with some liquid adhesive.


Lastly, I stamped some adorable images from the new Wonderful Woodland Friends Stamp Set with Black Ink onto some Neenah Solar White 110lb Card Stock.  I colored them with Copic Sketch Markers and used the coordinating dies to cut them out.  Once cut, I then adhered the images to each tag with some small 3D Foam Square Adhesives.


Stop by the MFT Blog for some more sneak peeks and crafty goodness!  Also, leave a comment there for a chance to win a $75 MFT Gift Voucher!


I hope you enjoyed my project today!  Thanks so much for stopping by!  If you liked these tags and want some more crafty inspiration, don't forget to check out my INSTAGRAM feed!

Wishing you all a lovely day!

♥ Rachel
Sweet Dreams - Little Blue Button Guest Design

Hello friends!  I'm very happy to be guest designing for Little Blue Button Stamps this month!  I have a beautiful digital stamp, called Sweet Dreams, to share with you today.


To start, I first downloaded my digi stamp and then printed it from my printer onto a sheet of Neenah Classic Crest Solar White 80lb Card Stock.  I then colored the image with Copic Sketch Markers.


Copic Colors Used:
  • Hair: E50, E51, E53, E55, E57
  • Lantern: B000, B01, B02, B06
  • Purple: V000, V01, V04, V06, V09
  • Moon: 0, C00, C1, C2, C4
  • Yellow: Y13, Y15, Y17, E35
  • Pink: RV0000, RV00, RV52, RV55
  • Skin: E0000, E000, e11, E21, E04


Once I was finished coloring, I used my Brother Scan and Cut to cut out my image.


Next, I created a galaxy background by blending some Distress Inks (Shaded Lilac, Seedless Preserves, Mermaid Lagoon, and Cracked Pistachio) onto a sheet of smooth white card stock.  Once done, I spritzed this panel lightly with water, blotted it dry with a paper towel, and splattered Opaque White Paint on top to resemble stars.


Lastly, I printed out my sentiment and trimmed it down to fit my card.

https://lbbstamps.com/

You can check out the other sweet digi stamps from Little Blue Button Stamps online store HERE.  Use the code rachel15 to save an additional 15% until January 31st!

 I hope you enjoyed my card today!  Thank you so much for stopping by!  If you liked this card and want some more crafty inspiration, don't forget to check out my INSTAGRAM feed!

Wishing you all a wonderful day and happy card making!

♥ Rachel

Kooky Monsters - Whimsy Stamps January Release

Hello everyone!  I have one more post to share with you today!  It's a brand new set of super cute monsters from Whimsy Stamps.  Affiliate links used.


This set is called Kooky Monsters.  I paired this cute little monster with the new Wonky Window 1 Die as well as a single balloon from the Sketched Elephants Clear Stamp Set.
 
Kooky Monsters

I love the new Wonky Window 1 Die.  It's perfect for creating a variety of different cards and it's great for shaker cards, paper piecing or providing different pops of color to your cards (as I did in my card today).


Wonky Window Die

To start, I used the Wonky Window Die and diecut it from some White Card Stock.  I then used some Distress Oxides to blend each window piece and glued them back into place once I had glued my window frame to my A2 sized card base.


  • Red: Ripe Persimmon and Candied Apple
  • Orange: Carved Pumpkin, Wild Honey, and Ripe Persimmon
  • Green: Twisted Citron and Mowed Lawn
  • Blue: Stormy Sky and Blueprint Sketch


I also added another monster to the inside of my card.  For my monster images, I stamped them with Black Ink onto a sheet of Neenah Solar White 110lb Card Stock.  I then colored them with Copic Sketch Markers and cut them out.

  • Yellows: Y000, Y13, Y15, Y17, E35
  • Greens: G20, YG01, YG07, YG13, YG67, G28


I love this cute little monster with all of his birthday candy!

https://whimsystamps.com/?aff=53

 You can check out the rest of the super cute products from the Whimsy Stamps January Release HERE.

I hope you enjoyed my card!  Thank you all so much for dropping by!  If you liked this card and want some more crafty inspiration, don't forget to check out my INSTAGRAM feed!

Wishing you all the most wonderful day!

♥ Rachel

Kooky Monsters

Wonky Window 1 Die
Sketched Elephants

MFT Wednesday Sketch Challenge #418

Hello crafty friends!  Today starts a brand new Sketch Challenge from MFT Stamps.  I know I have said it before, but I just love these challenges.  It's so much fun to try to think of something that will fit each sketch!


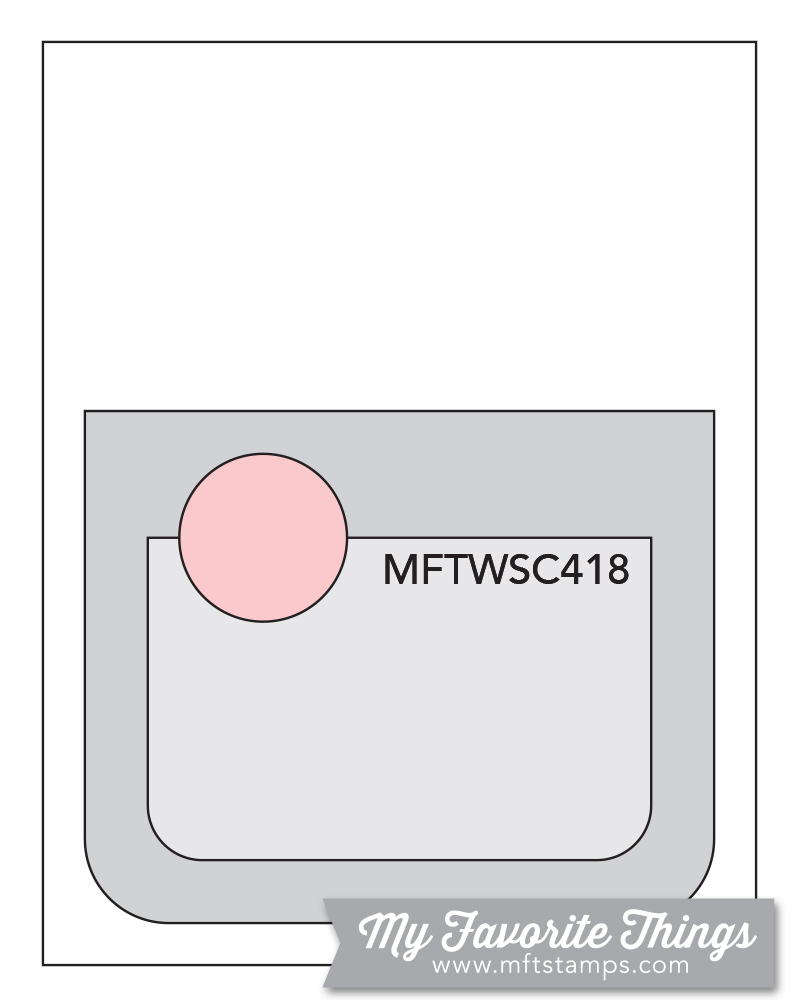
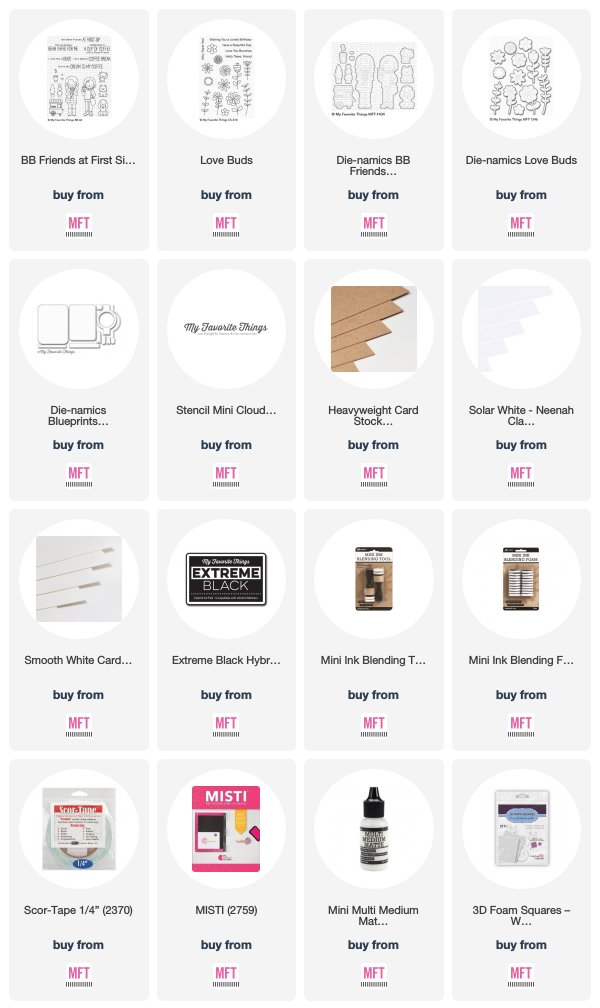
For my take on this week's sketch, I used the latest stamp set from Birdie Brown.  It's called Friends at First Sip and it's one of my favorite sets!  I followed the main pattern of the sketch and used some Kraft Card Stock and Blueprints 31 Die-namics to create the bottom layer.


I then blended some Twisted Citron and Mowed Lawn Distress Inks to create my second layer.  I wanted this piece to resemble grass, so I used the Blueprints 31 Die-namics to cut it out and then the Grassy Fields Die-namics to trim the top.


I added some clouds using some Stormy Sky Distress Ink and the Mini Cloud Edges Stencil.  I then stamped my image with Copic friendly Black Ink onto a sheet of Neenah Solar White 100lb Card Stock (my favorite) and colored them with Copics.  In addition to the Birdie Brown Set, I also used the Love Buds Stamp Set to add a row of sunflowers.


Here's a look at sketch 418.  I encourage you to come play along with us and challenge yourself for a chance to win a $50 MFT Gift Voucher!  Head on over to the MFT Challenge & Inspiration Blog to see the other designs created by the rest of the participating team members.


I hope you enjoyed my card today!  Thanks so much for stopping by!  If you liked this card and want some more crafty inspiration, don't forget to check out my INSTAGRAM feed!

Wishing you all a wonderful day and happy card making!

♥ Rachel

Bobbi the Bear - Technique Tuesday January Animal House

Hello crafty friends!  I hope your New Year is off to a wonderful start!

I have a brand new Animal House stamp set from Technique Tuesday to share with you today!  I'd like to introduce you to Bobbi the Bear.


As you can see, Bobbie has gotten himself into quite the pickle today.  I love how he seems to be looking at us with a befuddled expression on his sweet little face.

Bobbi the Bear

This stamp; set comes with a bunch of cute sentiments and fun little add-ons.  To start, I first stamped my images onto a sheet of Neenah Classic Crest Solar White 110lb Card Stock with Copic friendly black ink.  I then used Copic Sketch Markers to color them.


Colors Used:

  • Yellows: Y00, Y26, E23
  • Brown: E30, E31, E23, E25, E27, E29
  • Blue Honey Pot: B91, B93, B95
  • Black: W5, W7, W9


I used the coordinating dies to cut out my images and then set them aside to work on a simple ink-blended background.  For the background, I masked the bottom portion of the card and then blended some Distress Inks (Tumbled Glass and Mermaid Lagoon) to the top portion to create a sky.


Once the sky was complete, I removed the mask from the bottom and added it right above the area where the grass meets the sky.  For the grass, I simply blended some Twisted Citron and Mowed Lawn Distress Inks to create a nice green blend.

Technique Tuesday

You can check out Bobbi the Bear and the other newly released stamp sets from Technique Tuesday HERE.  To learn on how to save on all of the Animal House Stamp and Die Sets, you can check out the Animal House Membership Program HERE.

Thanks so much for stopping by!  If you liked this card and want some more crafty inspiration, don't forget to check out my INSTAGRAM feed!

Wishing you all a very Happy New Year!

♥ Rachel