MFT Just Add Color

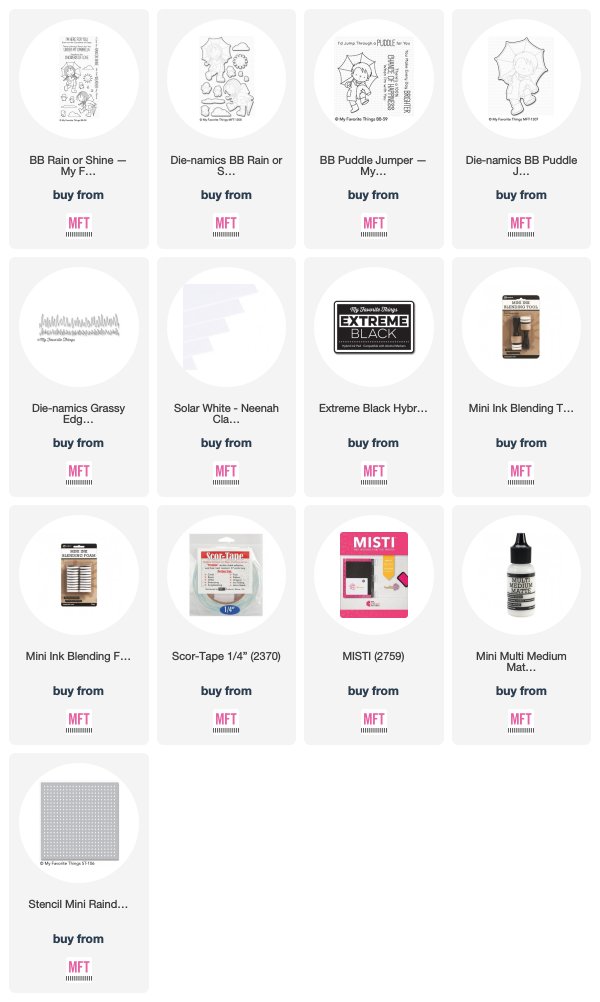
Hello friends!  Today I get to share a fun post that's all about adding color to your images or projects.  Today, I colored two sets of stamps from the April MFT release: BB Puddle Jumper and BB Rain or Shine.


I used the BB Puddle Jumper Image to create this fun card that is full of color


I absolutely love both of these sets and they were a lot of fun to color.


The possibilities of what you can do with these images are almost endless and very versatile.  I stamped all of my images with black ink onto Neenah Classic Crest Solar White 110lb Card Stock and colored them with Copics.  I will list the colors used underneath each photo.  


  • Skin: E000, E00, E21, E11, E04
  • Hair: W5, W7, W9
  • Boots: C1, C3, C5, C7
  • Jacket: G20, YG07, G19, G29
  • Ducks: Y02, Y13, Y15, Y35
Umbrella Colors

  • Green: G20, YG07, G19, G29
  • Red: R05, R14, R46, R59
  • Orange: YR02, YR04, YR07, YR18, E23
  • Yellow: Y06, Y15, E23
  • Violet: V01, V04, V06, V09
  • Blue: B21, B23, B24, B26
  • Indigo: BV11, BV17, B69


Skin: E000, E00, E21, E11, E04

Hair: E55, E57, E59, E49
Boots: 0, C00, C1, C3, C5
Jacket: Y11, Y15, Y17, E23
Pants: B0000, B01, B02, B04, B05

Umbrella Colors are the same as the boy's umbrella listed above


Skin: E000, E00, E21, E11, E04
Coat: BG000, BG10, BG11, BG13, BG18
Boots: RV10, RV11, RV13, RV14
Umbrella: Y11, Y15, Y17, E35
Hair: E55, E57, E59
Pants: T2, T4, T7


Thanks so much for stopping by!  Head on over to the MFT Blog to see what the rest of the team has created!

Happy Stamping!

Rachel
MFT April New Product Launch!

Hello everyone!  The moment you have been waiting for is finally here!  All of the new April Products are now available in the MFT Boutique!  Also, if you would like the chance to win 1 of 2 $100 MFT Gift Vouchers, head on over to the MFT Blog to leave comments on the other DT Member's Product Release Blog Post as an entry for each comment.


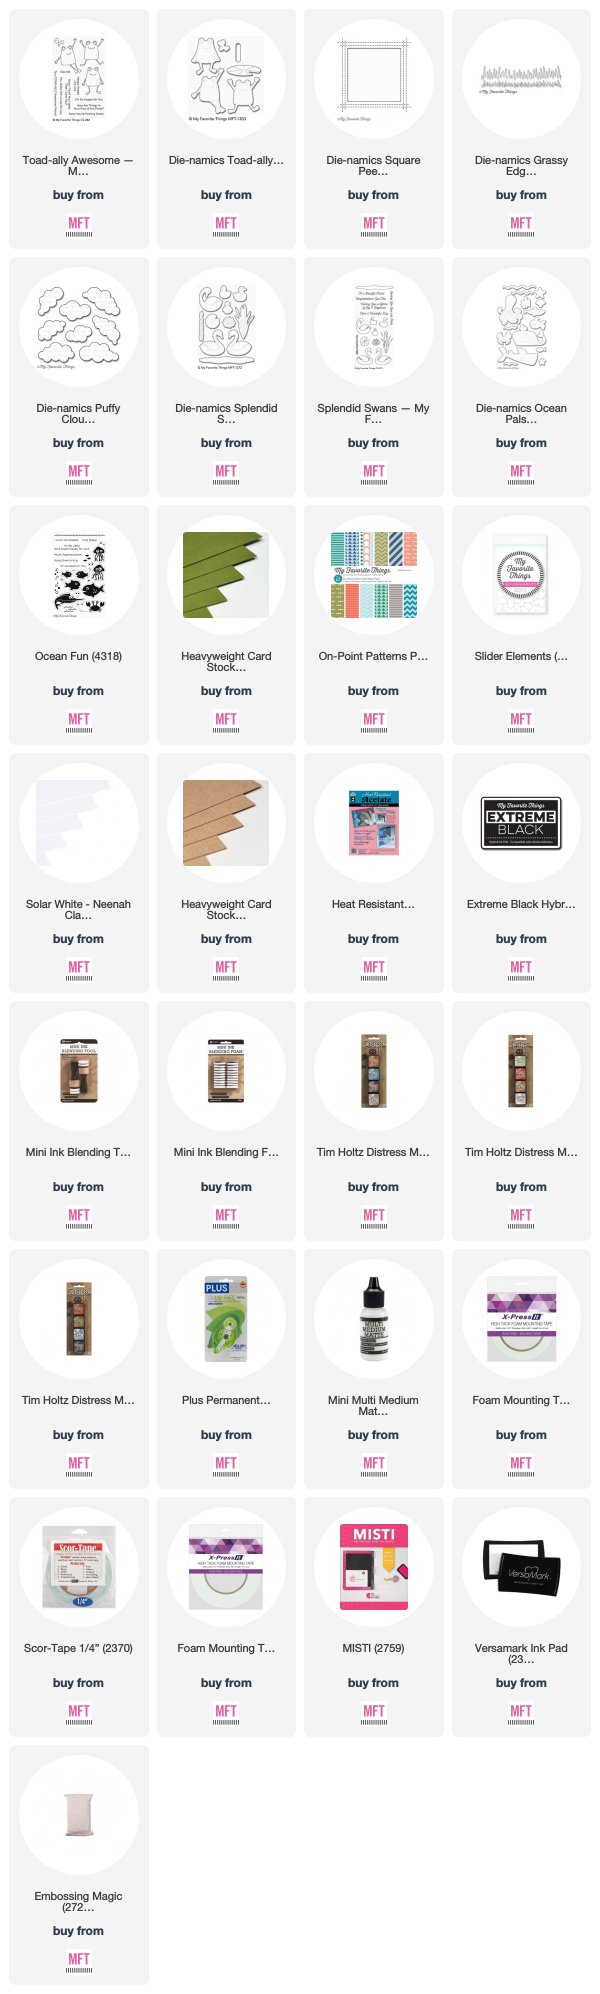
My card today features the new TOAD-ally Awesome Stamps & Die-namics.  I used them to create a fun, interactive 3D Box Card.


Just pull on the tab and another toad jumps out of the reeds!


It goes perfectly with the sentiment that I used: "I'm So Hoppy For You".


To start this card, I first created the box.  I used this tutorial from Splitcoaststampers as a guideline but made a few size adjustments.  Once done, I diecut a window in the front of my box card with the Die-namics Square Peek-a-Boo Window. 


I then glued a piece of acetate on the back side of the window to help keep the base sturdy when folded.


To create the hidden slider element, I used the slider die that comes with the Toad-ally Awesome Die-namics and diecut it twice into the lower portion of my back "sky" panel.  This back panel was NOT attached to my box when I diecut it (otherwise you will have a large hole in the back of your card).  For the sky, I blended some Tumbled Glass and Cracked Pistachio Distress Inks onto some smooth white card stock and spritzed it with some water.  I used some foam tape on the back of this panel to hold my slider in place.  If you look at the last photo, this is what it looks like when glued to the back of the card.


I then used 3 pieces of acetate attached together with some Vellum Glue Tape so that it would still be mostly clear.  I used acetate so that it wouldn't be very noticeable when you pulled the toad up from the reeds.  I attached the acetate to the back of the toad on one end and to a slider element on the other.  The slider element needs to also be attached to the pull-strip with some strong adhesive so that nothing falls apart when pulling on it.


To create my water scene, I simply hand cut the bottom of the lake from some Kraft Card Stock and blended it with Tea Dye and Gathered Twig Distress Inks to give it some depth.  I used some Die-namics from the Ocean Pals set for some underwater vegetation and heat embossed some fish from the Ocean Fun Stamp Set with some Orange Embossing Powder.  These other sets aren't really necessary, but since I had them in my collection, I decided to use them.


The grass came from the Grassy Edges Die-namics and the reeds from the Splendid Swans Set.


All of the brand new products that you have seen over the past 5 days are available NOW in the MFT Boutique!  Also, after you finish shopping, don't forget to  head on over to the MFT Blog for more crafty inspiration and to comment on each DT Member's Product Release Blog Post for a chance to win 1 of 2 $100 MFT Gift Vouchers!  You never know, one of the lucky winners could be YOU!

Thanks for dropping by!  Happy Shopping!

Rachel


MFT April Release Countdown Day 1!

Today is the last day of sneak peeks for the newest MFT Release Product Launch Day!  That means that all of these amazing products will be available to you tomorrow night at 9:00 PM EST!


My card today features the All About Mom Stamp Set combined with the new Bold Blossoms Stamps & Die-namics.  I started this card by first stamping my flowers & leaves.  I used combinations of Pink Lemonade, Cotton Candy, Razzle Berry and Cranberry Cocktail Premium Dye Ink for my flowers and Sour Apple & Factory Green Premium Dye Ink for my leaves.  I used the coordinating dies to cut out my images and a white gel pen to add some details.

For the background, I blended some Cracked Pistachio and Mermaid Lagoon Distress Oxide Inks onto some smooth white card stock and then splattered some opaque white paint and Mermaid Lagoon Distress Ink on top.  I then let this panel dry before I cut it with the Die-namics Snow Drift Vertical Cover Up.  I then used the outside frame of this diecut to help me glue the inside pieces of this cut to a separate piece of white card stock.  I then removed the frame that I had used as a guide. 


I adhered this panel to my A2 sized card base that I created from a sheet of Neenah Desert Storm 100 lb Card Stock.  I used some 3D foam squares to attach my flowers and then added some Ivory Seashell Nuvo Crystal Drops to their centers.  I love the Ivory Seashell Nuvo Drops and use them quite often.  Lastly, I heat embossed my sentiment with some Super Fine Detail White Embossing Powser onto some Jellybean Green Card Stock and then die cut it with the Essential Fishtail Sentiment Strips Die-namics. 


I hope you are loving the April Release as much as I did!  All new item links below will not be available until the Product Launch goes live tomorrow night at 9:00 PM EST.


Make sure to stop by the MFT Blog for another chance to win an MFT Gift Voucher and to see what amazing designs the rest of the team has come up with.

Thanks for dropping by!  See you tomorrow at 9 PM!

Rachel

Light it Up Blue for Autism Awareness

Hello friends!  Today is Autism Awareness Day and My Favorite Things is participating in a special blog hop to help raise awareness for autism.  Card makers everywhere will be sharing their blue cards today!


Here is the blue card that I created for the hop.  This card features the Stitched Flowers Die-namics combined with the Amazing Stamp Set and Doubly Amazing Die-namics.  I hadn't realized until after I had created my card that this "Amazing" word-die set has been retired, but you can still find these sets from other approved retailers.


   To start, I first blended two different pieces of smooth white cardstock with some blue Distress Inks (Salty Ocean, Mermaid Lagoon and Chipped Sapphire).  I then splattered some watered down Chipped Sapphire Distress Ink and Opaque White Paint onto one of these panels and let them both dry.  I diecut one with the Stitched Rectangle STAX Die-namics and the other I diecut some beautiful blue and white stitched flowers.


 I first stamped my sentiment with black ink onto my panel before adhering the flowers.  I used a piece of the beautiful Cornflower Prestige Card Stock to create an A2-sized card base.  I then added my stitched panel to the base with some 3D foam tape.  In order to give the flowers dimension, I used some 3D foam squares to attach them to my card.  Lastly, I die cut the word amazing 4 times and glued three of them together.  Before gluing the 4th piece to the top of these, I heat embossed it with some Ranger Liquid Platinum Embossing Powder (an absolute favorite of mine!) to give it some shine.
 

 I hope you enjoyed my card today!  If you'd like to support autism awareness today, wear something blue!  Make sure you head on over to the MFT Challenge Blog on details on how you can participate in this wonderful blog hop and for the chance to win some of the amazing prizes available!

Thanks so much for dropping by!  Have a wonderful day!

Rachel
   

MFT April Release Countdown Day 2!

Hello crafty friends!  There are only two more days until the new My Favorite Things release becomes available!  And there's still so much more to reveal!


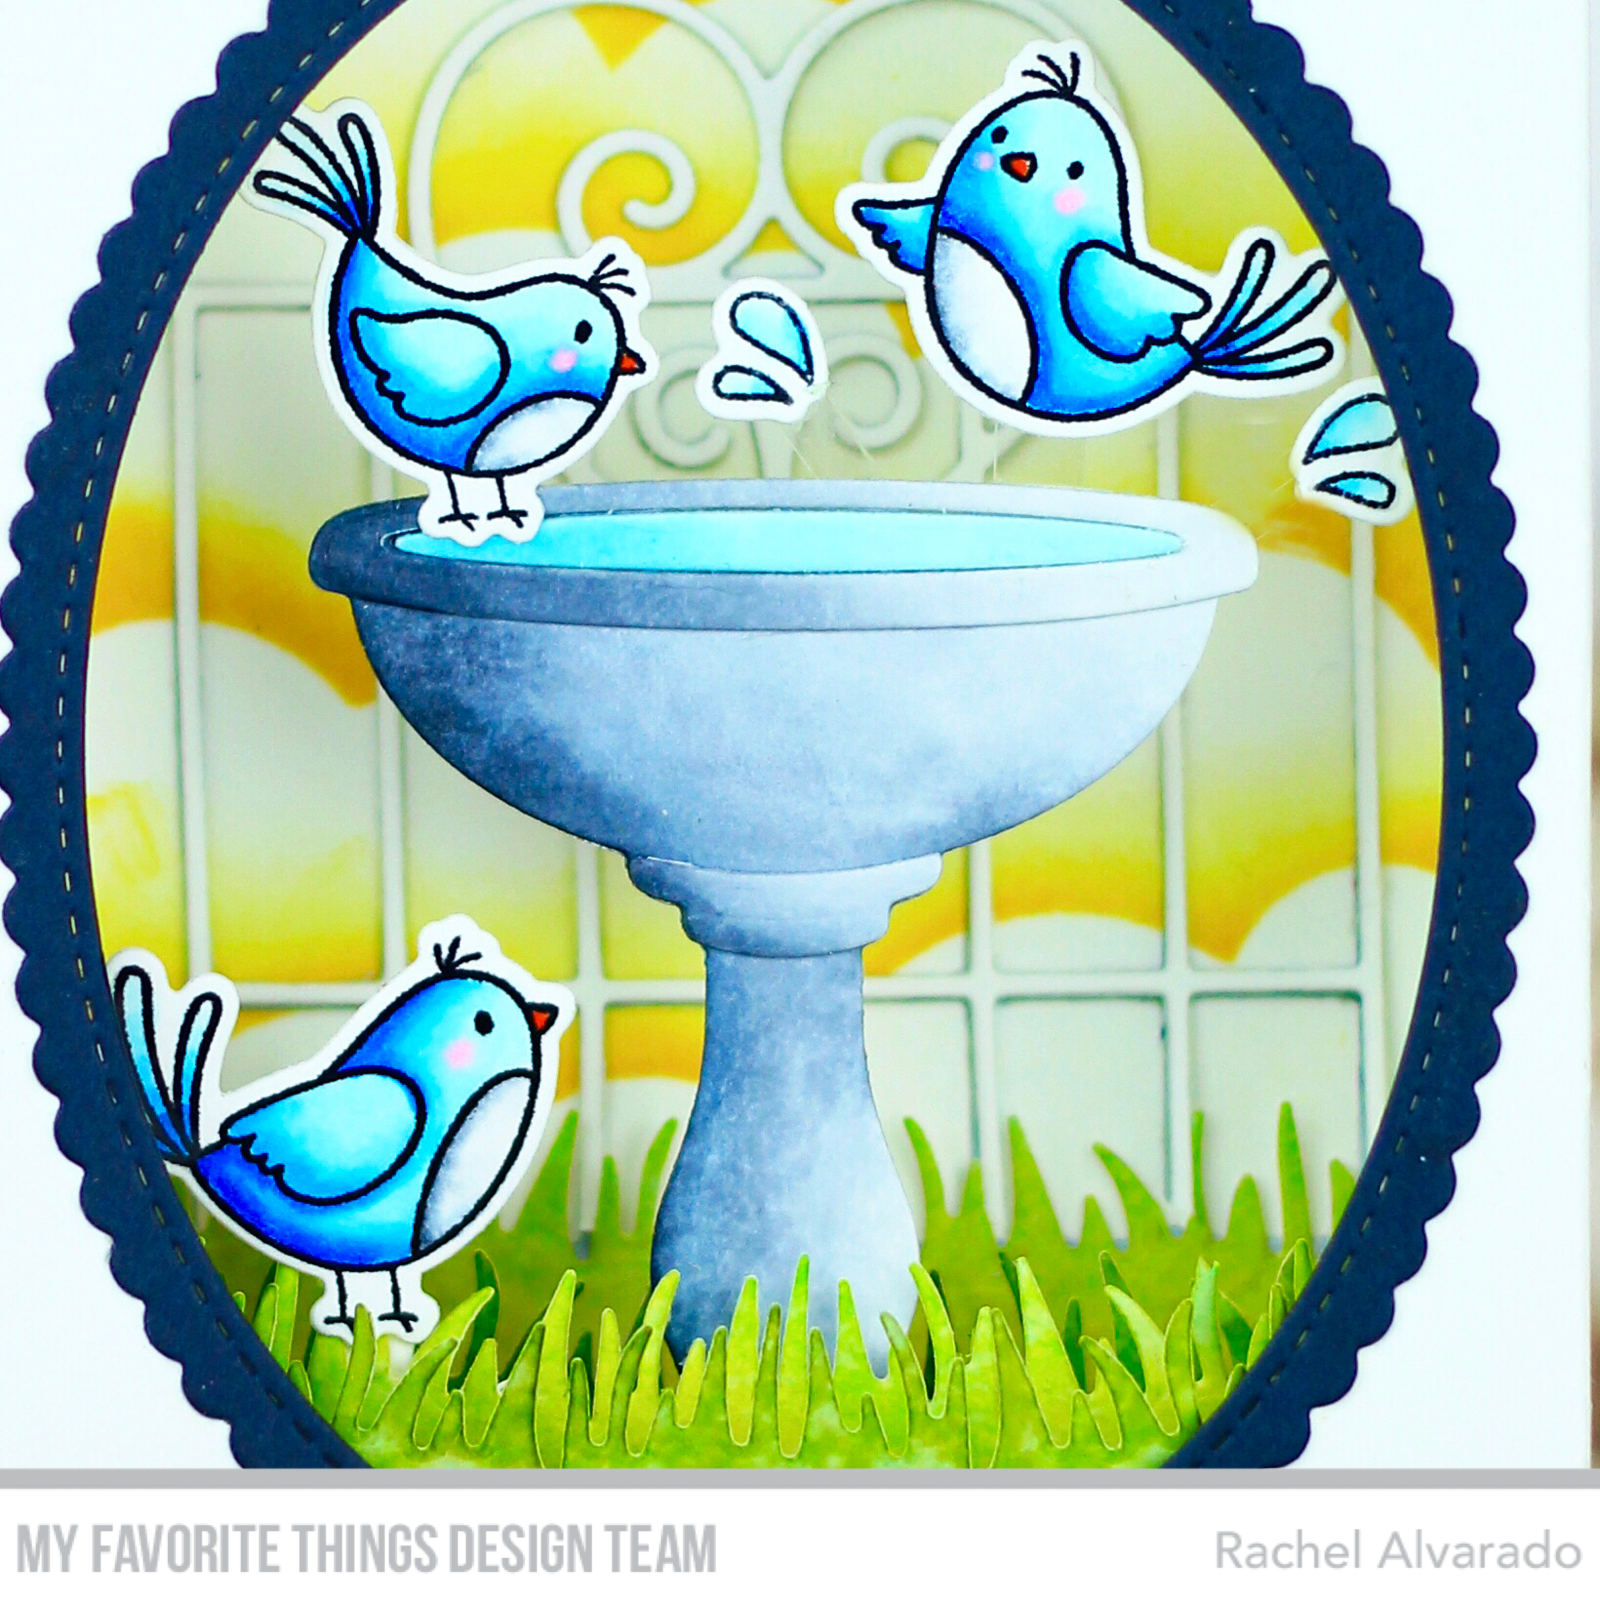
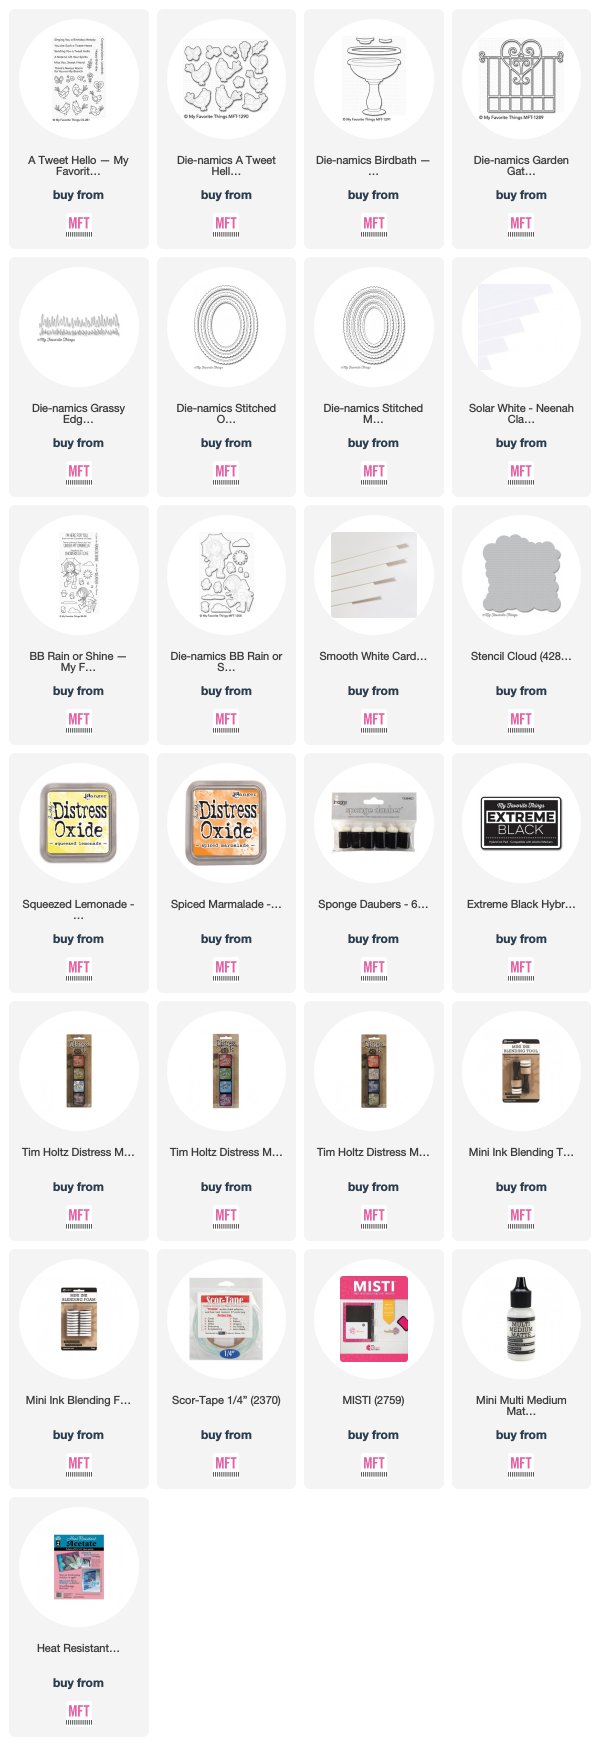
My card today features the Tweet Hello Stamp Set combined with both the new Birdbath and Garden Gate Die-namics.  These birds are super sweet!  I created a shadow box card that measures 3.75" x 5" when opened.  When folded, it fits perfectly into a 5"x5" square envelope.  I will list all measurements on how to create this style of card at the very bottom of this post.  Shadow box cards are fairly easy and so much fun to create.


 For my background scene, I used the Cloud Stencil with some Squeezed Lemonade & Spiced Marmalade Distress Oxide Inks.  I used two sponge daubers to apply the ink over my stencil onto smooth white card stock.  The smoother the card stock, the easier the ink will blend.  I then added some grass using the Grassy Edges Die-namics.  Before I die cut the grass, I blended some green Distress Inks (Crushed Olive, Mowed Lawn and Peeled Paint) onto another piece of smooth white card stock and spritzed it with a little bit of water and let it dry.  I then die cut a white garden gate using the Garden Gate Die-namics and attached it to the back panel of my card.


I die cut my fountain from some Neenah Classic Crest Smooth White 110lb Card Stock and colored it with Copics (0, C00, C2, C4, C7).  For my birds, I also stamped them onto the same Neenah Card Stock with black ink and colored them with Copics (B0000, B00, B02, B04 and B06).  I attached two of my birds directly to the card and I used some clear acetate to attach the flying bird and the little water drops (which came from the new BB Rain or Shine Set).


Make sure to stop on over at the MFT Blog to see the amazing creations that the rest of the team has created and for some other product sneak peeks!  Plus, don't forget to comment on the MFT Blog for a chance to win an MFT Gift Voucher!


All products and new product links will be available on Tuesday, April 3rd at 9:00 PM EST!

Thanks for stopping by!

Rachel


Shadow Box Card Measurements
  • Cut 2 pieces of card stock @ 5" x 6.25"
  • Score on the long side @ 1.25" &  5" (these will be the outside of the box)
  • Fold back on all score lines and attach both pieces of paper together on only one side (one fold overlapping the other).
  • Then add the inside shelves 
  • For the shelves, cut 3 pieces of card stock at 4 3/8" long. These can be at whatever height you want them (varying heights or the same)
  • Score each piece at 3/8" & 4"

MFT April Release Countdown Day 3!

Hello crafty friends!  I am so excited to share with you the newest Pure Innocence Stamp Set from My Favorite Things.  It's called "Birthday Pinata" and it's just the cutest!


For my card today, I created a fun little birthday party scene.  Pinatas were one of my most favorite things to have at a birthday party when I was little, so this set brings back a lot of fun memories.  I combined this set with a tree limb from the Harvest Buddies Stamp Set and a cute little bunny from the Sweet Forest Friends Stamp Set.  I thought that the branch was a perfect addition from which to hang the pinata.


For my background, I diecut a piece of smooth white card stock with the Stitched Rectangle STAX Die-namics Set 2 and then lightly blended some Salty Ocean Distress Oxide Ink onto this piece with a Clarity Stencil Brush.  I then colored in some grass with some green Copic Sketch Markers (YG0000, YG01, YG11, YG25).


I stamped my images with black ink onto some Neenah Classic Crest Solar White 110lb Card Stock and then colored them with Copics (all colors used will be listed at the very bottom of this post).  I then used the coordinating dies to cut out my images.  I adhered them to my card with some 3D foam squares for some added dimension and used a piece of twine to "hang" my pinata.  Before I adhered everything, I stamped my sentiment with some black ink.


Head on over to the MFT Blog for more sneak peeks on other products being revealed today and to see the amazing projects the rest of the team has created.  Also, don't forget to leave a comment there for a chance to win an MFT Gift Voucher!


All of the links (below) to any new products will not be available until Tuesday, April 9th at 9:00 PM EST.

Thanks so much for stopping by!  Have a blessed Easter weekend!

Rachel


    Copic Colors Used

  • Skin: E21, E11, E13, E23
  • Hair: E44, E49, N8
  • Shoes: E74, E77, E79
  • Bunny: 0, C00, C2, C4 (blush RV10)
  • Branch: E43, E44, E25, E27, E29
  • Leaves: YG01, YG07, YG17, G19
 Copic Colors Used In Pinata, Candy and Girl's Dress
  • Reds: R14, R46, R59, RV99
  • Greens: YG01, YG06, YG09, G19
  • Teals: B01, B02, B05, B06
  • Yellows: Y04, Y06, Y15, E31


MFT April Release Countdown Day 4!

Hello friends!  It's only four days until the new My Favorite Things release becomes available!  I am so excited to share the newest Birdie Brown Stamp Set called "Rain or Shine".


To create my card, I first started with the background.  Using a piece of smooth white card stock, I lightly blended some Salty Ocean Distress Oxide Ink with a Clarity Stencil Brush.  I then spritzed this with a little bit of water and let it dry.  Once dry, I then die cut this piece with the Double Stitched Rectangle Die-namics. I then used some Pearl Texture Luxe Metallic Paste on top of the new Mini Raindrops Stencil and added a few raindrops.


I then added a piece of patterned paper from the Proper Pinstripes Paper Pack to my A2 card base and stamped my sentiment in black ink.  I used some 3D foam tape to adhere my rainy scene background on top of the patterned paper.  I then stamped my images onto smooth white card stock and colored with Copics.

Colors Used:
  • Skin: E000, E00, E21, E11, E04
  • Coat: BG0000, BG10, BG13, BG 18
  • Boots: RV10, RV11, RV13, RV14
  • Umbrella, Duck & Sun: Y11, Y15, Y17, E35 
  • Hair: E55, E57, E59
  • Clouds: 0, C00, C0, C3, C4

 I used the coordinating dies to cut out my images and then added to my card with some 3D foam squares.  

For more crafty inspiration and sneak peeks, make sure to stop by the MFT Blog.  Also, leave a comment there for a chance to win an MFT Gift Voucher!


All new products will be available on Tuesday, April 3rd at 9:00 PM EST.  All links (below) for new products will be available at that time.

Thanks so much for stopping by!  Wishing you all a wonderful weekend!

Rachel