
Hello crafty friends! There are only two more days until the new My Favorite Things release becomes available! And there's still so much more to reveal!

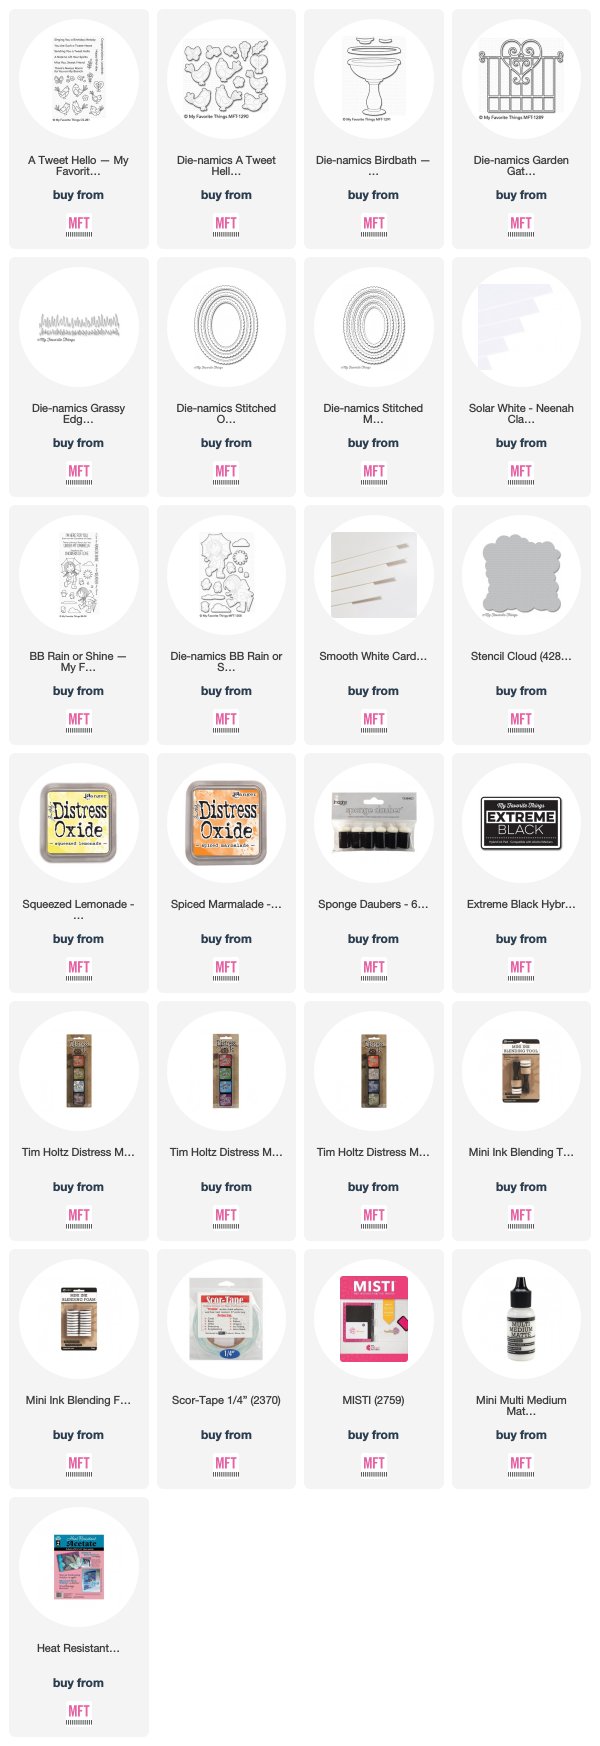
My card today features the Tweet Hello Stamp Set combined with both the new Birdbath and Garden Gate Die-namics. These birds are super sweet! I created a shadow box card that measures 3.75" x 5" when opened. When folded, it fits perfectly into a 5"x5" square envelope. I will list all measurements on how to create this style of card at the very bottom of this post. Shadow box cards are fairly easy and so much fun to create.

For my background scene, I used the Cloud Stencil with some Squeezed Lemonade & Spiced Marmalade Distress Oxide Inks. I used two sponge daubers to apply the ink over my stencil onto smooth white card stock. The smoother the card stock, the easier the ink will blend. I then added some grass using the Grassy Edges Die-namics. Before I die cut the grass, I blended some green Distress Inks (Crushed Olive, Mowed Lawn and Peeled Paint) onto another piece of smooth white card stock and spritzed it with a little bit of water and let it dry. I then die cut a white garden gate using the Garden Gate Die-namics and attached it to the back panel of my card.
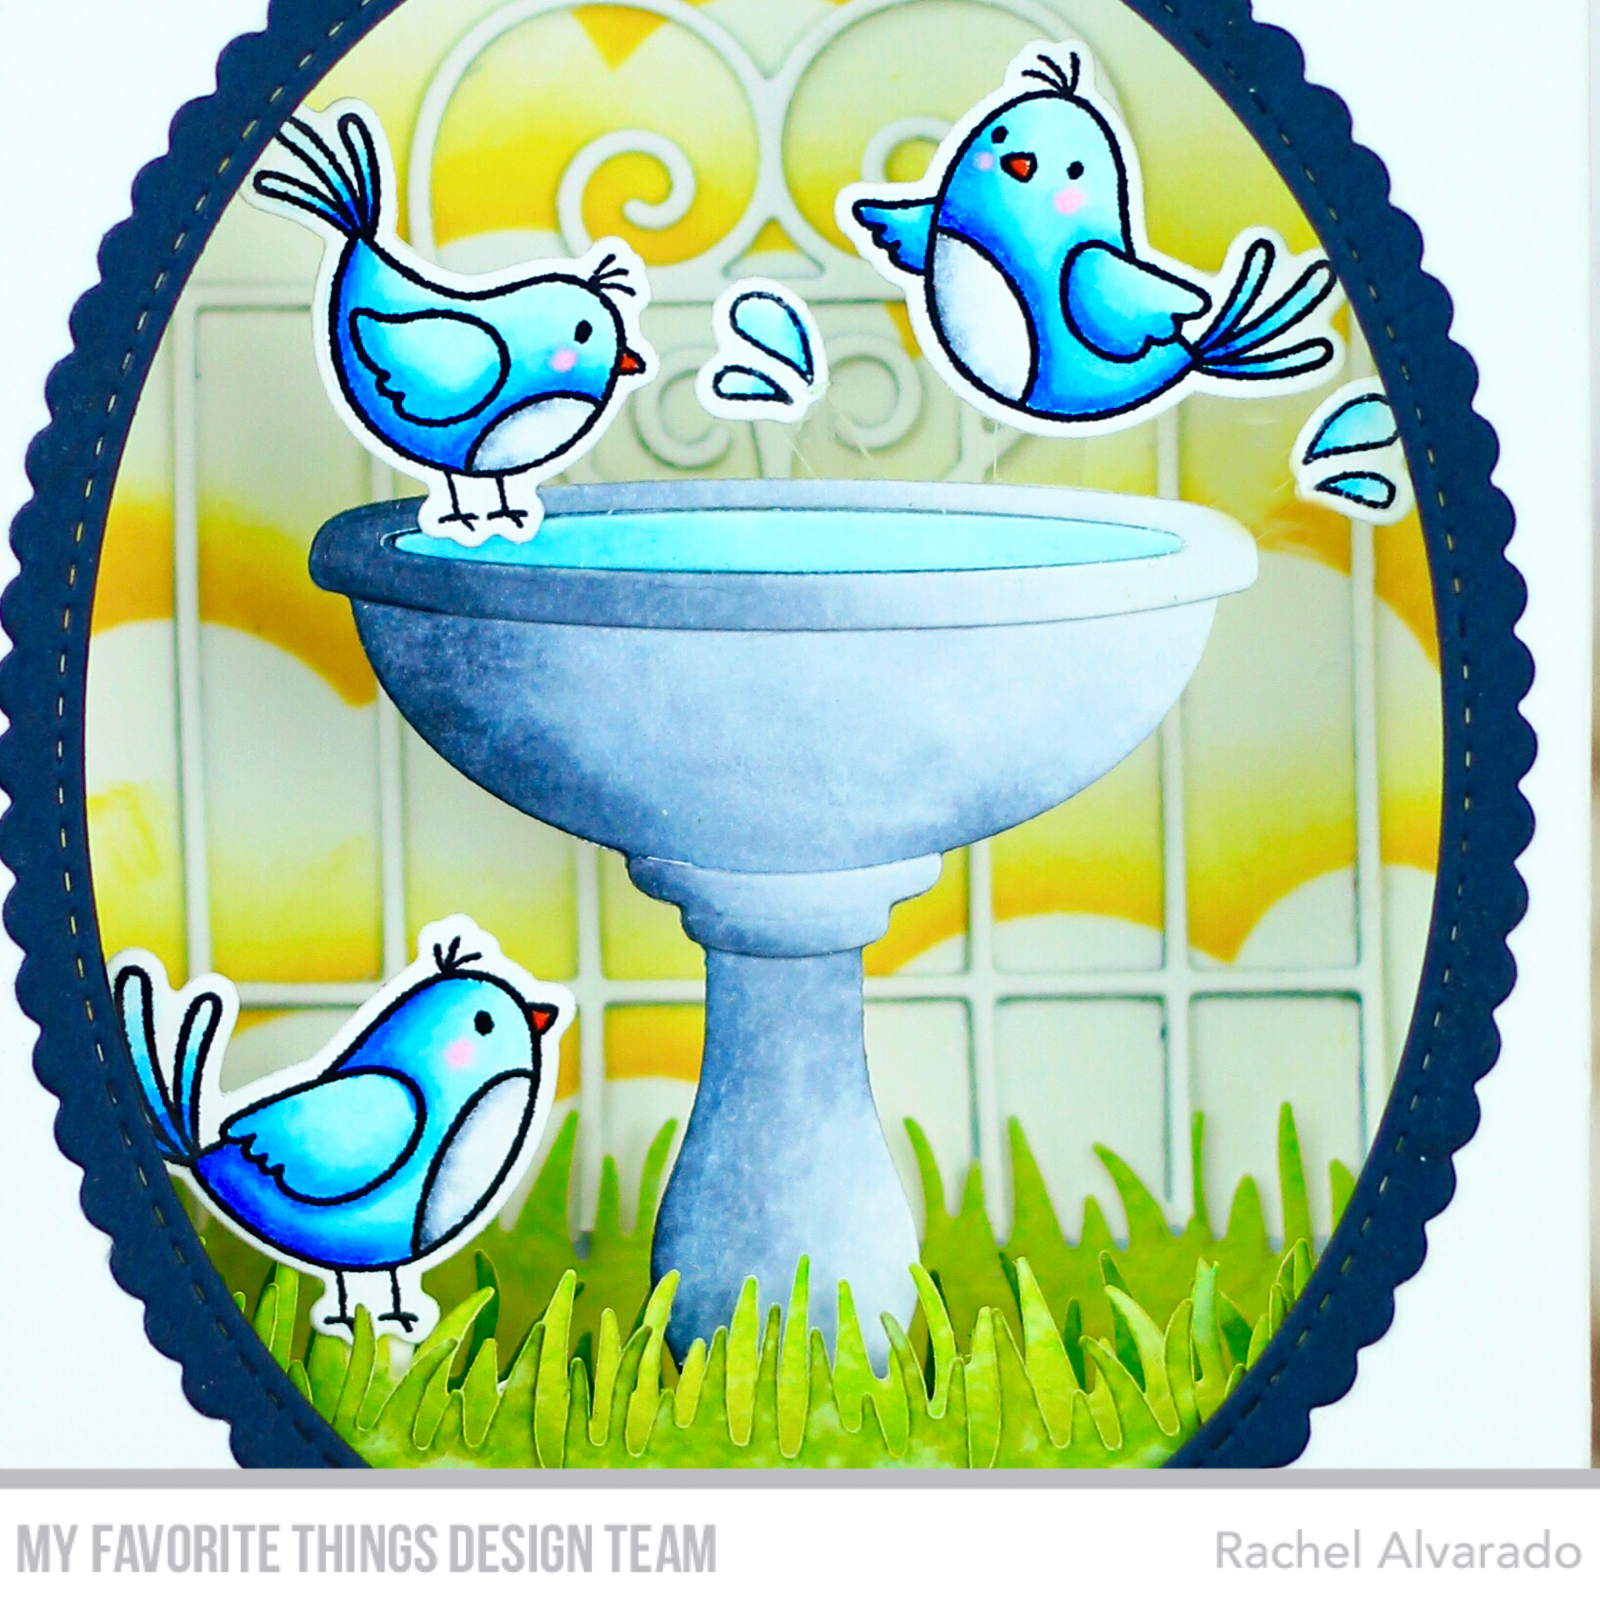
I die cut my fountain from some Neenah Classic Crest Smooth White 110lb Card Stock and colored it with Copics (0, C00, C2, C4, C7). For my birds, I also stamped them onto the same Neenah Card Stock with black ink and colored them with Copics (B0000, B00, B02, B04 and B06). I attached two of my birds directly to the card and I used some clear acetate to attach the flying bird and the little water drops (which came from the new BB Rain or Shine Set).
Make sure to stop on over at the MFT Blog to see the amazing creations that the rest of the team has created and for some other product sneak peeks! Plus, don't forget to comment on the MFT Blog for a chance to win an MFT Gift Voucher!

All products and new product links will be available on Tuesday, April 3rd at 9:00 PM EST!
Thanks for stopping by!
Rachel
Shadow Box Card Measurements
- Cut 2 pieces of card stock @ 5" x 6.25"
- Score on the long side @ 1.25" & 5" (these will be the outside of the box)
- Fold back on all score lines and attach both pieces of paper together on only one side (one fold overlapping the other).
- Then add the inside shelves
- For the shelves, cut 3 pieces of card stock at 4 3/8" long. These can be at whatever height you want them (varying heights or the same)
- Score each piece at 3/8" & 4"
I love this card! It is my favorite so far, the colors are great they really jump out at you
ReplyDeleteThank you so much, Colleen! I appreciate your sweet comments! ☺️💗
DeleteYour card is so darn cute. I love how you put this together, just wonderful. Thanks for sharing your project with us.
ReplyDeleteThank you, Judy! I’m so happy you like it! ☺️💕
DeleteLove it. Thanks for sharing how you did this. Saving this so I can try to make one of these too.
ReplyDeleteThank you, Wendi! I’d love to see what you create! ♥️
Delete