
Hello everyone! I am here today to share a few tips and/or tricks with you using the newly released Party Penguins Stamps Set from MFT Stamps.

I have been creating a lot more slimline cards lately but they really are so much fun to do! I love how it gives you a lot more room to create a scene without looking too bulky.

I have a few tricks to share with you today. The first is a quick and easy method to bring character and more dimension to your penguins.

Here is an image of what the penguins first looks like when you stamp them with black ink.

To give the penguin a little more dimension, I took some Cool Grey Copic Sketch Markers (0, C00, C0, C1, C2, C3, C4) and blended them in a circular motion over the penguin's belly, going from darkest to lightest from the outside in.

Secondly, if you want to add some cartoon-like eyes, it's simple on this type of image which resembles an image that is done with no-line coloring. Following a fun technique that I learned from the ultra-talented Jane Allen, I first
blended some circles around the stamped black eyes with the blue B01 Copic Sketch Marker
once the belly of the penguins were dry.

Once this was dry, I then blended dark circles for the pupils using W8.

Lastly, I added some highlights with a White Gel Pen.


I learned this trick the hard way after my first set of penguins with this stamp set were way off. If you want feet that are perfectly lined up with the stamped feet, simply diecut your images FIRST and then stamp the feet into the white space for a perfect fit.

Now these penguins are ready to be added to my card base.

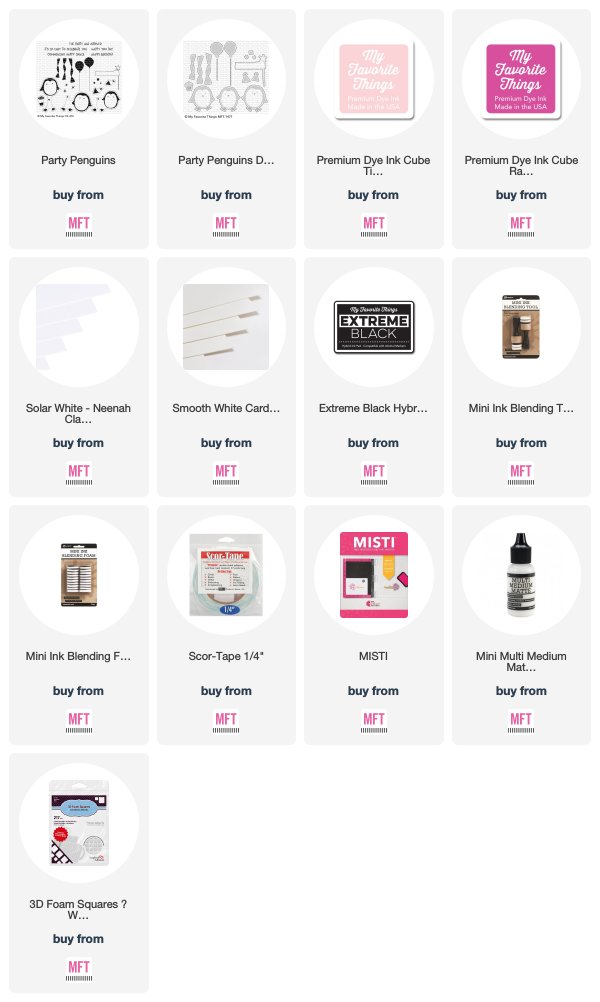
My card base was cut to 8.5" x 3.5" with the top layer cut to 8.25" x 3.25". I blended the background with some Distress Oxide Inks (Blueprint Sketch and Shaded Lilac) and then splattered this background with some Opaque White and Purple paints.

I actually used the triangular stamp, meant for the party hat, as my banners today. I stamped a number of triangles with Tickled Pink and Razzle Berry Prestige Inks and then quickly fussy cut these triangles with my scissors.

Lastly, I attached all of my images with 3D Foam Adhesive Squares and heat embossed my sentiment onto a sheet of Purple Rain Card Stock with Fine Detail White Embossing Powder.

Stop by the MFT Blog for some more Tips & Tricks
I hope you enjoyed my card today! Thanks so much for stopping by! If you liked this card and want some more crafty inspiration, don't forget to check out my INSTAGRAM feed!
Wishing you all a lovely day!
♥ Rachel
I really appreciate your tips -- especially the eyes one. Thank you
ReplyDeleteThanks so much for the feedback! It's a really fun way to add a whole different look to some of your stamps. :0)
Delete