Exciting Announcement!

Hello friends!  I wanted to drop by and let all of my subscribers know that I will be moving my blog to a new website!  Starting later today, on May 30th 2019, you will now be able to find me at: https://rachelalvaradodesigns.com.

 Rachel Alvarado Designs


This is very exciting for me since it allows me to have a little more freedom with how my content is organized and my hope is that it will be easier for you to navigate through my feed.  

I will be moving you,  (my subscribers), with me so be prepared that the email you receive will no longer read The Unpampered Stamper but will rather read Rachel Alvarado Designs.  Hopefully this will be a smooth transition and I appreciate your patience as I work out any bugs that may occur over the next few days.


STAY TUNED!!  I will be hosting a large GIVEAWAY for my subscribers and followers in the very near future!  I appreciate each and every one of you and am so grateful for your continued support! 

Sincerely,

Rachel

Two Quick and Easy Cards | Whimsy Stamps Paper Door Kit

Hello everyone!  I have two more projects to quickly share with you featuring the May Paper Door Kit from Whimsy Stamps.  I shared a fun little box card with you the other day.  Today, I am showing you two very quick projects that I made using the other components of this set. (Affiliate links used where applicable.)


The first is a simple watercolored card that I made using the beautiful Cozy Cabin Stamp Set that is included in this set.  I stamped this with VersaFine Waterproof Black Ink onto a sheet of Ranger Watercolor Paper and used my Zig Watercolor Markers to color everything.


I used the Notched Rectangle Dies to cut a window from Kraft Card Stock and stamped my sentiment in Black Ink on the bottom portion of this panel.  I then adhered it to my watercolor base and attached it to a horizontal A2 Card Base.


For my second card, I kept it very simple and used some of the beautiful coordinating dies that come with this kit.  To start, I first blended a 3.25" x 4.5" piece of smooth white card stock with Distress Oxide Inks (Lucky Clover, Peacock Feathers, Broken China, and Chipped Sapphire).  I then splattered this piece with water and let it sit for a minute before blotting it dry with a clean paper towel.  Once dry, I then splattered this piece lightly with diluted Opaque White Paint.


I then attached this piece to a 3 3/8" x 4 5/8" piece of white card stock and then again onto a 4.25" x 5.5" piece of black card stock.  Once done, I simply attached my diecuts to the front of the card and then added my sentiment onto a strip of 2" x 0.5" piece of white card stock.

Adorable Otters Paper Door Kit

There are only a few of these kits left!  Once they're gone, they're gone!  You can check this kit out in more detail HERE.

Adorable Otter Box Card

Here's another card that I shared the other day using this kit.  Click the photo above if you missed this post and want more details.

https://whimsystamps.com/?aff=53

Thanks so much for stopping by! If you liked this card and want some more crafty inspiration, don't forget to check out my INSTAGRAM feed!

Happy stamping!

♥ Rachel

Seasonal Trees Stamp Set | Sunny Studio Stamps

Hello, friends!  I am sharing a card with you today that features the new Seasonal Trees Stamp Set from Sunny Studio Stamps.  I love how this set has trees for all seasons that can really add to the design of your card.


For my card today, I combined some pine trees from the Seasonal Trees Set along with the Critter Campout Stamp Set.  I used to go camping a lot when I was little, so this set is dear to me!  And where I am from, we had a bunch of pine trees all over the campgrounds, so I thought that these two sets would compliment each other perfectly.


To start, I trimmed a piece of Neenah Solar White 110lb Card Stock to 8.25" X 3.25" and then masked off a straight line to section off the sky from the ground.  For the sky, I blended some Distress Oxide Inks (Cracked Pistachio, Evergreen Bough, Peacock Feathers, Broken China, Chipped Sapphire, and Black Soot) and then loosely splattered this piece with some water.  I then blotted it dry with a clean paper towel after letting it sit for a minute.  I then added some stars by splattering this panel with some diluted Opaque White Paint.


I then masked off the sky portion and ink blended the ground with Hickory Smoke and Black Soot Distress Oxide Inks.  I stamped all of my images with Memento Tuxedo Black Ink and colored them with Copic Sketch Markers.  Once done, I then used the coordinating dies to cut them out.


Lastly, I heat embossed my sentiment with Fine Detail White Embossing Powder and then adhered my images with some 3D Foam Squares for added dimension.

https://sunnystudiostamps.com/

I hope you enjoyed my card today!  Thank you for stopping by!  If you liked this card and want some more crafty inspiration, don't forget to check out my INSTAGRAM feed!


Tweet Friends | MFT Wednesday Sketch Challenge #438

Hello!  It's time for another Sketch Challenge from My Favorite Things!


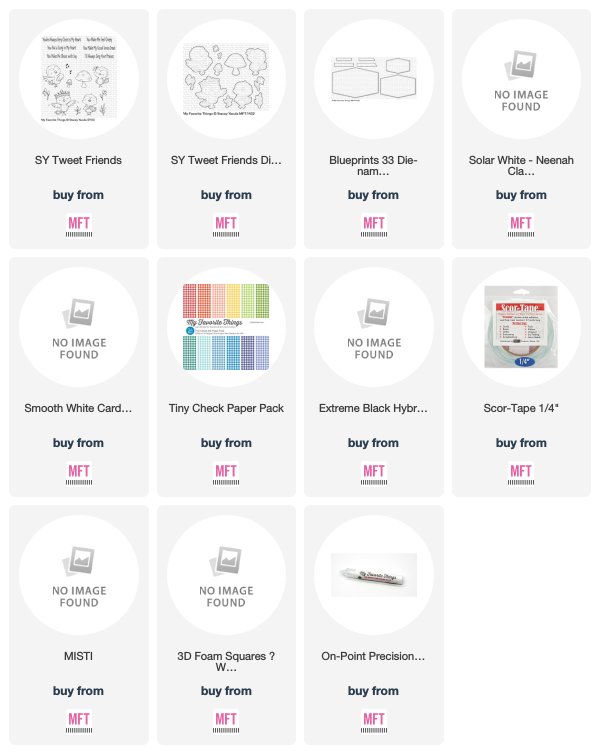
For my card today, I used one of the cute birds from the Stacey Yacula Tweet Friends Stamp Set.  I combined it with Blueprints 33 Die-namics to follow the pattern of the sketch.


To start, I first stamped all of my images with Black Ink onto a sheet of Neenah Solar White 110lb Card Stock and then colored with Copics.  I used the coordinating Tweet Friends Die-namics to cut everything out and then set it aside.


I then used the Blueprints 33 Die-namics to cut the top two sections of my card from Smooth White Card Stock.  I then added a piece of yellow patterned paper from the Tiny Checks Paper Pack to my A2 sized (top-folding) card base and stamped my sentiment on top of it with Black Ink.


Next, I added my two pieces of white card stock next and used 3D foam tape to add my stitched center piece for more dimension.  Lastly, I adhered my images into the center of my card with liquid adhesive for everything except my little bird, for whom I used some 3D Foam Squares so that he would be in front of the greenery.


Here's a look at this week's sketch!  Make sure to stop by the MFT Blog for more Sketch Challenge Inspiration.


Come play along for a chance to win a $50 MFT Gift Voucher! The winner is chosen randomly.


Thank you all so much for stopping by!  If you liked this card and want some more crafty inspiration, don't forget to check out my INSTAGRAM feed!

Happy card making!

♥ Rachel


Spotlight Poppies Card Kit Release Day and GIVEAWAY | MFT Stamps

Hello, crafty friends!  The Spotlight Poppies Card Kit from My Favorite Things is now available!  It will debut at a special bundle price while supplies last.


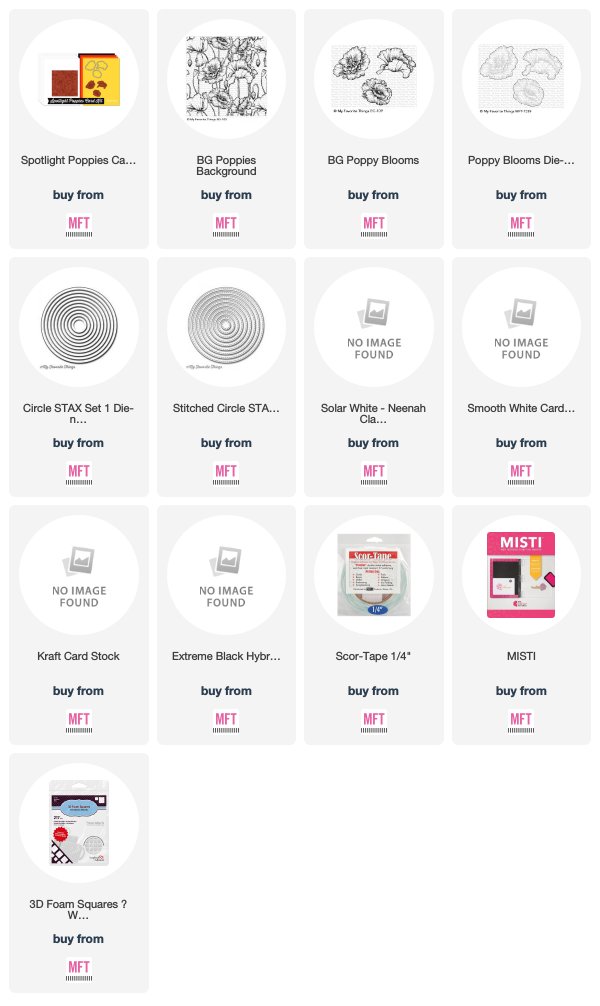
For my project today, I once again went with a non-traditional Poppy color.  There's really no wrong or right way to color these and you can pretty much choose whatever colors you prefer.  To start, I first heat embossed my Poppies Background Stamp with Fine Detail White Embossing Powder onto a square piece of Kraft Card Stock.


I then cut out a large circle in the center of this panel using the Stitched Circle STAX Die-namics.  I diecut another circle in white to place behind it using the Circle STAX Set 1 Dies and then adhered both pieces back into the center of my card with some 3D Foam Squares.


I then stamped my two Poppy Flower images with Black Ink onto a sheet of Neenah Solar White 110lb Card Stock and used Copics to color them (BG10, BG11, BG15, BG49).  I used the coordinating Poppy Dies to cut them out and then placed them on my card (with some more foam squares) directly above their heat embossed image.  Lastly, I added my sentiment that I had diecut from Milk Chocolate Prestige Card Stock and attached it to the front of my card with some liquid adhesive.


This gorgeous kit is so fun and versatile.  Head on over to the MFT Blog for some more kit inspiration.  Make sure to leave a comment on each of the Design Team Member's Kit Release Post for a chance to win an MFT Gift Voucher!


https://theunpamperedstamper.blogspot.com/2019/05/spotlight-poppies-card-kit-day-1-mft.htmlhttps://theunpamperedstamper.blogspot.com/2019/05/spotlight-poppies-card-kit-day-2-mft.html

In case you missed them, here are two other projects that I made using this kit.  Click on each thumbnail for card details.


Thank you for taking the time to stop by!  If you liked this card and want some more crafty inspiration, don't forget to check out my INSTAGRAM feed!

Have a lovely day!

♥ Rachel

Spotlight Poppies Card Kit Day 2 | MFT Stamps

Hello everyone!  I have another card to share with you today featuring the new Spotlight Poppies Card Kit from My Favorite Things.


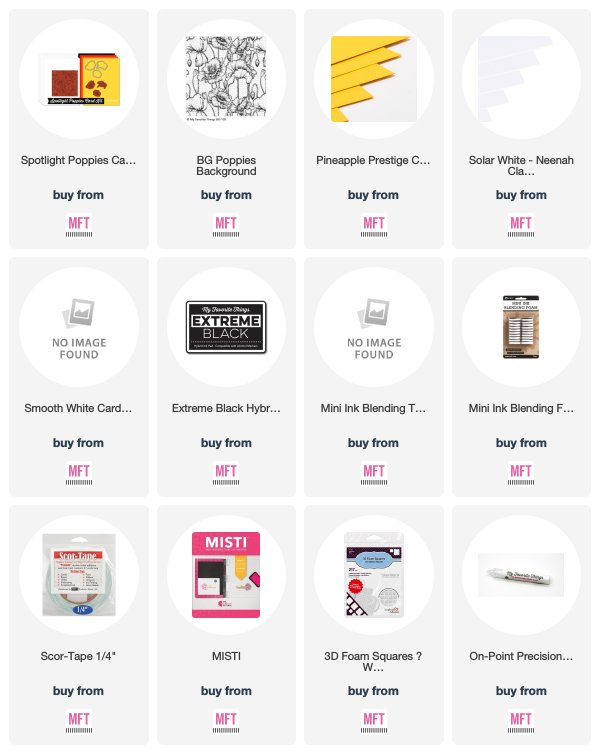
For my card today, I just used the gorgeous background Poppies stamp that is included in this set.  I stamped it onto a sheet of Neenah Solar White 110lb Card Stock with Copic friendly black ink.  I then used my Copics to color it.


Copic Colors Used:

Orange Poppies: YR00,YR02, YR04, YR09, YR18
Red Poppies: R14, R29, R46, R59
Yellow Poppy: Y02, Y13, Y17, YR 18, E35
Pink Poppies: RV10, R21, R43, 
Greens: YG01, YG07, YG17, G28

I also used some Faber Castel colored pencils and a White Gel Pen to add some extra details.


I then cut this colored piece into a 3.25" x 5.5" strip and attached it to a Pineapple Prestige A2 sized card base.  Lastly, I heat embossed my sentiment from the Greetings & Salutations Stamp Set and then diecut this strip using the Skinny Strips Die-namics.


This gorgeous kit will be available in limited quantities this Tuesday, May 21st at 10 AM EDT.  Make sure to stop by the MFT Blog for more kit inspiration and leave a comment there for a chance to win a $25 MFT Gift Voucher.


Thank you all so much for stopping by!  If you liked this card and want some more crafty inspiration, don't forget to check out my INSTAGRAM feed!

Have a wonderful day!

♥ Rachel

Adorable Otters | Whimsy Stamps Paper Door Kit

Hello!  The new LIMITED EDITION Paper Door Kit from Whimsy Stamps is just the cutest!  It's called the Adorable Otters Kit and it's filled with the cutest little otters, sweet sentiments, and a lot more! (Affilate links used.)


I created a 3D Box Card to showcase one of the little otters and the cute accessory dies that come with this set.  To start, I first created the base of my card using a piece of 8.5" x 11" card stock, scissors, a scoring board, paper trimmer, and roller adhesive.


 I then created my decorative layers using the gorgeous paper that's included in the kit.  I added a strip of both black and white card stock on the very front flap of my card in order to hold the sentiment.


I stamped my images with Memento Tuxedo Black Ink onto a piece of smooth white card stock that is also included and then colored them with Copics.  For the cattails, I used the accessory dies to cut them from white card stock, and then also used my Copics to color them as well.

Copic Colors Used:

·         Otter: E30, 31, 23, 25, 27, R20 for blush

·      Tree Stump: E11, E15, E18, E29

·      Cattails:YG63, YG95, YG97 and E11, E15, E18, and E29


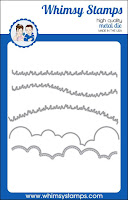
I then diecut some grass from the included paper using the Grass and Cloud Edger Die Set.  Once everything was finished, I simply glued everything onto the shelves inside the box, facing upright.  Lastly, I added two small dragonflies to add some more interest.  I used a small strip of clear acetate to add the one in the front to look as if it were flying.

Adorable Otters Paper Door Kit


Here's a look at what all is included in this amazing kit!  Click HERE for more Paper Door Kit details and for inspiration from the rest of the team.  If you like this kit, get it quickly because once it's sold out, it's gone!  No subscriptions necessary!

Whimsy Stamps

Thanks so much for dropping by!  If you liked this card and want some more crafty inspiration, don't forget to check out my INSTAGRAM feed!

Happy stamping!

♥ Rachel

Grass and Cloud Edger Dies