MFT Stamps - Wednesday Sketch Challenge #420

Hello everyone!  Today starts a brand new Sketch Challenge from My Favorite Things!  I have a fun little card to share with you featuring the BB You Make My Tail Wag Stamp Set.


 I love this cute little dog peeking out from his dog house!  To start, I first stamped my images with Black Ink onto a sheet of Neenah Classic Crest Solar White 110lb Card Stock.  I then colored them with Copic Sketch Markers and used the coordinating dies to cut them out.


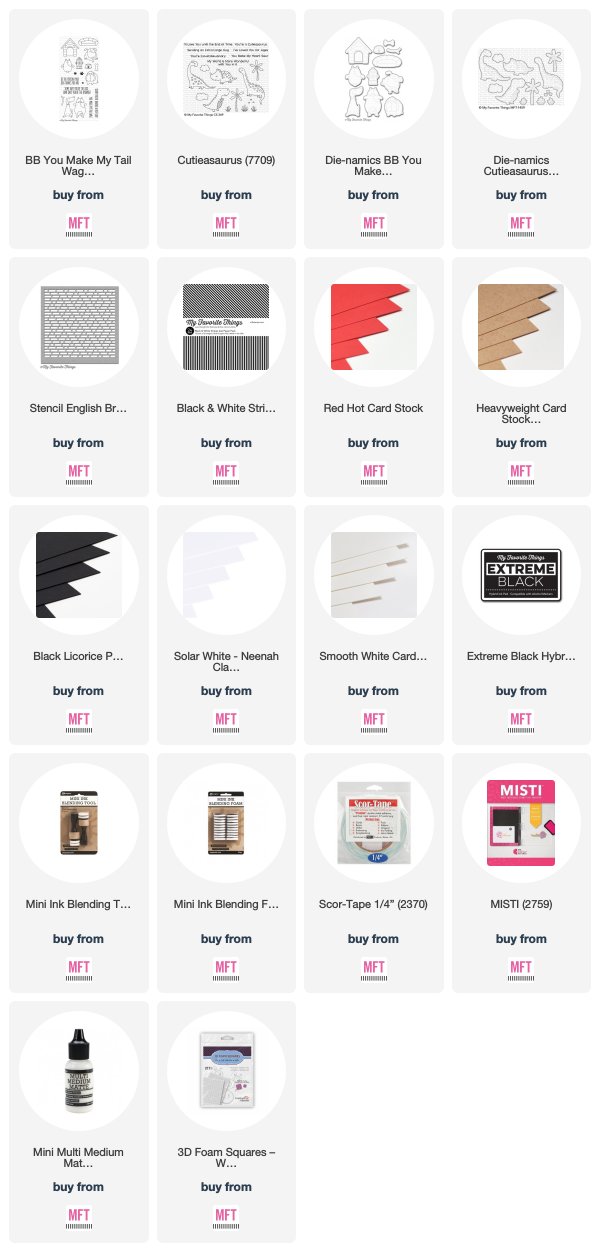
 I then lightly inked a brick wall to the background of my card using the English Brick Wall Stencil and Cement Gray and Gravel Gray Premium Dye Inks.  I added some strips of paper using some Kraft, Red Hot, and Licorice solid Card Stock as well as a strip of patterned paper from the Black & White Stripes Paper Pack.


I stamped my sentiment onto the strip of Kraft Card Stock with Black Ink.  Lastly, I adhered my images to my card using both liquid adhesive and 3D Foam Adhesive Squares.  I also added a few tufts of grass from the newly released Cutieasaurus Stamp Set.


Here's a look at this week's sketch!  I encourage you to come play along with us for a chance to win a $50 MFT Gift Voucher.  It's also fun to play along and challenge yourself to think of something that will fit the sketch layout.  Head on over to the MFT Challenge & Inspiration Blog for more details and more crafty inspiration from the rest of the participating team members.

 
I hope you enjoyed my card today!  Thanks so much for stopping by!  If you liked this card and want some more crafty inspiration, don't forget to check out my INSTAGRAM feed!

Wishing you all a wonderful day and happy card making!

♥ Rachel
Love Monkeys - Sunny Studio Stamps

Hello, crafty friends!  I am so excited to be joining the wonderful talent on the Sunny Studio Stamps Creative Team!  I have a fun shadow box card to share with you today featuring the new and adorable Love Monkey Stamp Set.


Aren't these monkeys just the cutest?  They're perfect for Valentine's Day or pretty much any other occasion during the year depending on how you decide to color them.  To start, I stamped my images with Copic friendly black ink onto a sheet of Neenah Solar White 110lb Card Stock.  I then colored the images with Copic Sketch Markers and used the coordinating dies to cut them out.


Copic Colors Used:

  • Monkey Bodies: E30, E31, E23, E27, E49
  • Monkey Faces: E0000, E000, E21, E11, E04
  • Branches: E30, E31, E23, E27, E29
  • Copic Colored Leaves: G20, YG01, YG13, YG17, G28
  • Pink Hearts: RV0000, RV00, RV52, RV55
  • Red Heart: R05, R27, R46, R59, RV99


To create my shadow box, I simply cut two pieces of white card stock to 4.25" x 7" and scored each piece at 1.5" and 5.5".  I folded my paper along the score lines and used these two pieces as the outer portion of my box.  I then diecut a circular window in one of the pieces for the front of my card.  For the inner shelves, I trimmed two pieces of white card stock to 4.25" x 4.75" and scored them each at 3/8" and 4 3/8".  Once done with this part, I diecut a circle window into each piece to line up with the one that I made for the front of the card.  This helps to create depth and an easy way to attach your images from all angles inside of your card.


To create the large leafy greenery throughout the card, I used the gorgeous Botanical Backdrop Die and die cut it a few times on some Green Card Stock.  I then trimmed off a few of the green leaves in small sections and blended them with some Distress Inks (Mowed Lawn, Crushed Olive, and Peeled Paint).  I then glued these to the back of each window section to add some more depth and look as if the monkeys were hanging out in the trees.  I also added a piece of patterned pink paper from the new Flirty Flowers 6x6 Paper Pad to the very back section of my card.


Lastly, I adhered a couple of the monkeys, the vines, and the tree branch to the inside of my card with some liquid adhesive.  I attached the last monkey to the outside of my card with some 3D Foam Adhesive Squares.  I then heat embossed my sentiment with Fine Detail White Embossing Powder onto some black card stock.

Sunny Studio Stamps

Thank you so much for dropping by!  I hope you enjoyed my card today!  If you liked this card and want some more crafty inspiration, don't forget to check out my INSTAGRAM feed!

Wishing you all a wonderful weekend!

♥ Rachel

MFT Stamps - Color Challenge #109

Hello everyone!  I'm here today to share the latest Color Challenge (#109) from My Favorite Things.


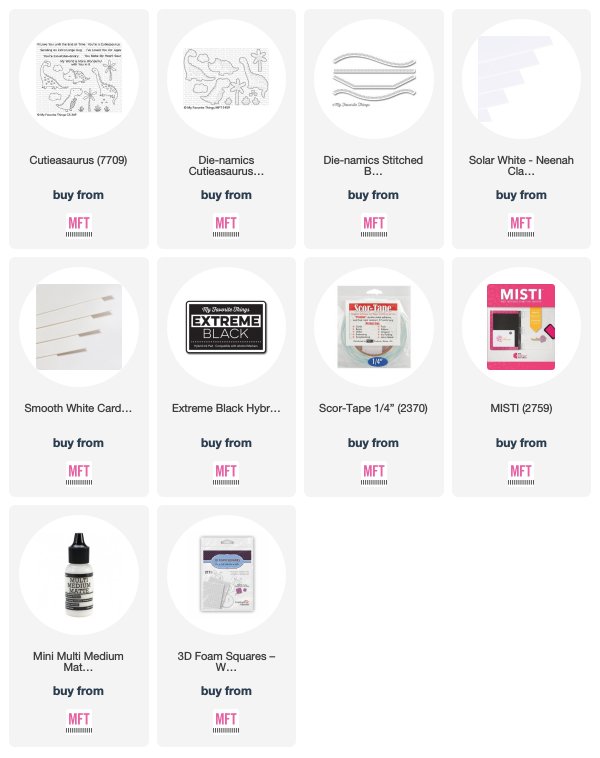
 The color palette today is very soft, yet beautiful.  I used the newly released Cutieasaurus Stamp Set for my project today.  I colored all of my images with Copic Sketch Markers onto a sheet of Neenah Solar White 110lb Card Stock and used the coordinating dies to cut them out.


The colors for Challenge #109 are Limelight, Kraft, Blu Raspberry, and Sno Cone.  You don't have to use the exact colors shown but use colors that this palette inspires you to use.


I used the Stitched Basic Edges 2 Die-namics to create two sections of White Card Stock in which to frame my scene.  I then colored in a simple background scene for my card using Copic Sketch Markers.  I blended some browns (E40, E41, E42, E43) for the ground section and blue greens (BG0000, BG000) for the sky.


I attached both of my White Card Stock panels with some 3D Foam Tape and also used some 3D Foam Squares to attach my images for some added dimension.


Head on over to the MFT Challenge & Inspiration Blog to see what the other participating DT Members have created!  Come play along with us for a chance to win a $50 MFT Gift Voucher!

Thank you so much for taking the time to drop by!  If you liked this card and want some more crafty inspiration, don't forget to check out my INSTAGRAM feed!

Wishing you a lovely day and Happy Cardmaking!

♥ Rachel

MFT Stamps - Love Is In the Air

Hello!  I have a fun project to share with you today featuring some of the new products from the MFT Stamps January Release.  I've created a Valentine's box card that would be a perfect Valentine's Day gift for teachers and/or kids.


Box cards are usually a big hit with their recipient and are so much fun to make.  A lot of people shy away from them because they look so intricate and difficult, but they're actually pretty easy!  I've included a short video below that quickly goes through how to make this size box card from scratch. 


In retrospect, I should have used a different colored card stock for my video so that you can see the score lines better, but hopefully you get the gist!


 Once you have your box created, the sky is the limit!  You can add whatever details or images (as long as they fit) that you like.  For my card today, I combined the cute critters from the newly released Wonderful Woodland Friends Set and the lovely heart banners from the BB Up In the Air Set.  I colored all of images with Copics onto Neenah Solar White 110lb Card Stock.  I especially love to use the heavier weight card stock when I'm doing a box card so that my images don't flop over or bend.


I added some grass to the inside shelves using the Grassy Fields Die-namics and Limelight Prestige Card Stock.  I also added some patterned paper from the gorgeous new Sweet Stack 6"x6" Paper Pad to the front and side flaps of my card.


I attached my images to the shelves with some strong liquid adhesive.  Lastly, I heat embossed my sentiment (from the new Sweet Celebrations Stamp set) with Super Fine Detail White Embossing Powder onto some Ripe Raspberry Prestige Card Stock.


Make sure to stop by the MFT Blog for more inspiration!  I hope you enjoyed my card today and thank you all so much for dropping by!

If you liked this card and want some more crafty inspiration, don't forget to check out my INSTAGRAM feed!

Wishing you all a wonderful day and happy card making!

♥ Rachel


MFT & Friends - January Product Launch

Hello crafty friends!  It's finally time to shop the latest product release from MFT Stamps!  There are so many wonderful new products to choose from.  You don't want to miss it!


I just love the new B.B. Cute Chemists Stamp Set!  I especially love the addition of their safety goggles. It really adds so much character to each image!  I've created a fun pop-up card today featuring the sweet little boy and girl in this set.  I wanted to make it look like a 3D Chem Lab, so I added a pop-up lab counter top where they will be cooking up all of their experiments.


I first cut a piece of White Card Stock to 5.5" x 8.5" and scored it down the middle of the long side at 4.25".  This was the base of my card.  I then cut another piece of White Card Stock for the pop-up counter and trimmed it to 5.5" x 4.0".  I then scored it along the 4" side at 1", 2.5", and 3.5".  Once I had created the score lines (but before I folded them) I then colored this piece by blending some Distress Inks (Antique Linen and Vintage Photo).


I then added some "cabinet doors" by using the smallest square from the Inside & Out Stitched Square Die-namics.  I cut 4 separate doors from White Card Stock and then "stained" them with some darker Distress Inks (Walnut Stain and Ground Espresso) so that they would contrast slightly from the color of the counter behind them.  I also stamped a floor with Kraft Premium Ink onto white Card Stock using the Wood Plank Background Stamp.


For the background, I cut a piece of Gravel Grey Prestige Card Stock to 5.25" x 4.0" and blended some white bricks on top of it using some white ink and the English Brick Wall Stencil.  I added my sentiment to this piece by creating a dry-erase board with a piece of Black Licorice Card Stock and adding a piece of Smooth White Card Stock (to which I stamped my sentiment) on top.  I also stamped a few chemical bonds using some Electric Red Ink.


For my images, I stamped them all with Black Ink onto some Neenah Solar White 110lb Card Stock, colored them with Copic Sketch Markers, and used the coordinating dies to cut them out.  I added them to the inside of my card with some liquid adhesive.


 For the outside of my card, I colored the sweet girl chemist identically to the one inside the card and simply added her to a paper belly-band that helps to hold the card shut when mailing or laying flat.  I also used a sheet of the new and gorgeous Sweet Stack Patterned Paper to cover the outside of my card.


Here's a view of the belly band without the card.  Super easy to make and very effective at holding it all together.


Would you like to win one of two $100 MFT Gift Vouchers?  Head on over to the MFT Blog to find links to the rest of the Design Team and leave a comment on each of the DT Member's Product Launch Post to be entered into the drawing!


Thanks so much for stopping by!  Here are some other projects (above) that I made with this month's release.  If you liked my card today and want some more crafty inspiration, don't forget to check out my INSTAGRAM feed!

Wishing you all a wonderful day!  Happy shopping!

♥ Rachel

Friendly Fox - MFT Stamps January Release Countdown - Day 1

Less than 24 hours to go until the amazing January Release from MFT Stamps becomes available!  I am so excited to share some fun products with you today featuring the new (and super adorable) Friendly Fox Die-namics.


I created a few Valentines projects combining the Friendly Fox Die-namics and Sweet Stack Patterned Paper Pad.  The great thing about this fox is that you can use him/her all year round for pretty much whatever occasion you want!


To create this fun Valentine Gift Bag, I simply die cut the fox using some different colored Card Stock.  I then quickly pieced him together and adhered a strip of patterned paper to the bottom of the gift bag with some liquid adhesive.  I then added a scalloped circle using the Mini Stitched Scallop Circle STAX Die-namics.


This card would be fun to give out to your kids, students, or even co-workers for Valentines Day.  It's super easy to put together and is so much fun for the recipient to receive!


I combined the Friendly Fox Die-namics with the Nugget Label, Window, & Frame Die-namics and placed some yummy chocolate nuggets in the Nugget Trio Shaker Pouch.


The back of my card/Valentine is super simple.  I have an area where the chocolate pouch can be accessed without ripping apart the entire card.  I also stamped a simple to/from sentiment using the Sweet Celebrations Stamp Set.


Make sure to stop by the MFT Blog for more sneak peeks and inspiration, plus another chance to win a $75 MFT Gift Voucher!


Thanks so much for stopping by!  If you liked these projects and want some more crafty inspiration, don't forget to check out my INSTAGRAM feed!

Wishing you all a lovey day!

♥ Rachel

Sweet Nothings - MFT January Release Countdown - Day 2

Hello everyone!  There are only two days left until the amazing January release from MFT Stamps becomes available!  I have a stamp set full of lovely sentiments to share with you today.


It's called the Sweet Nothings Stamp Set and I combined it with the gorgeous Heart Tree Die-namics.  I wanted to create a simple design to go with my simple sentiment.


To start, I used the Heart Tree Die-namics and one of the A2 Stitched Rectangles to cut out a tree from a small stitched piece of White Card Stock.


I then began the task of paper piecing each piece back into my tree after die-cutting it multiple times in various scraps of colored card stock.  I adhered another piece of White Card Stock below my die cut tree so that I could glue each piece in.


The colors of card stock that I used are listed in the picture links at the bottom of this post.  Once finished, I added a few layers with some of the same colored card stocks by die cutting some more stitched rectangles using both the A2 Stitched Rectangle Die-namics Set 1 and Set 2.


I used my Misti to place and stamp my sentiment with Black Ink.  I felt that this sentiment went perfectly with the design and layout of my card.


Make sure to head on over to the MFT Blog for some more sneak peeks and inspiration!  Leave a comment on each of the MFT main countdown release posts for a chance to win a $75 MFT Gift Voucher!


I hope you enjoyed my card today!  Thank you so much for dropping by!  If you liked this card and want some more crafty inspiration, don't forget to check out my INSTAGRAM feed!

Wishing you all a wonderful day!

♥ Rachel