Hello! I am up on the My Favorite Things blog for my third and final guest post this month. I have had such a wonderful time as a guest for
My Favorite Things and am so grateful for the opportunity.
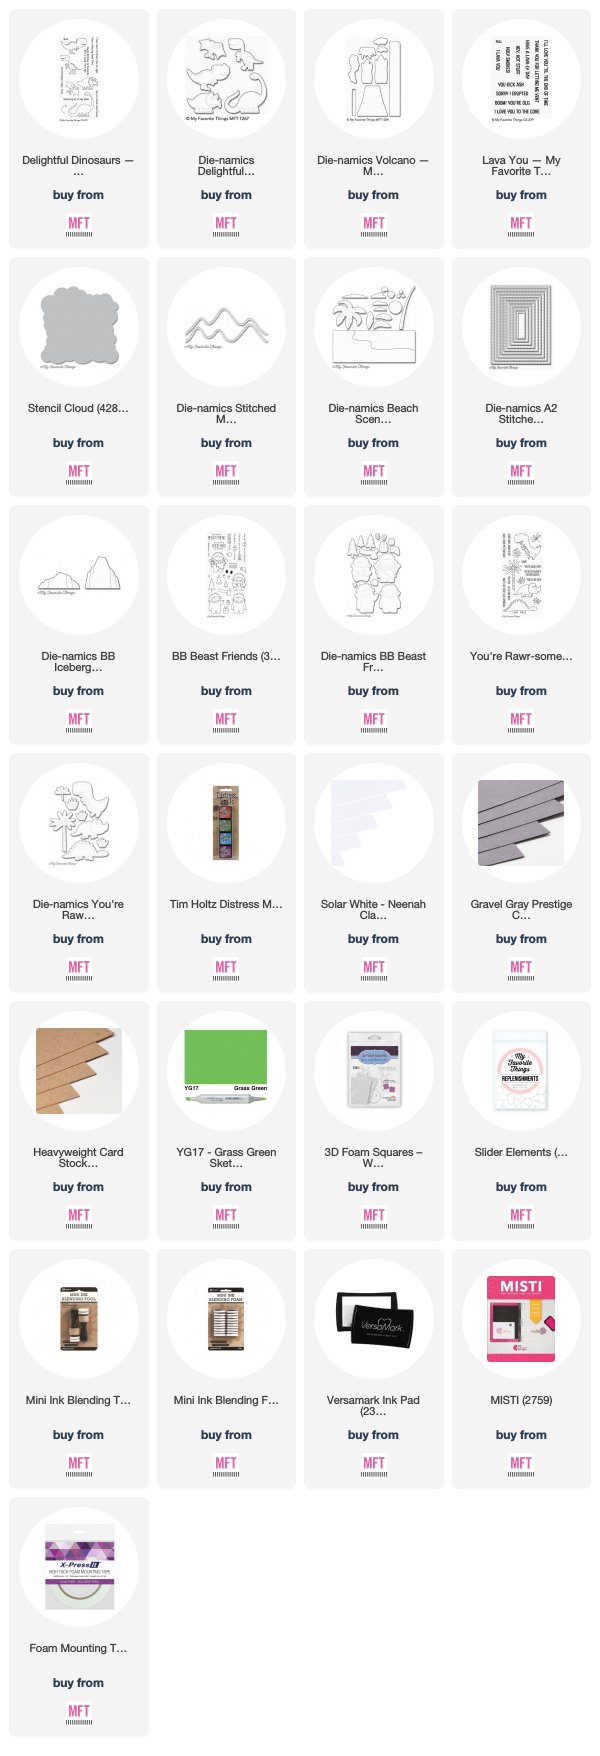
Today I am sharing with you three "Monster Sized" Birthday Cards that I made featuring the newly released
Monster Sized set combined with some previously released sets. I love combining old and new stamp sets so that I can continue to get use out of them. I don't know about you, but I find that I make birthday cards quite frequently. I thought that this monster set was perfect for these occasions.
For my first card, I wanted these fun and silly monsters to look like they were throwing a surprise Birthday Party. I combined the
MFT Monster Sized Set with the
LJD Make Yourself at Home and
BB Up in the Air sets. To get the 3D effect, I created a fun Pop-up Card with a floating floor. I love doing cards with floating floors. They may look really difficult and intricate, but honestly, the part that takes me the longest is the coloring. The rest is just gluing pieces into place.

This card is a standard A2 sized card that faces horizontally. To create something similar, first trim a piece of card stock to 5.5" x 8.5". Then score at 4.25" on the 8.5" side. For the floor itself, I trimmed a separate piece of card stock ( I added a piece of patterned paper from the
MFT Kraft Collection Solid Stripes Paper Pack) at 5" x 5.5". I then scored along the 5" side at 3/8", 4 2/8" & 4 5/8". You can see how it folds in photo #1 above. Before you attach the floor to the card base, follow these easy steps:
- 1. Line up your diecut images face down and mark them at their bases to see where you will need to cut some slits into the floor. Make sure that these images do not lay over the front edge of the floor or they will stick out of the card when folded flat.
- 2. Using a craft knife, cut some small slits into the floor of your card. Once this is done, you can then attach the floor to your A2 card base. (If you have a background, adhere that first). For my background, I simply trimmed a piece of the MFT Watercolor Wash Paper Pack.
- 3 & 4. Once your floor is attached, adhere some L-shaped pieces of heavyweight card stock. The bottom part of the L is what you will glue to the very base of the card. Once done, simply add your colored and/or stamped diecuts.
I did end up adding a few more pop-up pieces after my floor was attached. It made it a little harder to cut the slits this way, but it was not impossible. I decided to add a pile of gifts using the
BB Beary Special Birthday set. I used the coordinating dies to diecut all of my images which I had colored with Copic Sketch Markers.
Here is a short video clip (above) of how the sleeve and floating floor work.
Card Measurements:
- Begin with a piece of 12" x 12" card stock trimmed to 11.5" x 4.25"
- Score on long side at 3.5", 5.5", 9" and 11"
- Turn paper and score down the smallest side at 2 1/8"
- You can then trim down one long side of the paper on all 4 score lines until you reach the midpoint.
- Inside strips can be 1.25" high x 5" long and scored at 3/4" and 4 1/4"
For my background, I lightly blended some
Peacock Feathers and Cracked Pistachio Distress Inks on top of the
MFT Stencil Abstract. I then added a piece of stitched vellum over this panel and placed my clouds on top. The sentiment once again came from the
Monster Love stamp set.
I hope you've enjoyed my projects today! Birthday cards can be so much fun to make and they can be clean and simple or 3D. The sky is the limit! Thank you for stopping by my blog today! Hope you all have a wonderful week!
If you liked these cards and want some more crafty inspiration, don't forget to check out my INSTAGRAM feed!
Wishing you all a lovely day!
♥ Rachel