Hello crafty friends! It's time for the latest MFT & Friends! This is where the MFT Design Team and a number of Guest Designers are challenged to look at the latest release with a fresh set of eyes and come up with more crafty inspiration!
For my card today, I used the BB Frightfully Sweet Set and created a fun but spooky background scene to go with my images.
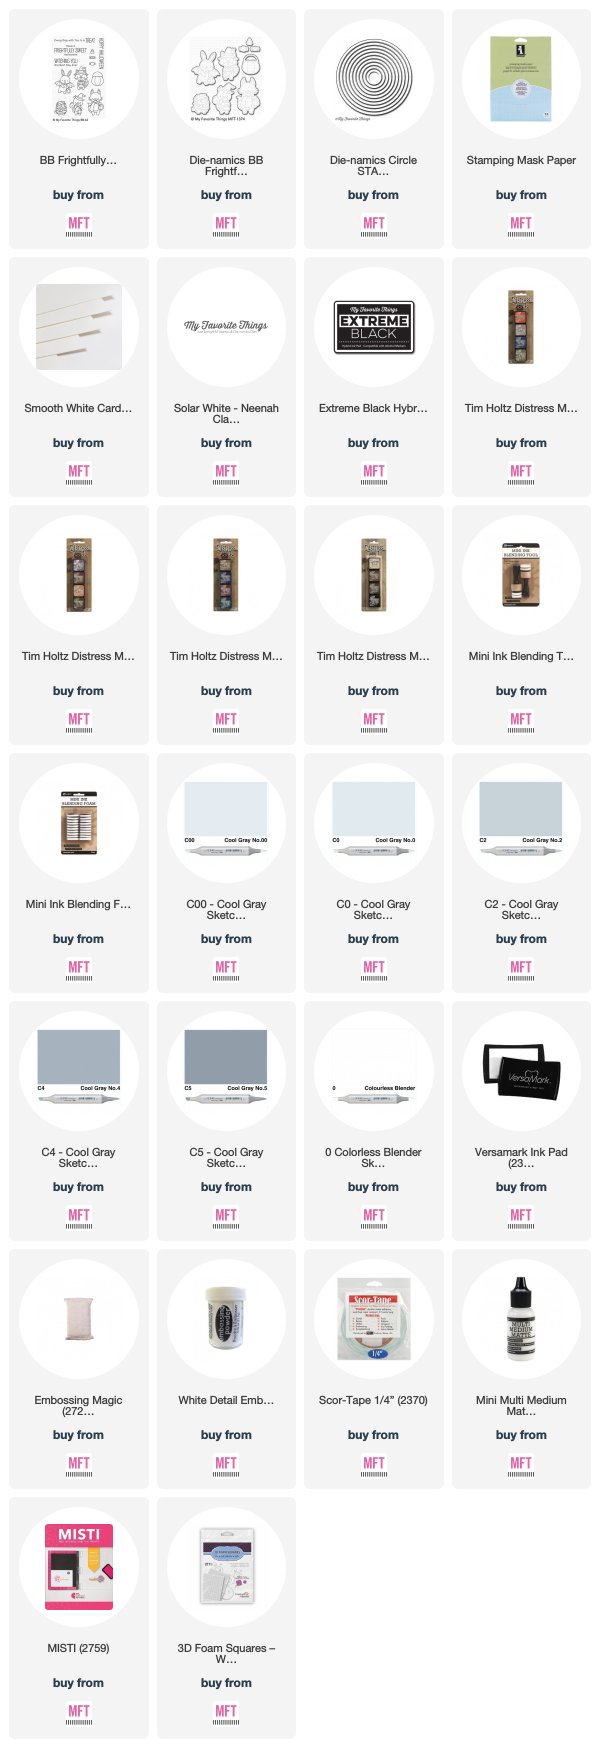
To start, I first diecut a piece of masking paper using the largest circle die from the Circle STAX Die-namics Set 1. I then placed this circle on the lower center of a 5.75' x 4.5" piece of Smooth White Card Stock. I then created my night sky background by blending some Distress Inks (Stormy Sky, Faded Jeans Chipped Sapphire and Black Soot) around this circle. Lastly, I spritzed this lightly with water, blotted with a paper towel and then splattered some white paint on top to resemble stars.
Once this panel was dry, I then blended my grass on top with the Grass Stencil and some Black Soot Distress Ink.
I love how easy it is to use this stencil. It's absolutely perfect for adding layers without adding too much dimension.
Using my Cool Gray Copics and a Colorless Blender, (0, C00, C0, C2, C4, C5), I then added some craters and texture to my moon. I then trimmed my panel down the standard A2 card base size of 4.25" x 5.5".
I stamped all of my images with Copic friendly Black Ink onto smooth white card stock, colored with Copic Sketch Markers and then used the coordinating dies to cut them out.
Lastly, I heat embossed my sentiment with White Detail Embossing Powder and added my images with some 3D Foam Adhesive Squares.
Make sure you stop by the MFT Blog to see the amazing designs created by the rest of the Design Team and Guest Designers!
Thanks so much for stopping by! If you liked this card and want some more crafty inspiration, don't forget to check out my INSTAGRAM feed!
Wishing you all a wonderful day and happy card making!
♥ Rachel


Your creativity knows no bounds, Rachel. What an amazing looking background. I love the part where you said, "Using my Cool Gray Copics and a Colorless Blender, I then added some craters and texture to my moon". Easy peasy, lemon squeezy. Except for this gal. LOL Those textures look fan.tas.tic! Love you coloring, too. But you knew that. ;O) Thanks so much for sharing and explaining your steps. This card looks fabulous! :)
ReplyDeleteLol, you crack me up, Jeanne 😁 There is no doubt in my mind that you could do the same if you tried! I googled some pictures of cartoon moons to get my ideas on where to place the craters. I wasn’t sure how it would turn out but I was pleasantly surprised, lol. Thank you so much for your sweet comments! 😍💗
DeleteYour card is amazing!! You are on a whole different stratosphere than me, but you inspire us all!! I am going to follow your instructions and try this!! Yeah right!!!
ReplyDeleteYou are so sweet, Pam, thank you! You SHOULD try it! When I first started ink blending a few years back, my blending was a royal mess, lol. Just keep
Deletepracticing! I’d love to see what you make if you decide to try it ☺️💗
Great card!
ReplyDeleteThank you, Laura!
DeleteWow, Rachel! This is absolutely stunning! You have done a fantastic job in coloring and creating so much detail. Love it!
ReplyDeleteThank you so much, Crystal! ☺️
DeleteYour card is spectacular!
ReplyDeleteThank you, Julie!
DeleteYour card is adorable!!! Looks like it was a lot of work but well worth the effort!
ReplyDeleteThis comment has been removed by the author.
DeleteThank you so much, Karen! :0)
ReplyDeletethis card is SO AWESOME.. very creative
ReplyDeleteThank you, Annette! So glad you liked it! ☺️
Delete