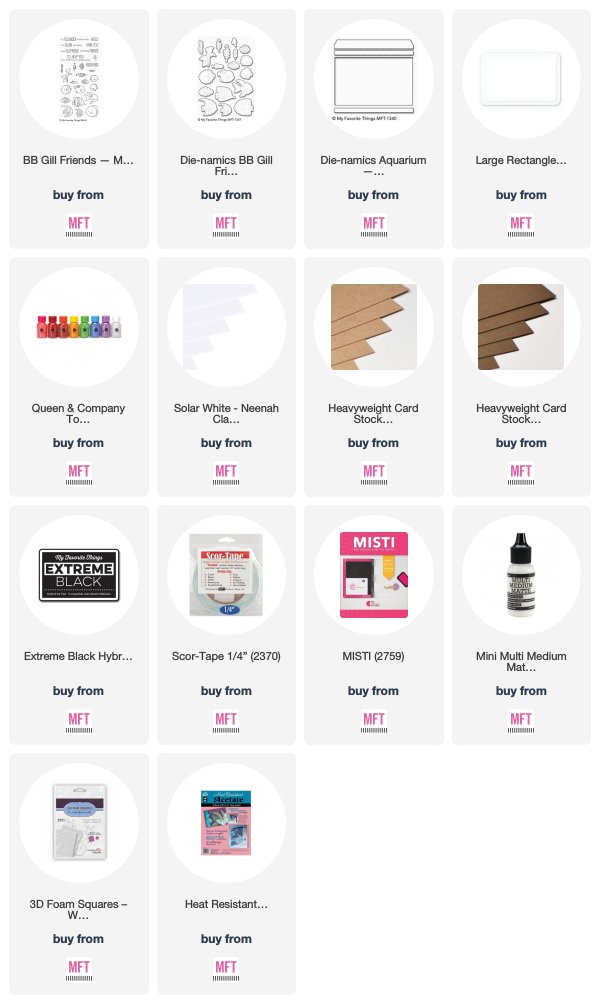
Hello everyone! I'm back today to share a really fun card with you using the new My Favorite Things BB Gill Friends Stamp Set combined with the Aquarium Die-namics.
I have created a super fun 3D Aquarium Shaker Box Card today! Try saying that 5 times, lol. Because of the depth of dimension to the card, it was a bit difficult to photograph and show you the full effect. However, it was super easy to make and I will provide some step-by-step photos if you would like to try it yourself!
Cut a piece of card stock to 11.5" x 4.25". I used a 12"x12" piece of card stock, but you can split your measurements to create a 2 piece Box Card and used a standard sized sheet of paper instead. Score on the long side at 4", 5.5", 9.5" and 11". Rotate it 90 degrees and score at 2 5/8" the entire length of the card stock.
Fold along the score-lines and then cut off all of the top flaps (on the shorter section) except for the back flap of the card.
The bottom of the box is going to be the larger portion to be able to fit the Aquarium Window Die-namics. You can fold along the score-lines and cut as shown above. I trimmed about .25" off of my tab (where the scissors are) so that you would not be able to see the tab once the window was cut.
I used the Aquarium Die-namics Window to cut a rectangular shaped hole into the front of my box.
Next, glue one Large Rectangle Shaker Pouch into the opening. Make sure it is dry and securely in place before you move on.
I added just a few Queen & Company Diamond Toppings into the shaker pouch to resemble the rocks at the bottom of an aquarium. I then glued another piece of acetate to the back of the pouch to hold these small pieces in place.
At this point, you can glue your box together where the tab attaches. Here's the trick. I then prepared the inside of my card using two sheets of acetate (cut at 4.75" x 2.5" and scored at 3/8" & 4 3/8"). Using acetate for the inside shelves of your card allows you to see all the way through to the back, creating great depth and dimension. I used both Chocolate Brown and Kraft Card Stock for the back of my card (cut at 3.75" x 4" and 3.5" x 3.75" respectively).
I then stamped my sentiment with Extreme Black Ink onto this back piece. I probably should have done this step before I attached my fish, but I simply covered them with a piece of scrap paper so that no ink accidentally got on them. Been there, done that. No fun!
As you can see, this card folds easily to fit in a standard A2 sized envelope.
And it's weighs under 1 ounce, so it can still ship with just a single postage stamp!
I hope you've enjoyed my card today! There's really so many options of what you can do with the Aquarium Die-namics. It's such a fun die set!
Make sure you stop on by the MFT Blog to see what other Tips & Tricks other participating Design Team Members have shared today!
Thank you all for dropping by! If you liked this card and want some more crafty inspiration, don't forget to check out my INSTAGRAM feed!
Wishing you all a lovely day!
♥ Rachel
Wishing you all a lovely day!
♥ Rachel


This is soooo awesome! I love this! You always do such amazing cards and card boxes!!!!!
ReplyDeleteThank you, Christine! You always leave the nicest comments ☺️ ♥️
DeleteSo adorable! I love it!
ReplyDeleteThank you, Lindalou! ☺️
DeleteThis is such a cute card. Love how you can see through the aquarium. Thank yoi
ReplyDeleteThank you, Charlsie! I’m glad you like it ☺️
Delete