MFT Stamps - Heart Art Card Kit - Day 1

Hello, everyone!  I have the beautiful Heart Art Card Kit from My Favorite Things to share with you today.  This kit comes with so many options that the designs are practically endless!  I have a few cards to share with you over the next few days to show you how versatile this set is.


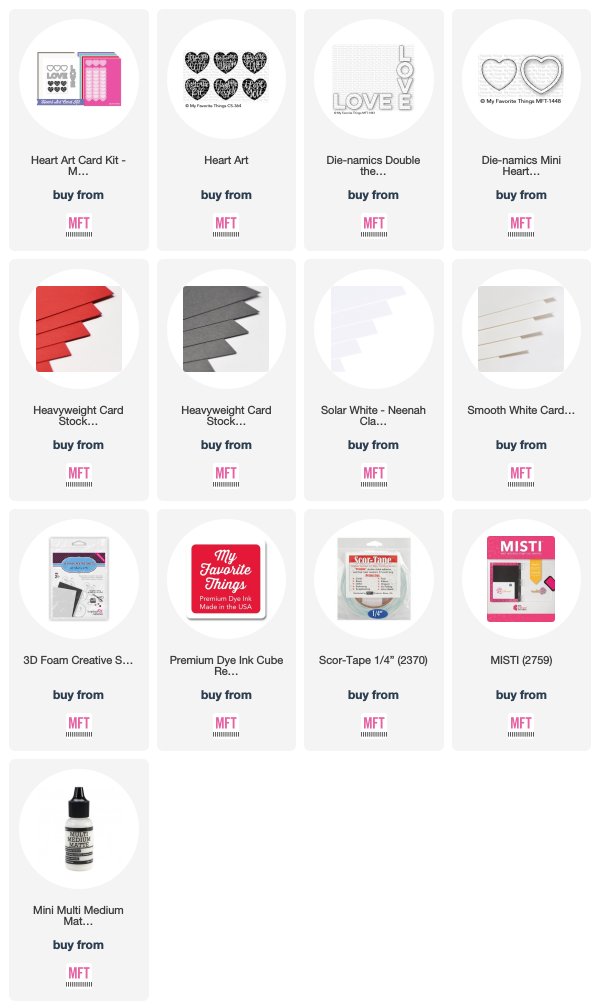
Although this kit is mainly filled with gorgeous pastel colors, I went with the bold white, gray, and red variations for my first project.  I first cut a piece of Red Hot Card Stock to 5.5".  I then diecut four white squares using the Stitched Square STAX Die-namics and some White Card Stock.  After this, I added a layer of Steel Grey Card Stock and then once again used the Stitched Square STAX Die-namics to cut some patterned paper.


I then used the Double the Love Die-namics to diecut the word LOVE from both white and red card stock.  I then used that same die to cut the word LOVE from a 3D Foam Creative Sheet so that I could place each piece of double sided foam perfectly behind my letters cut from card stock.  This way, they neatly popped off of the card with some dimension when I attached them.


In the center of my card, I used the Heart Art Stamp Set to stamp the Hugs And Kisses Heart with Red Hot Ink onto Smooth White Card Stock.  I used the Mini Heart Shaker Window & Frame to cut it out.  I then used the frame die from this set to cut out 5 heart frames and glue them together to give the heart some more emphasis.  Lastly, I used a White Gel Pen to add faux stitch lines around the outer edge of my card.


This kit will be available at a special bundle price in limited quantities this coming Tuesday, January 22nd at 10 AM EDT.  Each item will be sold separately at their regular price if you don't wish to buy the entire kit.  Head on over to the MFT Blog and leave a comment there for a chance to win a $25 MFT Gift Voucher!  Also, don't forget to see all of the gorgeous designs done by the rest of the team!


Thanks so much for stopping by!  If you liked this card and want some more crafty inspiration, don't forget to check out my INSTAGRAM feed!

Wishing you all a wonderful day and happy card making!

♥ Rachel
Frilly Frames Polka Dot Dies - Sunny Studio Stamps

Happy Friday, everyone!  I am excited to share with you one of the new and gorgeous Frilly Frames Die Sets today from Sunny Studio Stamps!


I am featuring the Frilly Frames Polka Dot Dies in my card today.  I absolutely love this set.  It's so versatile and adds a lot of detail to your card with just one run through your diecut machine.  For my card, I combined this die set with both the newly released Puppy Parents Stamp Set and the Fancy Frames Circle Dies.


I added some lovely pieces of patterned paper (for the grass and back drop) from the Flirty Flowers Paper Pad.  I love the soft colors and subtle heart patterns on these sheets.  For my images, I stamped them with Copic friendly black ink, colored with Copics and used the coordinating dies to cut them out.  (Copic colors used for the dogs: E30, E31, E23, E25, E29 with R20 for the blush).


I used the grass border die from the Sunny Sentiments Die Set to diecut some grass.  For the background sky, I blended some Cracked Pistachio and Peacock Feathers Diestress Inks.  I also added a few white clouds using the fun Comic Strip Every Day Dies.  Lastly, I heat embossed my sentiment with Super Fine Detail White Embossing Powder onto some Black Card Stock.

Sunny Studio Stamps

Thank you so much for dropping by!  I hope you enjoyed my card today!  If you liked this card and want some more crafty inspiration, don't forget to check out my INSTAGRAM feed!

Wishing you all a wonderful weekend!

♥ Rachel

My Favorite Things and MISTI

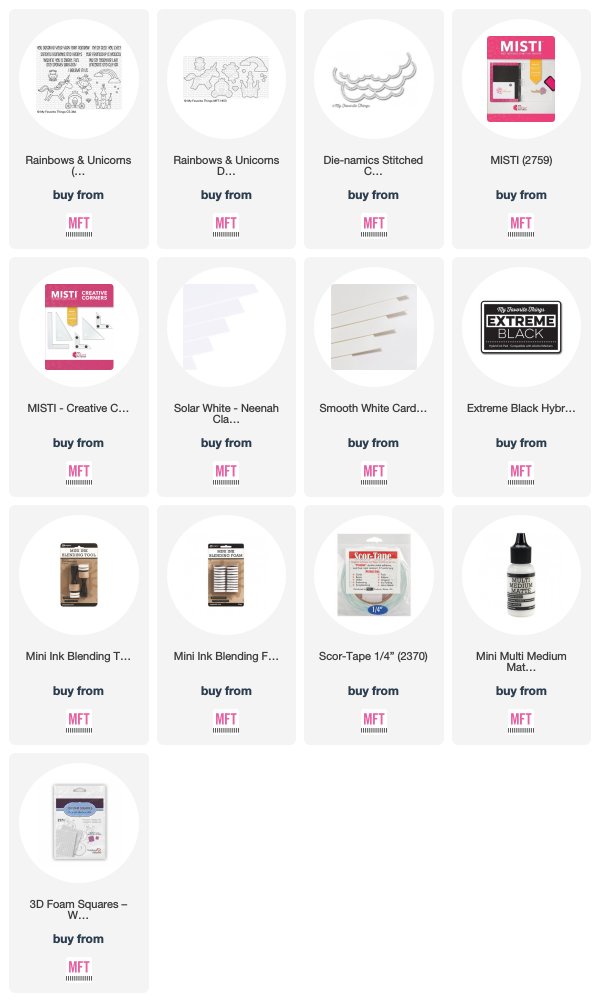
Hello, friends!  My Favorite Things has teamed up with My Sweet Petunia and there are some fun prizes up for grab!  As many of you may already know, My Sweet Petunia is the company behind the MISTI (Most Incredible Stamp Tool Invented).  I have created a fun card today, utilizing the MISTI in a couple of different ways.


To be honest, I use the MISTI on almost every card that I make.  It has many purposes, but the one that I use it the most for is repeat stamping.


Unless I am doing no-line coloring, when I stamp my images, I prefer that they have a nice bold black line.  Until I found the MISTI, I could never achieve this with just one single press of a stamping block.  I do still use stamping blocks, but when I am stamping images to color (I used Copics on my images today), I almost always use my MISTI.


 If you look at the images above (from the newly released Rainbows & Unicorns Stamp Set), the top set of pictures shows what my images look like with just one round of stamping with the MISTI.  This is usually how they look when stamping one time with a stamp block.  However, since the MISTI holds your stamps in place, you can repeat your stamping as many times as you like without fear of not stamping exactly where you stamped your image the first time.  The bottom set of images shows what these same images look like when stamped three times.  Another nice feature is that I can stamp multiple images at once (which saves me a lot of time).


Another way that I used the MISTI in my card today was to create a background using the resist embossing technique.  Above, I used the BG Scattered Hearts Background Rubber Cling Stamp and utilized the MISTI to stamp it several times with clear Versamark Embossing Ink.  This allows for good coverage of the ink without missing any areas.


I then covered the stamped hearts with some Clear Embossing Powder and heat set it.  Once it is set with the heat gun, you really can't see what you've done (because the powder is clear) until you apply ink over it.


I love this heart background but I wanted it to be a little more vibrant to go with my scene today.  This is why I did the Resist Embossing Technique.  In order to get my blue sky with white hearts, I then blended some Distress Inks (Tumbled Glass, Broken China, and Mermaid Lagoon) once the clear embossing powder on the hearts had set.


I also used my MISTI in one other way to create this card.  I had cut out some clouds from White Card Stock using the Stitched Cloud Edges Die-namics.  I wanted to stamp my sentiment on one of the cloud strips.  Now, I have to admit, I'm not always the best at stamping my sentiments level with the angles of my card.  Sometimes they're slightly crooked.  However, after discovering the MISTI Creative Corners, that is no longer the case (thank goodness!).  I used the L-shaped ruler that comes in this set to line up my sentiment on my cloud strip, as shown above.  The bar magnet (as seen) is very strong and holds my diecut in place perfectly.


 As you can see, when using this technique, my sentiment is perfectly level with the cut of the cloud.  It just takes the stress out of trying to line things up and failing to do so.


I love my MISTI and have to agree that the MISTI truly is one of the most incredible stamp tools invented!


Now for the prizes up for grab!  My Favorite Things will be giving away THREE $50 My Sweet Petunia Gift Certificates and My Sweet Petunia will be giving away THREE $50 My Favorite Things Gift Certificates.  Head on over to the MFT Blog for all of the details and to check out what other ways the MFT Design Team has used the MISTI on their projects today!


I hope you enjoyed my card!  I appreciate you stopping by!  If you liked this card and want some more crafty inspiration, don't forget to check out my INSTAGRAM feed!

Wishing you all a lovey day!

♥ Rachel

May We Present - MFT Birthday Project Challenge

Hello crafty friends!  This month's Birthday Project Challenge from MFT Stamps is all about creating a birthday card that features one or more presents.  I don't know about you, but I find myself creating birthday cards more often than any other type of card.  I love how this challenge focuses on a different style of birthday card every month.


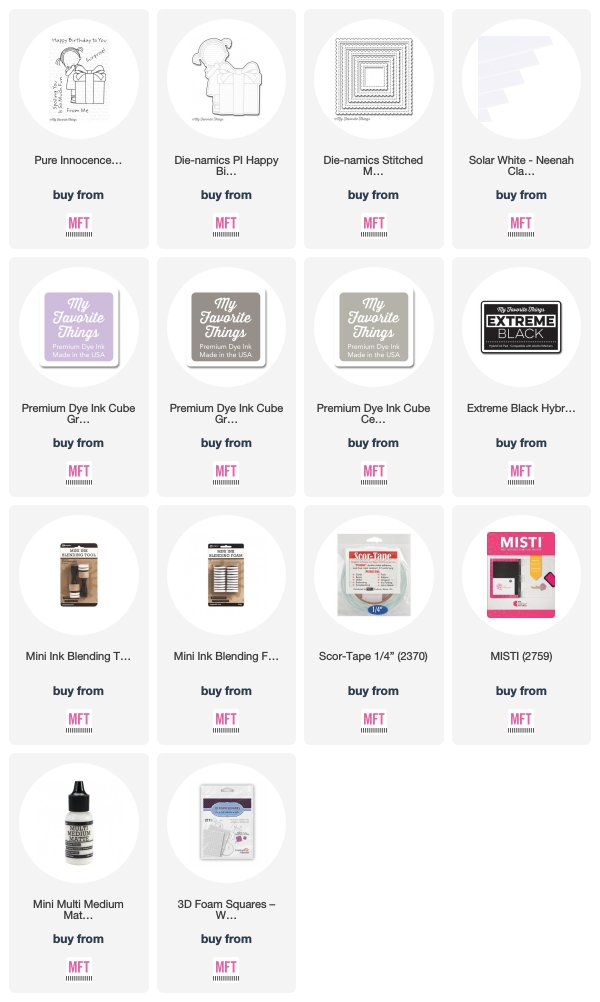
I created a fun square-shaped card featuring the sweet little girl from the Pure Innocence Happy Birthday to You Stamp Set.  I used some beautiful plaid patterned paper from the Petite Plaid Paper Pack as my background.


I also diecut a piece of white card stock using the Stitched Mini Scallop Square STAX Die-namics and then blended it lightly with Grapesicle, Cement Gray, and Gravel Gray Premium Dye Ink.  Once dry, I then stamped my sentiment at the bottom of this panel using my Misti Stamping Tool and Black Ink.


Lastly, I stamped and colored (with Copic Sketch Markers) my image on a sheet of Neenah Classic Crest Solar White 110lb Card Stock and used the coordinating die to cut it out.  I then added this image to my card using 3D Foam Adhesive.


 Thank you so much for dropping by!  I hope you enjoyed my card today.  Make sure to stop by the MFT Challenge & Inspiration Blog to see what the rest of the team has created!

 If you liked this card and want some more crafty inspiration, don't forget to check out my INSTAGRAM feed!

Wishing you all a wonderful day and happy card making!

♥ Rachel


MFT Stamps - Wednesday Sketch Challenge #420

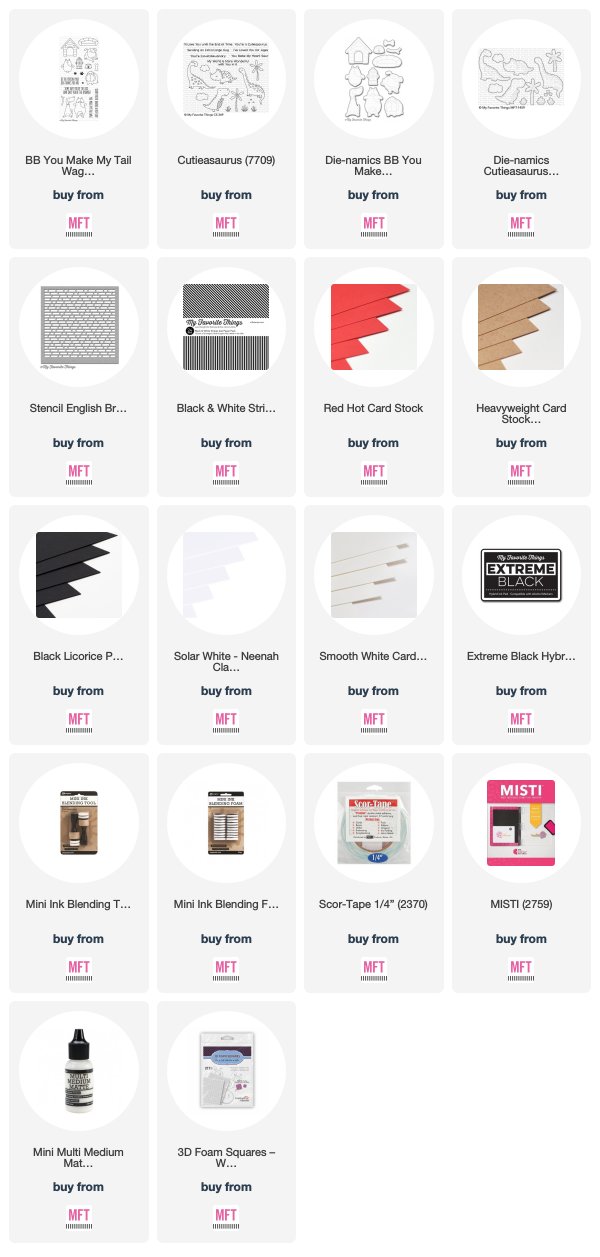
Hello everyone!  Today starts a brand new Sketch Challenge from My Favorite Things!  I have a fun little card to share with you featuring the BB You Make My Tail Wag Stamp Set.


 I love this cute little dog peeking out from his dog house!  To start, I first stamped my images with Black Ink onto a sheet of Neenah Classic Crest Solar White 110lb Card Stock.  I then colored them with Copic Sketch Markers and used the coordinating dies to cut them out.


 I then lightly inked a brick wall to the background of my card using the English Brick Wall Stencil and Cement Gray and Gravel Gray Premium Dye Inks.  I added some strips of paper using some Kraft, Red Hot, and Licorice solid Card Stock as well as a strip of patterned paper from the Black & White Stripes Paper Pack.


I stamped my sentiment onto the strip of Kraft Card Stock with Black Ink.  Lastly, I adhered my images to my card using both liquid adhesive and 3D Foam Adhesive Squares.  I also added a few tufts of grass from the newly released Cutieasaurus Stamp Set.


Here's a look at this week's sketch!  I encourage you to come play along with us for a chance to win a $50 MFT Gift Voucher.  It's also fun to play along and challenge yourself to think of something that will fit the sketch layout.  Head on over to the MFT Challenge & Inspiration Blog for more details and more crafty inspiration from the rest of the participating team members.

 
I hope you enjoyed my card today!  Thanks so much for stopping by!  If you liked this card and want some more crafty inspiration, don't forget to check out my INSTAGRAM feed!

Wishing you all a wonderful day and happy card making!

♥ Rachel

Love Monkeys - Sunny Studio Stamps

Hello, crafty friends!  I am so excited to be joining the wonderful talent on the Sunny Studio Stamps Creative Team!  I have a fun shadow box card to share with you today featuring the new and adorable Love Monkey Stamp Set.


Aren't these monkeys just the cutest?  They're perfect for Valentine's Day or pretty much any other occasion during the year depending on how you decide to color them.  To start, I stamped my images with Copic friendly black ink onto a sheet of Neenah Solar White 110lb Card Stock.  I then colored the images with Copic Sketch Markers and used the coordinating dies to cut them out.


Copic Colors Used:

  • Monkey Bodies: E30, E31, E23, E27, E49
  • Monkey Faces: E0000, E000, E21, E11, E04
  • Branches: E30, E31, E23, E27, E29
  • Copic Colored Leaves: G20, YG01, YG13, YG17, G28
  • Pink Hearts: RV0000, RV00, RV52, RV55
  • Red Heart: R05, R27, R46, R59, RV99


To create my shadow box, I simply cut two pieces of white card stock to 4.25" x 7" and scored each piece at 1.5" and 5.5".  I folded my paper along the score lines and used these two pieces as the outer portion of my box.  I then diecut a circular window in one of the pieces for the front of my card.  For the inner shelves, I trimmed two pieces of white card stock to 4.25" x 4.75" and scored them each at 3/8" and 4 3/8".  Once done with this part, I diecut a circle window into each piece to line up with the one that I made for the front of the card.  This helps to create depth and an easy way to attach your images from all angles inside of your card.


To create the large leafy greenery throughout the card, I used the gorgeous Botanical Backdrop Die and die cut it a few times on some Green Card Stock.  I then trimmed off a few of the green leaves in small sections and blended them with some Distress Inks (Mowed Lawn, Crushed Olive, and Peeled Paint).  I then glued these to the back of each window section to add some more depth and look as if the monkeys were hanging out in the trees.  I also added a piece of patterned pink paper from the new Flirty Flowers 6x6 Paper Pad to the very back section of my card.


Lastly, I adhered a couple of the monkeys, the vines, and the tree branch to the inside of my card with some liquid adhesive.  I attached the last monkey to the outside of my card with some 3D Foam Adhesive Squares.  I then heat embossed my sentiment with Fine Detail White Embossing Powder onto some black card stock.

Sunny Studio Stamps

Thank you so much for dropping by!  I hope you enjoyed my card today!  If you liked this card and want some more crafty inspiration, don't forget to check out my INSTAGRAM feed!

Wishing you all a wonderful weekend!

♥ Rachel

MFT Stamps - Color Challenge #109

Hello everyone!  I'm here today to share the latest Color Challenge (#109) from My Favorite Things.


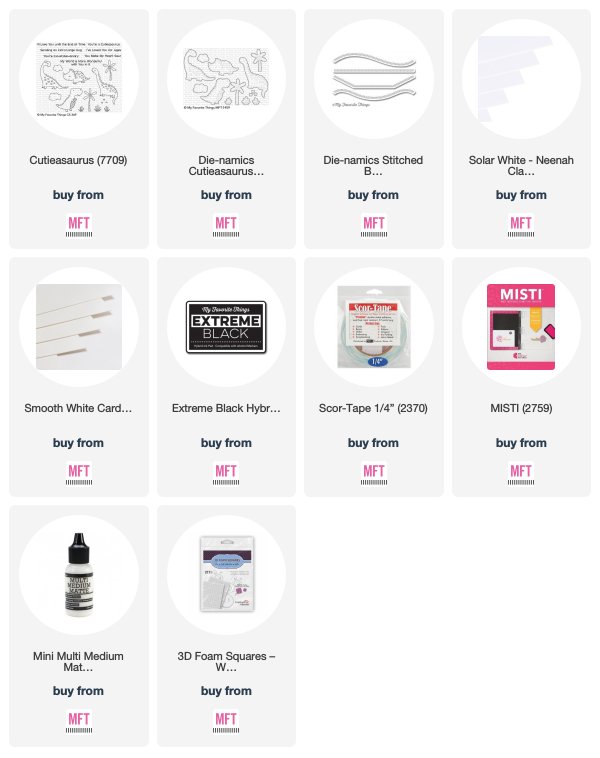
 The color palette today is very soft, yet beautiful.  I used the newly released Cutieasaurus Stamp Set for my project today.  I colored all of my images with Copic Sketch Markers onto a sheet of Neenah Solar White 110lb Card Stock and used the coordinating dies to cut them out.


The colors for Challenge #109 are Limelight, Kraft, Blu Raspberry, and Sno Cone.  You don't have to use the exact colors shown but use colors that this palette inspires you to use.


I used the Stitched Basic Edges 2 Die-namics to create two sections of White Card Stock in which to frame my scene.  I then colored in a simple background scene for my card using Copic Sketch Markers.  I blended some browns (E40, E41, E42, E43) for the ground section and blue greens (BG0000, BG000) for the sky.


I attached both of my White Card Stock panels with some 3D Foam Tape and also used some 3D Foam Squares to attach my images for some added dimension.


Head on over to the MFT Challenge & Inspiration Blog to see what the other participating DT Members have created!  Come play along with us for a chance to win a $50 MFT Gift Voucher!

Thank you so much for taking the time to drop by!  If you liked this card and want some more crafty inspiration, don't forget to check out my INSTAGRAM feed!

Wishing you a lovely day and Happy Cardmaking!

♥ Rachel