MFT September Release Countdown - Day 4!

Hello crafty friends!  I'm back today with some more brand new MFT goodies!  Today, I am sharing a card that features the latest Birdie Brown Stamp Set!  This adorable set is called "Fall Friends" and it has the cutest images that are perfect for the upcoming season.


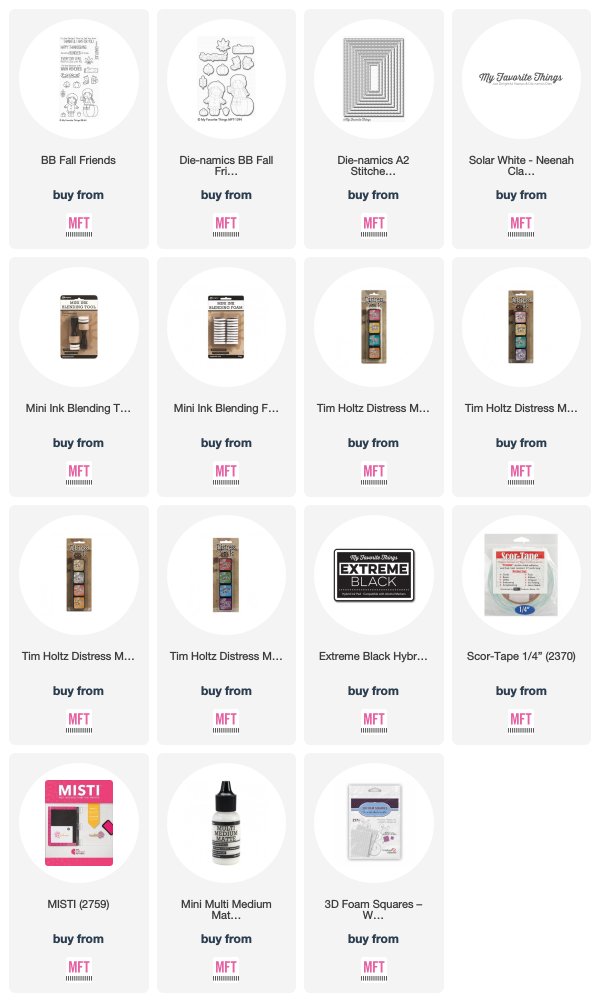
I first stamped my images onto Smooth White Card Stock and colored them with Copics.  I then used the coordinating dies to cut them out.  I then diecut a piece of white card stock using the Stitched Rectangle STAX Die-namics Set 2 and used this piece to create my simple background.


For my background, I masked off the "ground" and then blended some Distress Inks (Squeezed Lemonade, Scattered Straw, Spiced Marmalade and Ripe Persimmon) for the sky.  I used some Warm Grey Copics to quickly draw in the ground.


Lastly, I adhered my images to the front of my card with some 3D Foam Squares for some added dimension.


I hope you've enjoyed my card today!  There are only four more days left until the new release (and this super cute set) become available!  Head on over to the MFT Blog for more sneak peeks and amazing designs from the rest of the participating Design Team Members!  Also, don't forget to leave a comment there for a chance to win a $75 MFT Gift Card!

All new products and new product links will be available on Tuesday, September 4th at 10AM EDT.


Thank you so much for dropping by!  If you liked this card and want some more crafty inspiration, don't forget to check out my INSTAGRAM feed!

Wishing you all a wonderful day!

♥ Rachel
MFT September Release Countdown - Day 5!

Hello friends!  It's time to kickoff the MFT September Product Release Countdown!  I'm so excited to share all of the fun new products over the next few days.


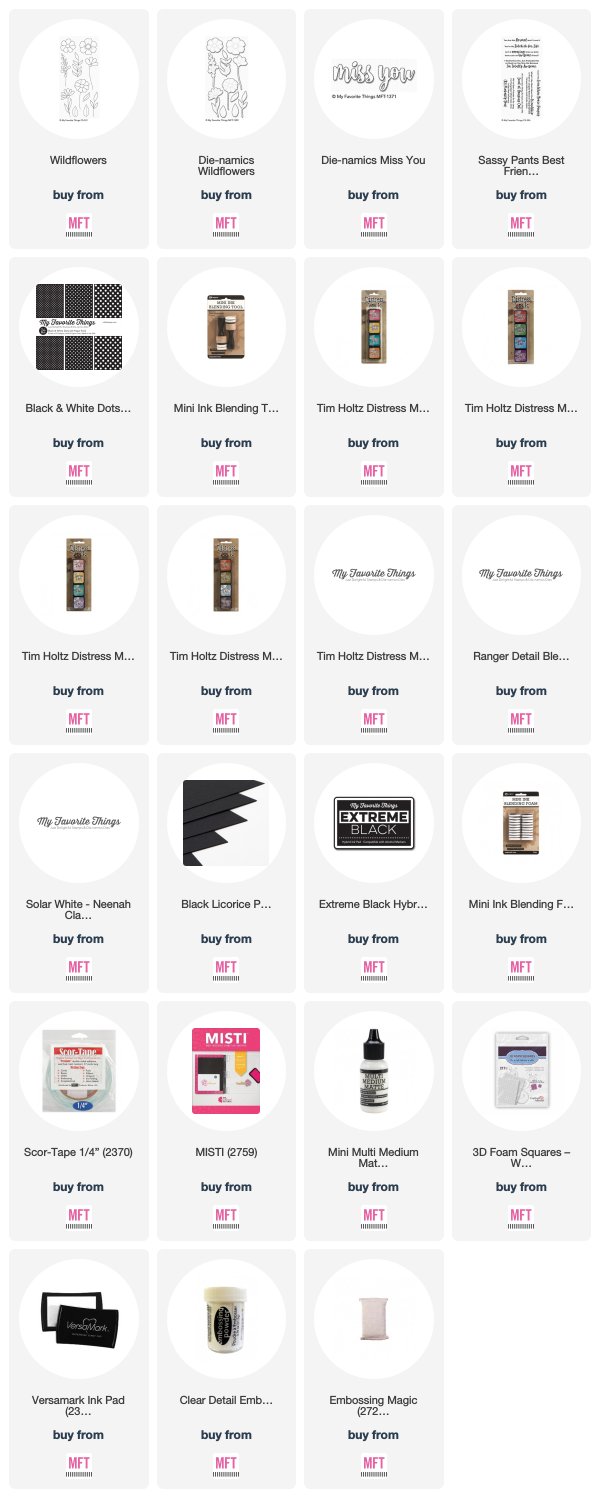
My card today features a couple of the new products.  On the front of the card, I am showcasing the new Wildflowers Set with the Miss You Die-namics.  Also, we have a beautiful new Black & White Dots Patterned Paper Pad!


The inside of my card features a sentiment from the new and exclusive Sassy Pants Best Friends Stamp Set.  You are going to love this set!  It was hard to choose which sentiment to use on my card today because they're all so sarcastically fun and witty.


For the front of my card, I first created the background with a strip of the Black & White Dots Pattered Paper lined with a thin strip of Black Licorice Card Stock.  I then heat embossed my Wildflowers with Clear Detail Embossing Powder and then blended them with Distress Inks prior to using the coordinating dies to cut them out.

I used the following Distress Inks:

  • Orange Flowers: Spiced Marmalade and Ripe Persimmon
  • Pink Flowers: Spun Sugar and Picked Raspberry
  • Green Leaves and Stems: Twisted Citron and Mowed Lawn


I used a few Ranger Mini Blending Tools to blend in some darker areas near the centers of the flowers.  Lastly, I diecut the Miss You Die-namics onto a sheet of Black Licorice Card Stock and then adhered it to the front of my card.


Only 5 more days until the new release becomes available!  All new product links below will be activated at that time too.

Make sure to stop by the MFT Blog for more sneak peeks and inspiration from the Design Team!  Leave a comment there for a chance to win an MFT Gift Voucher!

Thank you for stopping by!  If you liked this card and want some more crafty inspiration, don't forget to check out my INSTAGRAM feed!

Wishing you all a lovely day!

♥ Rachel


Hit the Trai!l - MFT Hits and Highlights

Hello friends!  For this month's Hit & Highlights Feature from MFT Stamps, it's all about Hitting the Trail.  It's time to head west and utilize any MFT product that hast to do with a Western theme.  Woo-hoo!  So much fun!


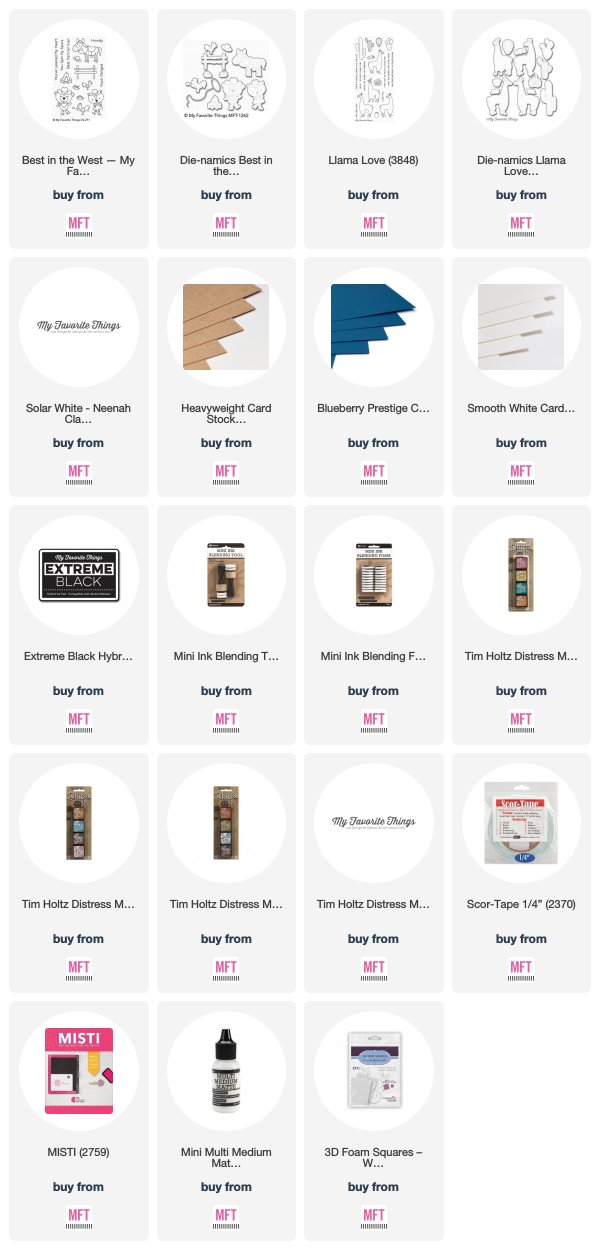
For my card today, I used the Best in the West Stamp Set combined with some cacti from the Llama Love Set.  I opted for a fun little 3D Box Card to create my Western-theme.  To start, I first created the box by using a white sheet of Card Stock, a scoring board, paper trimmer, scissors and some strong adhesive.  I like to follow this tutorial HERE but I do tend to tweak it a bit and make a few size changes so that it's slightly smaller than the one in the tutorial.


I stamped all of my images with Copic friendly Black Ink onto a sheet of Neenah Solar White 110lb Card Stock and used my Copic Sketch Markers to color them.  I then used the coordinating dies to cut them out.


For my background panels, I layered both some White Card Stock and some Blueberry Prestige Card Stock combined with an ink blended panel of Distress Inks (Squeezed Lemonade, Mustard Seed and Ripe Persimmon).


I diecut some "dry grass" using the Grassy Fields Die-namics and with some Kraft Card Stock.  I blended each grassy piece lightly with some Rusty Hinge and Gathered Twigs Distress Inks for some added contrast.


Lastly, I added all of my images to my box base with either some strong adhesive or some 3D Foam Adhesive Squares.  I love making 3D scenes with cards, so I had a lot of fun working with these cute little images.  Here are some other examples of cards that I've made using this set in the past.


Make sure to head over to the MFT Blog for more Western Crafty Inspiration and see what amazing designs the other participating DT Members have come up with!


Thanks so much for dropping by!  I hope you enjoyed my card today!  If you liked this card and want some more crafty inspiration, don't forget to check out my INSTAGRAM feed!

Wishing you all a lovely day!

♥ Rachel

Bear Family - Picket Fence Studios

Hello everyone!  I'm back today to share a card that I made featuring another adorable stamp set from Picket Fence Studios.  The set that I used today is called Bear Family and it's super duper cute!


I love how this stamp set looks just like a family photo.  Some bears are beaming but not everyone is smiling.  It makes me think of my family photos because there is always somebody that doesn't want to have their picture taken or refuses to smile.  It's seriously perfect! 


This stamp is 6"x6", so it fills up your card, making it easy for creating your layout.  All you pretty much need to decide is how you are going to color it.  I opted for rich, Fall colors and used my Copic Sketch Markers to color each bear once I stamped the image onto some smooth white Card Stock.


I mounted the Bear family photo onto a square piece of dark grey card stock.  For my sentiment, I heat embossed it with Super Fine Detail White Embossing Powder.

Bear Family

I encourage you to check out the other stamp sets from Picket Fence Studios!  They have a pretty large selection from all different genres and a great sense of humor.  This set was so much fun to work with!

Picket Fence Studios


Thanks so much for dropping by!  I hope you enjoyed my card today!  If you liked this card and want some more crafty inspiration, don't forget to check out my INSTAGRAM feed!

Wishing you all a wonderful day!

♥ Rachel

I Love You a Bushel and a Peck - MFT Color Challenge 100

Hello crafty friends!  I have a sweet but simple card to share with you today for MFT Stamps' 100th Color Challenge.


The colors for this challenge are Blue Yonder, Blue Breeze, Kraft and Persimmon.  You don't have to use the exact colors on your projects - just use colors inspired by the ones you see in the photo above.


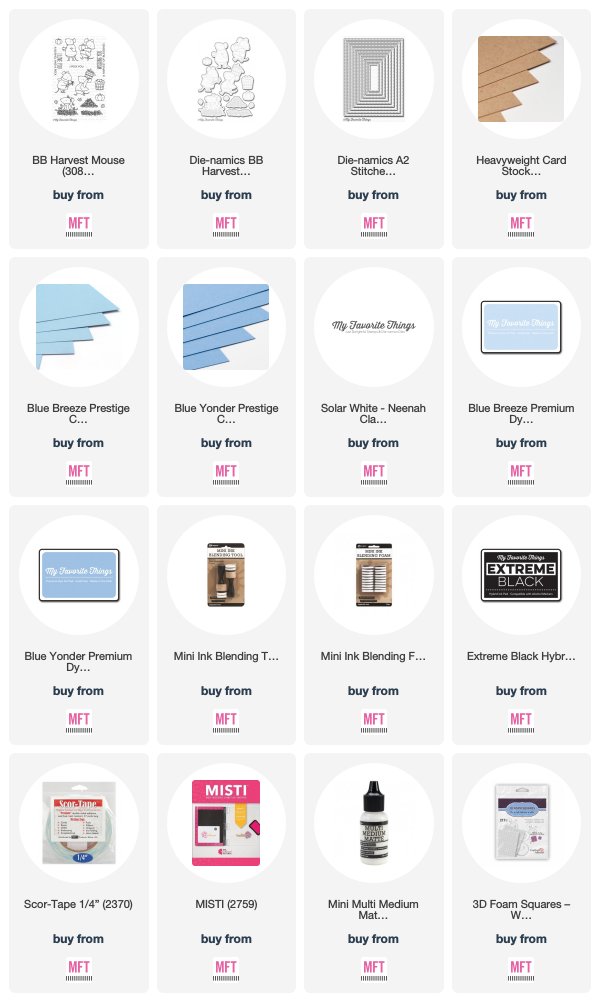
I used one of the sweet little mice from the BB Harvest Mouse Stamp Set and a barrel full of apples.  To start, I first created the background portion of my card.  To do this, I diecut some Smooth White Card Stock with one of the A2 Stitched Rectangle Set 1 Die-namics.  I then masked off the bottom portion of this piece and lightly blended the top with some Blue Breeze and Blue Yonder Premium Dye Ink.  Once done, I removed the mask and colored the "floor" with some warm grey Copic Sketch Markers (W00, W0, W1, W2, W4).


I used some Black Ink and my Misti Tool to stamp my sentiment and then layered this panel onto an A2 Kraft Card Base with some Blue Breeze and Blue Yonder Prestige Card Stock.


Lastly, I stamped my images onto some Neenah Solar White 110lb Card Stock, colored them with Copic Sketch Markers and used the coordinating dies to cut them out.  I then attached these to my card base with a few 3D Foam Squares for some added dimension.


Isn't this color palette a beautiful combination?  I'd love to see what you are inspired to create with these colors!  So, come play along with us for a chance to win a $50 MFT Gift Voucher!  Don't forget to stop by the MFT Challenge & Inspiration Blog to see the amazing designs from the rest of the participating DT Members!

Thanks so much for dropping by!  I hope you enjoyed my card today!  If you liked this card and want some more crafty inspiration, don't forget to check out my INSTAGRAM feed!

Wishing you all a lovely day!

♥ Rachel
 

I'm Over the Moon For You - MFT Wednesday Sketch Challenge 399

Hello friends!  It's time for a new Wednesday Sketch Challenge from MFT Stamps!  For my take on the sketch, I created a fun galaxy-themed card that features the BB Space Explorer Stamp Set.  I love all of Birdie Brown's illustrations, but this set is one of my absolute favorites.


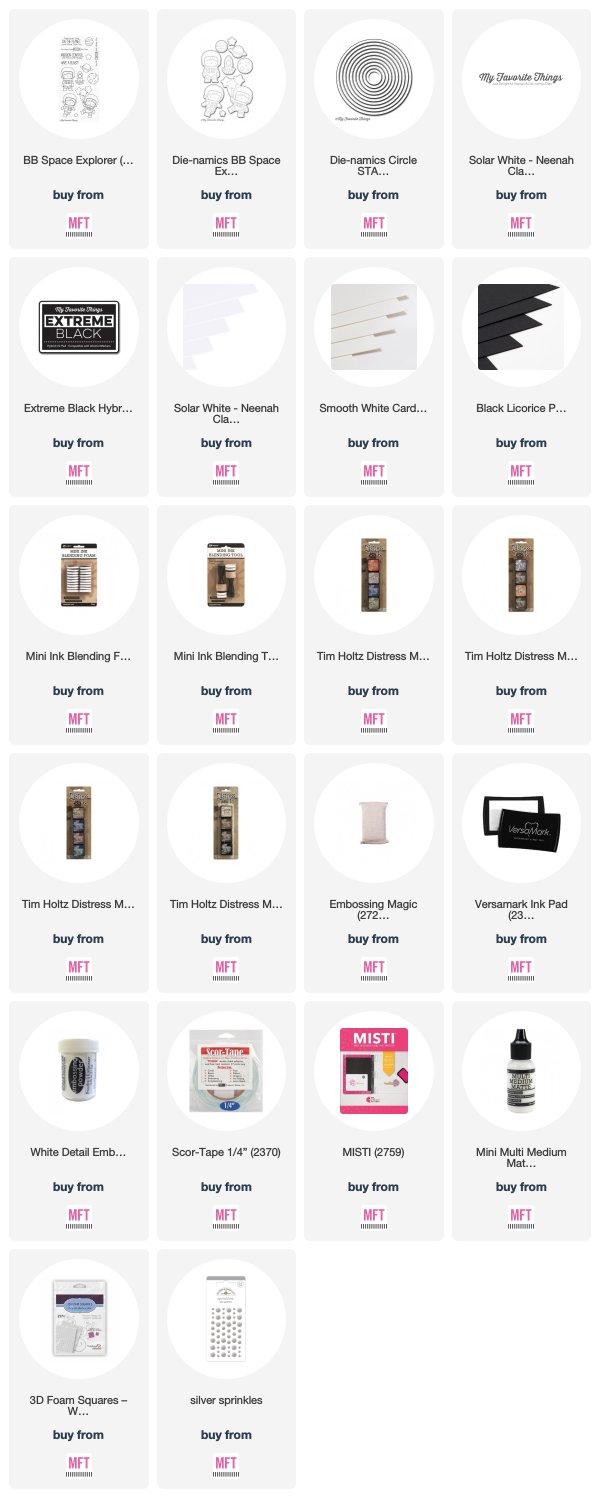
To start my design, I first created a galaxy strip for the background.  I blended some Faded Jeans, Stormy Sky, Chipped Sapphire and Black Soot Distress Inks onto a smooth white piece of card stock and then spritzed it lightly with water.  After lightly blotting it dry with a paper towel, I then splattered some white ink on top of this panel to create some "stars". I trimmed this piece to approximately 5.5" x 2 1/8" and glued it to the base of my card.


For the moon, I diecut a piece of Neenah Solar White 80lb Card Stock with the Circle STAX Die-namics and then used some Cool Grey Copics (C00, C0, C2, C4, C5) and the Copic Colorless Blender to add some craters/texture.  I then adhered this circular piece on top of my galaxy strip with a little bit of strong adhesive.


I then stamped my images onto a piece of Neenah Solar White 110lb Card Stock with Copic friendly Black Ink, colored them with Copic Sketch Markers and used the coordinating dies to cut them out.  Before adding these images to the card, I heat embossed my sentiment onto a small strip of Black Licorice Card Stock with Detail White Embossing Powder and attached it to the lower portion of my card.


Lastly, I attached my images with some 3D Foam Adhesive Squares for some added dimension and then added a few Silver Sprinkles to imitate stars or planets and to complete the sketch layout.


Here's a look at this week's sketch layout.  The sky is the limit with your interpretation of this sketch, so I hope that you come play along with us and show off your creativity!  One winner will be chosen randomly to win a $50 MFT Gift Voucher!


Make sure that you head on over to the MFT Challenge & Inspiration Blog to see the creations from the rest of the participating DT Members.  It really helps to see what other people have designed to get your creative juices flowing!


Thank you for stopping by!  If you liked this card and want some more crafty inspiration, don't forget to check out my INSTAGRAM feed!

Wishing you all a wonderful day and happy card making!

♥ Rachel

Hello Beautiful! - MFT Beautiful Bloom Card Kit Release

Hello crafty friends!  The Beautiful Bloom Card Kit from My Favorite Things is now available in the MFT Boutique!  I absolutely love this card kit.  I can't tell you just how beautiful the flower stamp really is in person.  Even without coloring it, the flower image just pops up off the page after you stamp it.


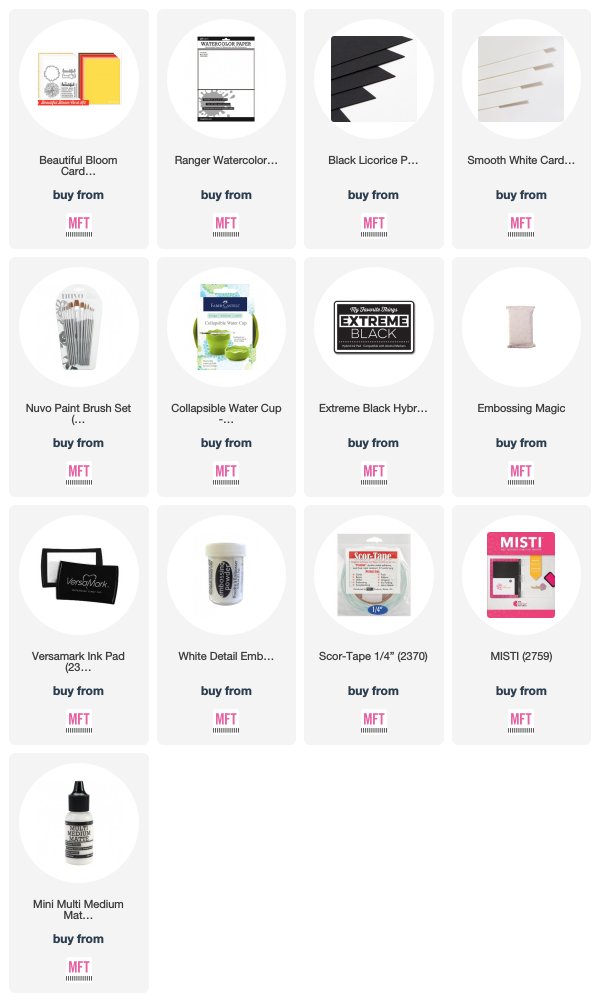
For my card today, I did some simple heat embossing and water coloring.  Would you believe it if I told you that I only used one color to paint the flower?  It's true!  I only used one Zig Watercolor Brush (Pink #025), a basic paint brush and some water.


Prior to coloring my image, I first heat embossed the large flower image three times with White Embossing Powder onto a 4.25" x 5.5" sheet of Ranger Watercolor Paper.  I then used my Zig Watercolor Brush and some water to add some loose water coloring.  Lastly, I stamped my "Hello" sentiment and added the diecut word sentiment "beautiful" by die cutting some Black Licorice and Smooth White Card Stock.


The new card kit is available NOW at the MFT Boutique.  If you want this kit, make sure you pick it up at this special bundle price because the kits are limited.


Also, for more Card Kit Inspiration, head on over to the MFT Blog to see the amazing designs created by the rest of the team!  Make sure to leave a comment on the Card Kit Release Day Post for each DT Member if you would like to have a chance to win a $50 MFT Gift Voucher!


Thank you so much for stopping by!  If you liked this card and want some more crafty inspiration, don't forget to check out my INSTAGRAM feed!

Wishing you all lovely day and happy card making!

♥ Rachel

Make Today Beautiful - MFT Beautiful Bloom Card Kit - Day 1

Hello everyone!  This month's Card Kit from My Favorite Things is absolutely gorgeous!  It's called the Beautiful Bloom Card Kit and it's full of lovely goodies and the most gorgeous flower stamp.


For my card today, I created a simple but bold card featuring this flower in fall colors.  I first stamped my image onto Smooth White Card Stock with Copic friendly Black Ink and colored with Copics (Y02, Y17, R05, R27, R46, R59 and RV99 for shading).  I then used the coordinating die to cut it out.


I layered my card with various colored Card Stock (Smooth White, Gold Sparkle, Persimmon, Chocolate and Black Licorice) and used foam adhesive squares to attach both my flower and my diecut word sentiment.

Lastly, I added some shimmery Red Sprinkle embellishments for some added interest.

I love all of the sentiments that come with this kit!  They're perfect for almost any occasion.  Make sure to stop by the MFT Blog to see the amazing designs created by the rest of the Design Team!


This new kit will be available this coming Tuesday, August 21st at 10AM EDT.


Thanks so much for stopping by!  If you liked this card and want some more crafty inspiration, don't forget to check out my INSTAGRAM feed!

Wishing you all a wonderful day and happy card making!

♥ Rachel