Merry Moose-mas - Whimsy Stamps Guest Post

Hello everyone!  I'm back with my final guest post this month for Whimsy Stamps.  I have had a fun time using their fabulous products and I am so grateful to Whimsy Stamps for this wonderful opportunity!  You can check out the variety of amazing stamps and dies that they have available HEREAffiliate links used.


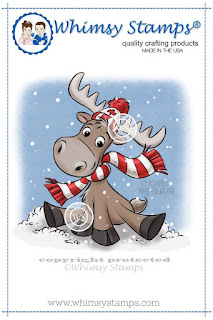
I actually created two projects to share with you today.  When I first saw the Merry Moose-mas Rubber Cling Stamp, I was itching to color it, lol.  He's just the cutest!  This is a single-layer card, stamped with Black Ink onto a piece of Neenah Solar White 110lb Card Stock and colored with Copics.

Whimsy Stamps


After I colored my image, I diecut the entire image with the largest of the Hand Stitched Nested Rectangle Dies.  I then stamped my sentiment (from the Bundled Up Clear Stamp Set) with Black Ink and then adhered this entire panel to a vertical, top-folding A2 sized card base.


Copic Colors Used:


Lastly, I added some snow on top of both the sky and the moose with a White Gel Pen.

Merry Moose-mas
Whimsy Stamps Merry Moose-mas Rubber Cling Stamp


For my second project, I used the fun and festive Santa from the Oh What Fun Clear Stamp Set.  I love how Santa already looks like he's cruising along.  To give him some more movement, I created a hidden reverse-slider panel.


When you pull on the tab, Santa goes flying across the snow to go deliver his bag full of goodies! (I've included a short video at the end of this post to show how Santa moves across the snow).


To create this type of a card, you only need a craft knife (or slot punch), a ruler, a plastic bag, 3D foam tape and some 1.4" tape runner.  I apologize that I didn't create a video for this process but if you google "Creating a Card with a Hidden Slider Channel", you will find a lot of good tutorials out there!  The fun part is that you can use this technique on so many of the Whimsy Stamps that you already own!  OR you can make things even easier and check out the amazing new line of kinetic dies that Whimsy Stamps has just introduced this month.  You can see them all HERE.


For the sky, I blended some Distress Inks (Faded Jeans and Tumbled Glass) and then added some snow using some Opaque Crackle Texture Paste and the Polka Dots Stencil.  I also added a few more dots of snow with a White Gel Pen.  I used the Stitched Border Die Trio for the snowy hill.


Oh What Fun

I hope you enjoyed my cards today!  Here are the rest of the cards (below) that I created this past month for my Whimsy Stamps Guest Design Posts.

https://theunpamperedstamper.blogspot.com/

Thank you all so much for dropping by!  If you liked this card and want some more crafty inspiration, don't forget to check out my INSTAGRAM feed!

Wishing you all the most wonderful day!

♥ Rachel


MFT Stamps Wednesday Sketch Challenge #413

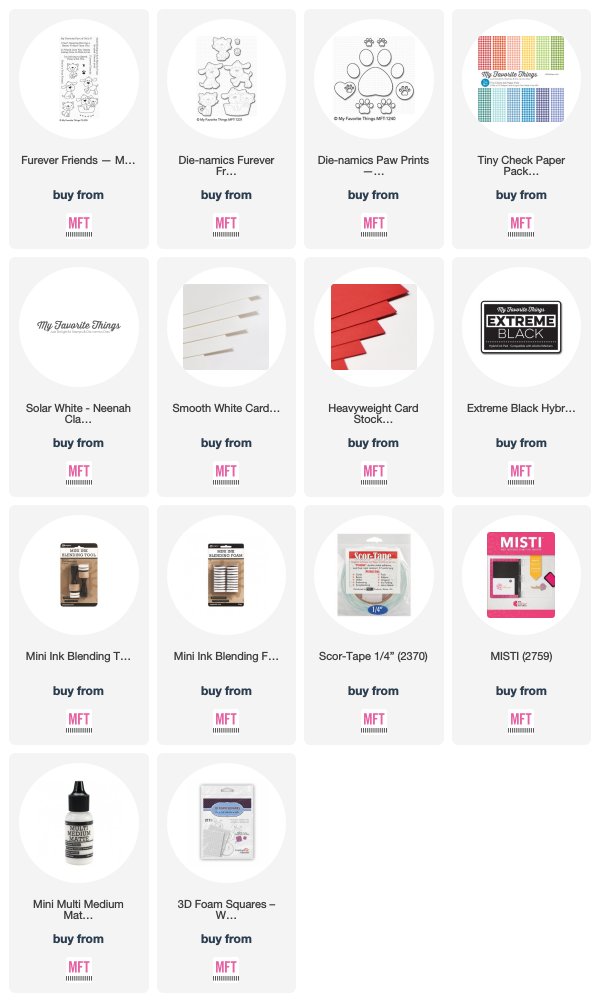
Hello crafty friends!  I have a new Wednesday Sketch Challenge to share with you from MFT Stamps.  I went with a clean and simple design and used one of the sweet pups from the Furever Friends Stamp Set.


Although I love making them, I opted to go with something different than a Christmas Card this time.  To follow the pattern of the sketch, I diecut 5 paw prints in a vertical line using the Paw Prints Die-namics.  I placed this diecut strip of paper over a red piece of card stock and then attached it to the base of my card.


For my image, I colored him with Copics (E30, E31, E23, E25, E29, E49) and used the coordinating die set to cut him out.  Before attaching him to the card, I lightly blended an area of Tumbled Glass and Broken China Distress Ink for the background and then colored the ground area with some Warm Copic Colors (W00, W0, W2, W4).


I stamped my sentiment with Black Ink and then attached my image with 3D Foam Adhesive Squares to give my dog a little bit of dimension from the rest of the card.


Here's a look at this week's sketch.  I challenge you to have some fun and come play along!  One random winner from all entries will be chosen to win a $50 MFT Gift Voucher.


Head on over to the MFT Challenge & Inspiration Blog for more details and to see what amazing designs the rest of the team has created.

Thanks so much for stopping by!  If you liked this card and want some more crafty inspiration, don't forget to check out my INSTAGRAM feed!

Wishing you all a wonderful day and happy card making!

♥ Rachel

Santa's Workshop 3D Pop-up Card - Mama Elephant

Hello crafty friends!  As most of you know, I love creating cards with dimension and lots of color.  I really enjoy creating cards with a scene, so making this festive little Pop-up Card featuring some of the adorable Little Agenda Stamps from Mama Elephant was so much fun!  I also included a short video clip at the bottom of this post to show how this card folds perfectly to be able to fit into an A2 sized envelope.


To start, I first created my background by blending some Distress Inks (Tumbled Glass, Salty Ocean, and Blueprint Sketch).  I splattered this panel with some Opaque White Paint to resemble snow.  All of my images were stamped with Copic friendly Black Ink, colored with Copics and cut with their coordinating dies.


I added some snowy mountains in the background of my scene using the Snow Capped Mountains Creative Cuts.  I also added some pop-up snowy hills using the Landscape Trio Creative Cuts and gluing some tabs onto the back of each hill in order for them to pop up when the card is opened.  I also added some snowy white trees from the On The Hills Creative Cuts.


In order to create the floating floor, you can check out the dimensions that I used from and earlier post of mine HERE.  Instead of cutting holes in the floor prior to attaching, I used a small sharp blade to cut them after my floor was attached since there were so many pieces and I wanted to have a better view as to where things would go as I worked.


I combined images from these stamp sets:

Santa's Sleigh (inside sentiment)
Scripty XMAS (outside sentiment)


I just love all of these sweet little illustrations!  They pair perfectly with one another to create a fun Christmas scene.


Here's a view of the outside of the card.  Because I have a lot going on inside of the card, I kept it rather simple with just a decorative belly-band to hold it shut.


Here's a short video (above) on how the card works in action.


I hope you enjoyed my card today!  Thanks so much for stopping by!  If you liked this card and want some more crafty inspiration, don't forget to check out my INSTAGRAM feed!

Wishing you all a lovely day!

♥ Rachel

Cool Christmas - MFT Stamps Hits & Highlights

Hello everyone!  For this month's Hit & Highlights feature from MFT Stamps, it's all about creating cards with a Cool Christmas feel.  The design team was challenged to use blues and purples to create wintery Christmas scenes.


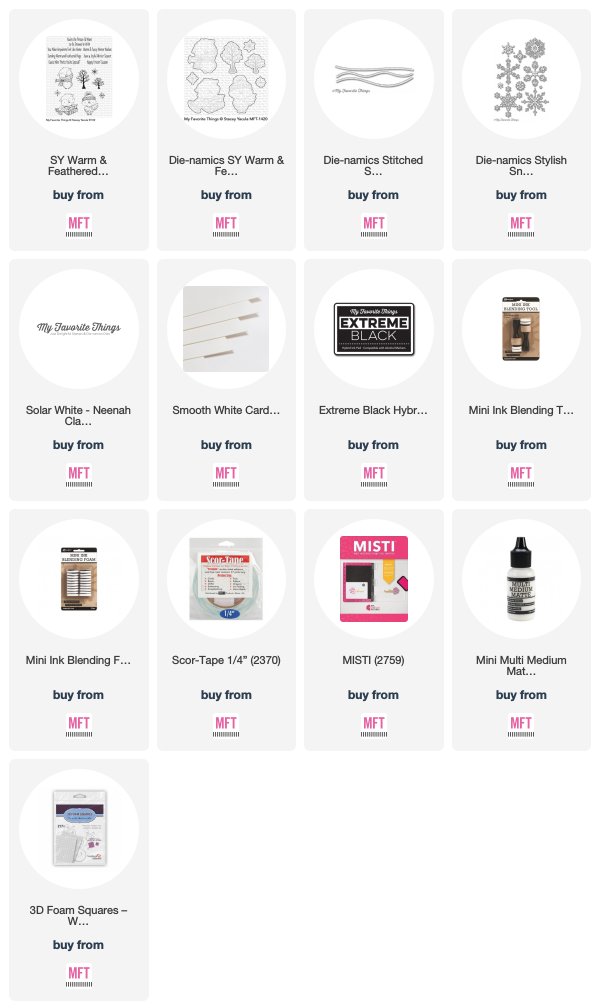
I used the newly released Warm & Feathered Hugs Stamp Set from Stacey Yacula for my card today.  I stamped the images with Black Ink onto a sheet of Neenah Classic Crest Solar White 110lb Card Stock, colored with Copics and then used the coordinating dies to cut them out.  I adore these sweet little owls...especially the one with the oversized comfy scarf.


For my background, I was inspired by a card recently done by Michelle Short.  I love how she had blended some blue and purple inks to get a blizzard styled sky.  To do this, I followed her instructions and used a piece of (Ranger) Watercolor Paper and blended some Distress Inks in Wilted Violet, Mermaid Lagoon, and Blueprint Sketch. 


To make it sparkle, I sprayed a layer of water mixed with Perfect Pearls and then set it aside to dry.  Once dry, I then splattered some White Paint over the panel to resemble falling snow.


I heat embossed some wintery trees in the background with some Fine Detail White Embossing Powder and added a few snowflakes from the Stylish Snowflakes Die-namics Set.  I cut the snow drift using the Snow Drifts Die-namics and then stamped my sentiment with Black Ink.  Lastly, I attached my images with some 3D Foam Adhesive Squares for some added dimension.


Don't forget to stop by the MFT Blog to see the rest of the designs and inspiration provided by the other participating DT Members!

https://www.mftstamps.com/
Also, My Favorite Things is generously extending their sale one more day in case you happened to miss it this past weekend! 

I hope you've enjoyed my card today!  Thanks so much for dropping by!  If you liked this card and want some more crafty inspiration, don't forget to check out my INSTAGRAM feed!

Wishing you all a wonderful day!  Happy stamping!

♥ Rachel

A Bear Kind of Winter - Picket Fence Studios

Hello crafty friends!  I hope you are all enjoying the rest of your weekend!  With Thanksgiving just wrapping up and Christmas right around the corner, things in my household have been pretty busy the past few days.


I am excited to share with you a couple of cards that I made using the A Bear Kind of Winter Stamp Set from Picket Fence Studios.  I just love the sweaters and scarves that the bears are wearing!  For my first card, I created a Shadow Box that I wanted to resemble being inside a cave and looking out.  Affilate Links used.


This shadow box folds perfectly to fit into an A2 sized envelope.  Outer shell dimensions are two pieces of 7" x 4.25", scored at 1.5" and 5.5" and the flaps are glued together after the overlap.  Inside shelving heights can vary but I used sheets of 4.5" x 4.25" and scored them at .25" and 4.25" and then diecut circles in decreasing size in the center of each to get more of a tunneled-look to my card.

A Bear Kind of Winter

For all of my images, I stamped them with Black Ink, colored with Copic Sketch Markers and cut them out.  I also used some Cool Grey Copics (0, C00, C1, C3, C4) to color the "floor" area of the cave.

http://shrsl.com/1b1uc

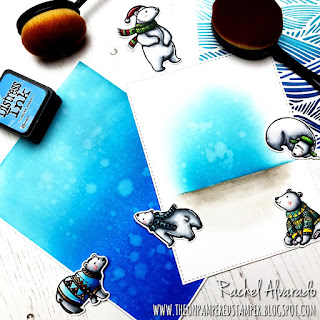
For the snowy night background, I blended some Distress Inks (Tumbled Glass, Blueprint Sketch, and Chipped Sapphire) with a few of the Life Changing Ink Blending Brushes.  In a recent post, I showed you a few backgrounds that I made using these amazing brushes.  They blend so smoothly and help you to create gorgeous ink blended backgrounds.

Life Changing Ink Blending Brushes - Picket Fence Studios


 These brushes are ON SALE at 20% off until tomorrow!  They come in various sizes and packages, so you don't need to buy all of them.  I recommend starting with the package of either 2 or 4 large brushes first.  And if you spend $30 or more, Picket Fence Studios is giving you one of these brushes (size will vary) FREE with your order!


http://shrsl.com/1b1tv


My second card is a simpler card with a small ink blended area in the background.  I again used the Life Changing Ink Blending Brushes for this card as well.  I blended some Stormy Sky, Faded Jeans and Blueprint Sketch Distress Inks, spritzed it lightly with water and allowed it to dry after blotting it lightly with a paper towel.


I added some snow with a White Gel Pen and stamped my sentiment with Black Ink at the bottom of the card.

Picket Fence Studios

You can check out all of the variety of products that Picket Fence Studios has to offer HERE.


Thank you all so much for dropping by!  If you like my work and want some more crafty inspiration, don't forget to check out my INSTAGRAM feed!

Wishing you all the most wonderful day!

♥ Rachel

MFT Stamps Color Challenge #106 - You Make Every Day Cooler

I love the MFT Stamps Color Challenges!  Sometimes I can look at the color palette and automatically picture a card that I think would work perfectly with the color scheme.  Then there are other times where it takes quite a bit of brainstorming.  However, either way, it's always fun to come up with something and see the end result!


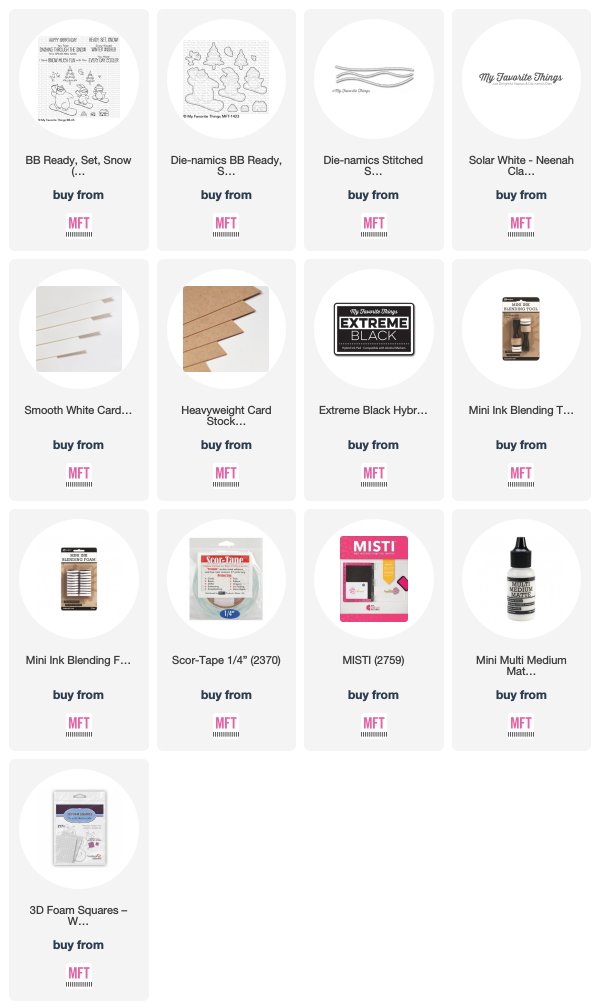
Color Challenge #106 has a beautiful color combination of Jellybean Green, Kraft, Persimmon, and Hot Fudge.  I used the newest Birdie Brown Set called "Ready Set Snow" to create a fun winter scene that incorporated all of these colors.


To start, I first stamped my bear and the two trees with Black Ink, Copic colored them and then used the coordinating dies to cut them out.


I then created a simple background of Kraft Cardstock splattered with some White Paint.  I added a snowy hillside using the Stitched Snow Drifts Die-namics and stamped my sentiment with Black Ink on the lower portion of my card.


I adhered my trees with some liquid adhesive and my bear with a few 3D Foam Squares for added dimension.  Lastly, I stamped a little puff of snow behind the bear to make it look like he was moving quickly down the hill.


I encourage you to come join us and play along for a chance to win a $50 MFT Gift Voucher!  Make sure to stop by the MFT Challenge & Inspiration Blog to see what other fun designs the rest of the participating DT Members have come up with!

MFT Stamps

MFT Stamps is also running their biggest sale of the year right now with 35% off your entire order!  You won't wan to miss it!


Thanks so much for dropping by!  If you liked this card and want some more crafty inspiration, don't forget to check out my INSTAGRAM feed!

Wishing you all a wonderful day!

♥ Rachel

Life Changing Blender Brushes (get a FREE one!) and a Black Friday Sale - Picket Fence Studios

Hello everyone!  I have an amazing new product to share with you today!  They are called the Life Changing Blender Brushes by Picket Fence Studios.  I kindly received a set from Picket Fence Studios a few weeks ago to try out at my leisure.  Let me tell you... I absolutely LOVE these brushes!  They are amazing! Affilate Links used.


I tried using them to create a number of different ink-blended backgrounds and it was seriously SO easy to do.  Because of the softness and style of the brush, you could easily blend very lights amount of ink onto a smooth piece of card stock or use a heavier hand to make them more bold.


The best part is that there were NO smudges and I made three different backgrounds within 5 minutes!  With other brushes, this usually would take me at least 3 x's as long.  I am seriously in love with these!

Life Changing Brushes - Picket Fence Studios

The entire set comes with 10 ergonomically designed ink blending brushes that are super soft and provide beautiful coverage.  So far, I have mainly stuck to the 4 largest brushes and have been able to get the job done without a problem.  I did, however, use one of the small brushes for certain areas on an intricate stencil (I used the Hero Arts Waves Stencil for the one panel shown in the first photo above).


I will be sharing some cards soon that I made using these awesome brushes!  Trust me, it is totally worth it even to invest in just one.  They clean so easily and the ink comes off so well that I found that I could change between ink pads of similar without actually cleaning them and had no ink crossover.  It was awesome!


Picket Fence Studios - Black Friday Sale

AND, if you're interested, Picket Fence Studios currently has a Black Friday sale going on until Monday, November 26th where you get 20% off of your order, a FREE Life Changing Blender Brush (while supplies last on orders of $30 or more) and FREE US Shipping!  Head HERE to check out all of the gorgeous variety of stamp sets that they have to offer.

https://theunpamperedstamper.blogspot.com/2018/08/bear-family-picket-fence-studios.html

https://theunpamperedstamper.blogspot.com/2018/08/you-are-mermazing-picket-fence-studios.html

https://theunpamperedstamper.blogspot.com/2018/08/never-give-up-hope-picket-fence-studios.html

Here are a few projects that I made recently using some of their stamps.  You can click on any of the photos above to head to that particular blog post and see what particular products I used.

Picket Fence Studios

Thank you all so much for dropping by!  If you like my work and want some more crafty inspiration, don't forget to check out my INSTAGRAM feed!

Wishing you all the most wonderful day!

♥ Rachel