Winter Wishes Box Card - Whimsy Stamps Guest Design

Hello friends!  I'm back today to share my third guest post this month for Whimsy Stamps.  I've greatly enjoyed playing with their super cute stamps and had a lot of fun creating a 3D "Winter Wishes" Box Card to share with you.


For this card, I used the adorable penguins from the "Penguins Winter Adventure" Stamp Set and combined them with some accessories from the "Oh What Fun" Stamp Set.  I love the little North Pole sign sticking up in the back of the scene!  I stamped all of my images with Copic friendly Black Ink, colored with Copic Sketch Markers and then cut them out.


To create the base (box portion) of my card, I like to refer to THIS tutorial.  I do change the measurements slightly (mine base is not as tall) but you can design yours however you like.  I created my own candy-cane striped patterned paper for the sides of the box using the Brushed Stripes Background Rubber Cling Stamp with Red Ink and layered it with some pieces of Kraft Card Stock.


For the blue sky background, I blended some Tumbled Glass, Salty Ocean, and Blueprint Sketch Distress Inks and then splattered this panel with some white paint to resemble snow.


I created a few stitched snowy hills by diecutting some small pieces of white card stock with the Stitched Border Die Trio.  Lastly, I heat embossed my sentiment with Super Fine Detail White Embossing Powder onto a small strip of black card stock.

Whimsy Stamps Penguins Winter Adventure


Whimsy Stamps Oh What Fun Stamp Set


Brushed Stripes Rubber Cling Background Stamp


I hope you enjoyed my card today!  You can check out the other super cute stamps and dies that Whimsy Stamps has to offer HERE.
Whimsy Stamps

Thanks so much for dropping by!  If you liked this card and want some more crafty inspiration, don't forget to check out my INSTAGRAM feed!

Wishing you all a lovely day and happy card making!

♥ Rachel

"Get Well Soon" Mini Care Boxes - MFT Tips & Tricks


Hello crafty friends!  For this month's MFT Stamps Tips & Tricks Feature, I have some cute and practical "Get Well Soon" Mini Care Boxes to share with you.  


Unfortunately, it's that time of the year here where a lot of sickness is going around.  Sometimes we want to give more than a card to someone who is ill but less than a gift.  These are perfect for those occasions!


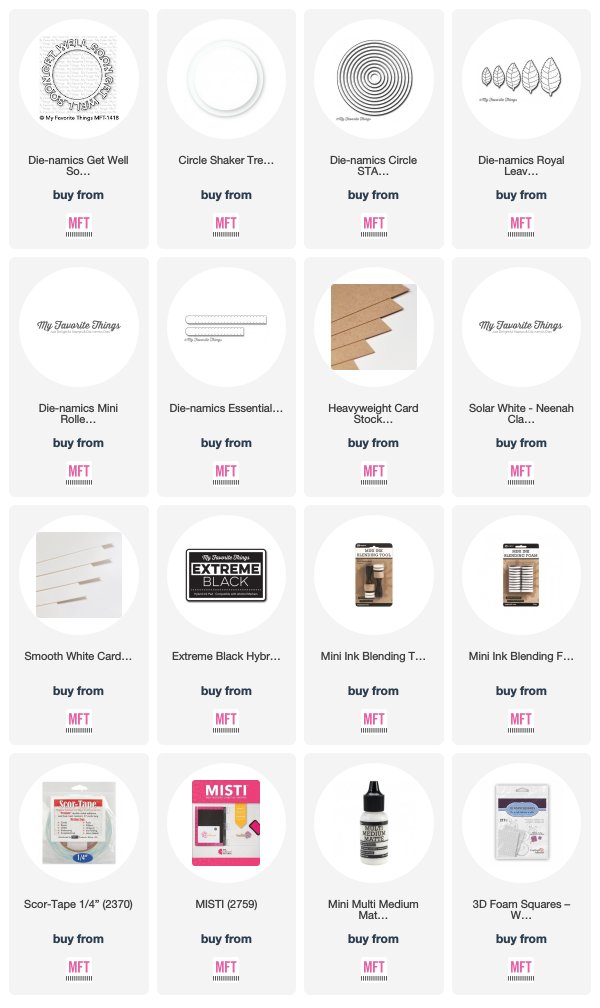
 When I first saw the Get Well Soon Circle Frame Die-namics, I thought that it would go perfectly with the Circle Shaker Treat Pouches.  These pouches are fairly deep and you can fill them with pretty much whatever little treat that you wanted.  I opted to fill all of mine with some cough drops.


I created some matchbox style slider boxes that also had room for some care items.  Some of the boxes, I filled with tea and the others I filled with pocket sized packets of tissues.


To start, I first created some felt flowers and leaves using the Mini Rolled Roses & Royal Leaves Die-namics.  For the outer shell of the box, I cut a piece of Kraft Card Stock to 8.5" x 4.25".  I then scored this piece along the long side at 1", 4", 5", and 8".  For the inner portion (or drawer) of the box, I cut a piece of White Card Stock to 6 3/16" and 4 15/16".  I then scored this piece at 1" on each side after repeatedly rotating my card stock 90 degrees before scoring it.


Once this bottom piece was scored, I then cut the flaps on each of the long-sides of the card stock as shown in the photo above.


I made two variations of drawers.  One, I used a 3/4" Circle Punch to cut a small half circle to make it easier to pull the drawer out and the other I diecut a small stitched window from where the Kleenex could slide through.


To create the outer portion of my box, I diecut a small circle into the front section using the Circle STAX Die-namics Set #2.  I then glued my Circle Shaker Treat Pouch from the inside and allowed it to dry.  I then placed my cough drops into the treat pouch and and attached a piece of colored card stock (I used scrap pieces of ink-blended sheets of paper but any card stock will do) to the back of it to hold the cough drops in place.


I used the smaller of the Essential Sentiment Rip Strip Die-namics to allow for easier access to the cough drops without having to tear the box apart.


Lastly, I glued my Get Well Soon Circle Frame around the outer part of the Treat Shaker Pouch.  I added some twine and the felt roses to add some more color and interest.


I hope you have enjoyed my idea today!  You could even use this idea for some fun party or wedding favors.  Obviously, you would use a different Word Circle Frame Die-namic for those occasions!


Make sure to stop by the MFT Blog to see what other Tips & Tricks the rest of the participating team members have come up with !

Thanks so much for dropping by!  If you liked this project and want some more crafty inspiration, don't forget to check out my INSTAGRAM feed!

Wishing you all a wonderful day!

♥ Rachel

SEA-son's Greetings - Whimsy Stamps Guest Design

Hello crafty friends!  I'm here to share with you a new Ocean-themed/Holiday stamp set from Whimsy Stamps that is soooo much fun!  I love creating both underwater-themed cards as well as Christmas cards.  So to have a stamp set where I can combine the two is the best of both worlds!


This set is called Christmas Tidings and I decided to create a fun aquarium-style shaker card to show each of the sea-creatures in this super cute set.  This card fits perfectly into a standard-sized business envelope.


To start, I first created a bold blue background by blending some Distress Inks (Tumbled Glass, Salty Ocean and Blueprint Sketch) onto a sheet of Neenah Solar White 80lb Card Stock.  I then spritzed this panel lightly with water and blotted it dry with a paper towel.  For the front panel of the card, I simply die-cut three square windows and stamped my sentiment underneath them in the lower center of this panel.

Christmas Tidings Clear Stamp Set

I stamped my creatures onto a sheet of Neenah Solar White 110lb Card Stock with Copic friendly black ink, colored them with Copic Sketch Markers and then cut them out.  I also added some green sea-foliage from the Let's Be Mermaids Stamp Set.


Christmas Tidings Clear Stamp Set

Copic Colors Used:
  • Seahorse Body: V000, V01, V04, V06, V09
  • Seahorse Fins: BV000, BV00, BV01, BV02, BV08
  • Oranges: YR00, YR02, YR04, YR07, E35
  • Reds: R02, R14, R27, R46, R59, RV99
  • Greens: G20, YG01, YG07, YG17, G28
 I glued my sea-creatures to the water portion of my card (lining them up with the windows) and then set it aside to work on the shaker portion.  


To create the shaker portion of my card, I glued some clear acetate behind my windows and then lined the back of my front panel with some 3D Foam Adhesive Tape.  I added my sparkly shaker embellishments and then adhered the "water" portion of my card that had my creatures to the foam tape.

Whimsy Stamps

 Thank you all so much for dropping by!  You can check out the other amazing products that Whimsy Stamps has to offer HERE.  I hope you enjoyed my card today!  If you liked this card and want some more crafty inspiration, don't forget to check out my INSTAGRAM feed!

Wishing you all the most wonderful day!

♥ Rachel

Have a Wild Birthday - MFT Stamps November Birthday Project Challenge

Hello everyone!  This month's Birthday Project Challenge from MFT Stamps is all about creating a "wild" birthday card using animal-themed stamps for that party animal in your life.  


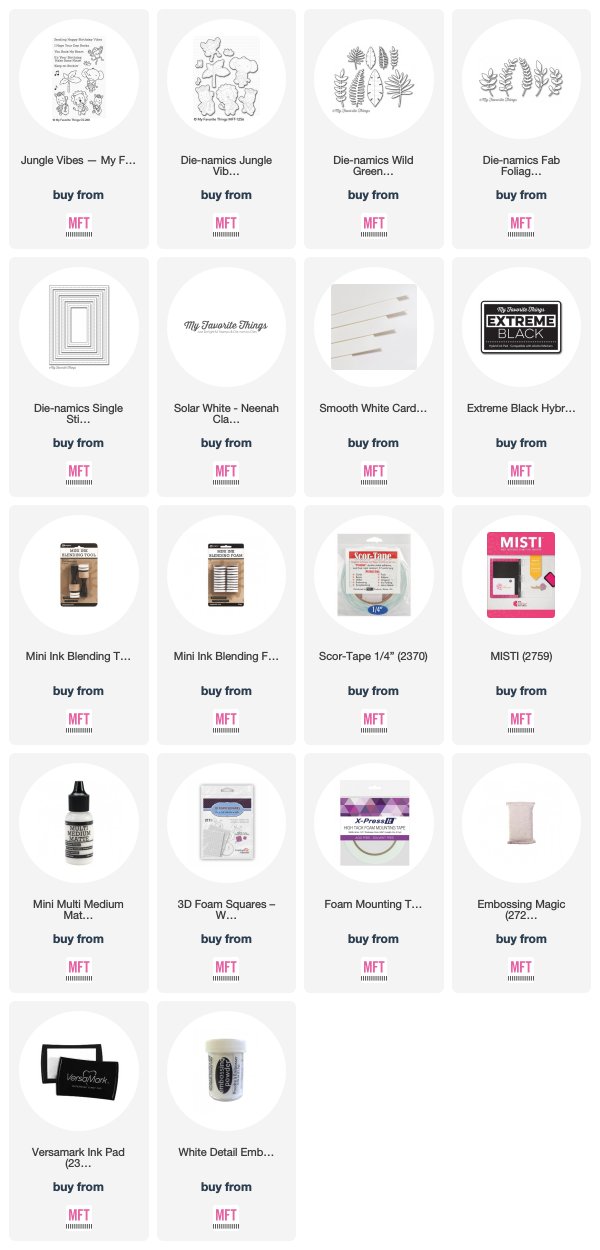
For my card today, I used the cute critters from the Jungle Vibes Set.  I blended some Distress Inks to create my background (Cracked Pistachio and Evergreen Bough for the background sky and Pumice Stone for the ground).  I spritzed this piece lightly with water and then used a paper towel to blot it dry.  Once dry, I splattered it with a few flicks of opaque white paint.


I then diecut my greenery from Smooth White Card Stock and blended each individual piece with some green Distress Inks (Twisted Citron, Mowed Lawn, and Peeled Paint).  Before assembling my card, I heat embossed my sentiment with Fine Detail White Embossing Powder.


I attached my greenery to the back of the frame and fussy cut away any parts that were showing before attaching the frame to the base of my card.  Lastly, I attached my images with some 3D Foam Adhesive Squares for some added dimension.


Make sure to stop by the MFT Challenge & Inspiration Blog to see what the rest of the participating DT Members have created!


Thanks so much for stopping by!  If you liked this card and want some more crafty inspiration, don't forget to check out my INSTAGRAM feed!

Wishing you all a wonderful day and happy card making!

♥ Rachel

Beary Best Friends - MFT & Friends - November Product Launch

Hello crafty friends!  The time has finally come to shop the MFT Stamps amazing November Release!  There are so many great choices to pick from!


My card today features the new and adorable Beary Best Friends Set.  I fell in love with this set when I first saw it.  These polar bears are just too cute and the fact that they are ice fishing makes it even better!


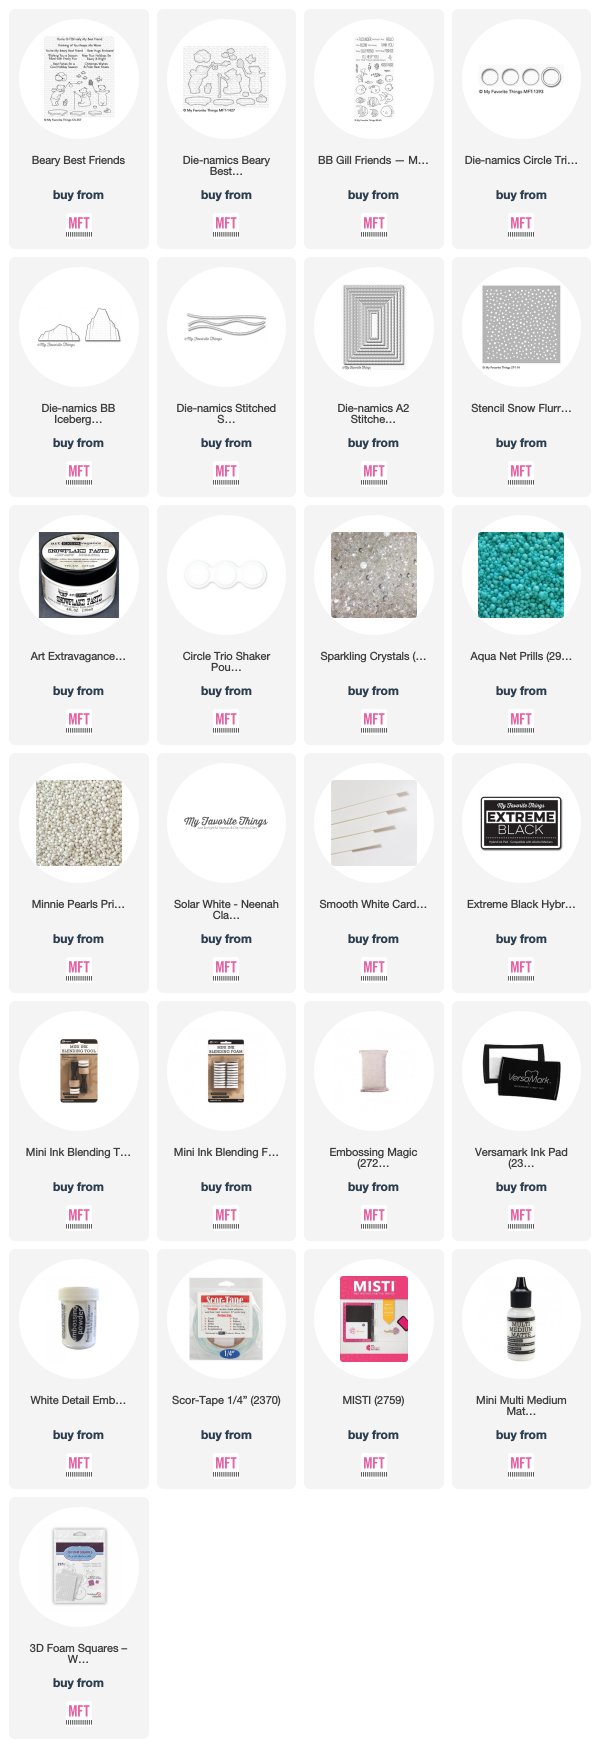
To start, I blended a piece of Neenah Solar White 80lb Card Stock with Distress Inks in two different sections.  The top section was for the sky (Tumbled Glass and Broken China) and the bottom section for the water (Broken China, Mermaid Lagoon, and Chipped Sapphire).  I then diecut this piece with one of the Stitched Rectangle Die-namics from Set #2. Once cut, I then used the Snow Flurry Stencil and some Snowflake Paste on the top section to add some puffy snow.


I set the background panel aside to dry and then diecut a separate white piece of Card Stock with the lower section of that same Stitched Rectangle Die.  This piece was for the icy portion of the lake or ocean the bears are fishing from.  Once cut, I then cut it again with both a Snow Drifts Die-namics and also the Circle Trio Window & Shaker Frames Die-namics.  I stamped my sentiment with Black Ink into the lower right corner prior to adhering this piece to my card.


For the portion of the card behind my shaker windows, I heat embossed some water foliage with Fine Detail White Embossing Powder from the BB Gill Friends Stamp Set.  For the shaker window itself, I glued a few fish to the inner portion of the window and then also glue a few to the water area of my card.  This helps to give these windows a little more dimension when looking into the water.  For my shaker embellishments, I combined Aqua Net and Minnie Pearl Prills along with some Sparkling Crystals.  I placed these inside the Circle Trio Shaker Pouch and then glued a clear piece of acetate to the back of this portion before attaching it to my card with 3D Foam Tape.


I added some icebergs to the background of my card using the BB Icebergs Die-namics.  I diecut these from a small piece of Neenah Solar White 110 lb Card Stock and then used a few Cool Grey Copics to color them (0, C00, C1, C2, C4).


For my stamped images, I Copic colored them and used the coordinating dies to cut them out.

Copic Colors Used:

  • Bears: 0, C00, C1, C2, C4
  • Reds: R14, R27, R46, R59, RV99
  • Blues: B0000, B000, B00, B02, B05
  • Fish: YR00, Y35, YR04, YR18, E35


Stop by the MFT Blog for more DT Inspiration!  Make sure to leave a comment on each of the DT Members Product Launch blog posts for a chance to win 1 of 2 $100 MFT Gift Vouchers!


Here are some other cards that I've made with this new release.

Thanks so much for stopping by!  If you liked this card and want some more crafty inspiration, don't forget to check out my INSTAGRAM feed!

Have a wonderful day and Happy Shopping!

♥ Rachel


Here Comes Santa Clause - MFT Stamps November Release Countdown - Day 1

Hello friends!  There is only one more day left until the November Release from MFT Stamps becomes available!  There's still more to share today and I've created a card featuring the Here Comes Santa Clause Set.


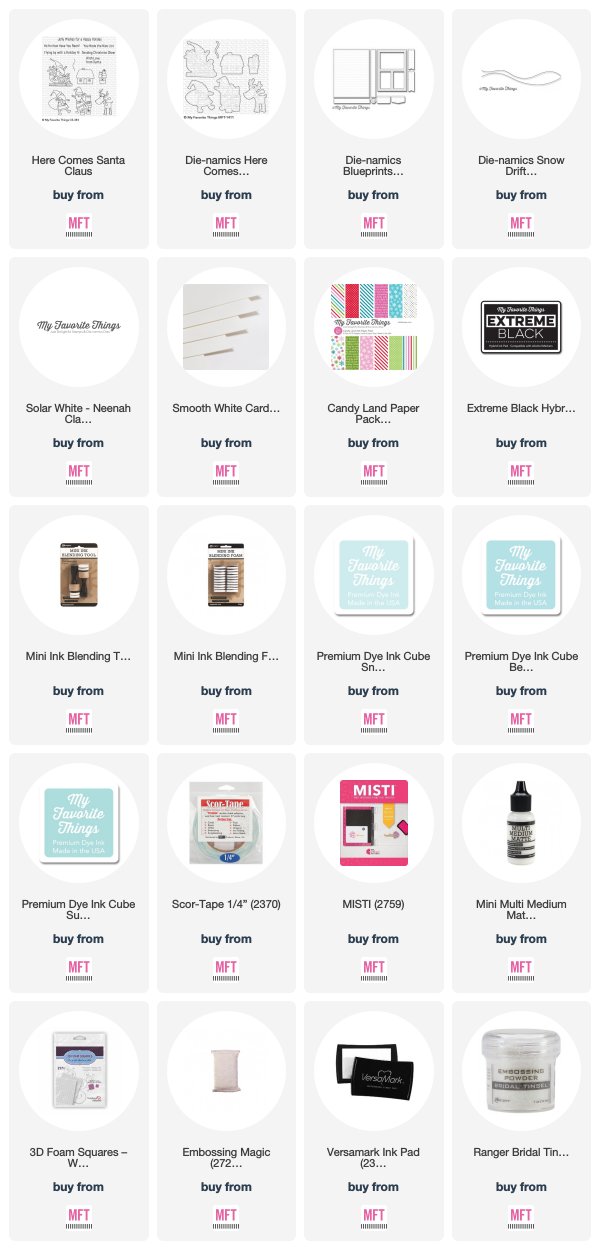
I stamped all of my images with Copic friendly Black Ink onto a sheet of Neenah Solar White 110 lb Card Stock, colored with Copics and used the coordinating dies to cut them out.  For the stitched base of my card, I used the Blueprints 29 Die-namics.


I added a snowy background sky by blending some Sno-Cone, Berrylicious, and Summer Splash Premium Dye Inks onto a smooth piece of white card stock and then splattered some white paint on top of this panel to resemble snow.


I paper-pieced some patterned paper from the Candy Land Patterned Paper Pack for some of the gift boxes and added some heat embossed sparkle using some Bridal Tinsel Embossing Powder to some of the others.


I used the Stitched Snow Drifts Die-namics to add a snowy floor and adhered it behind my blueprints panel. Lastly, I adhered my images with 3D Adhesive Foam Squares to attach my images.


There's only one day left until this new release becomes available!  All new products and product links will be active at that time.  Make sure to stop by the MFT Blog and leave a comment there for another chance to win a $75 MFT Gift Voucher.


Thank you all so much for dropping by!  I hope you enjoyed my card today!  If you liked this card and want some more crafty inspiration, don't forget to check out my INSTAGRAM feed!

Wishing you all the most wonderful day!

♥ Rachel


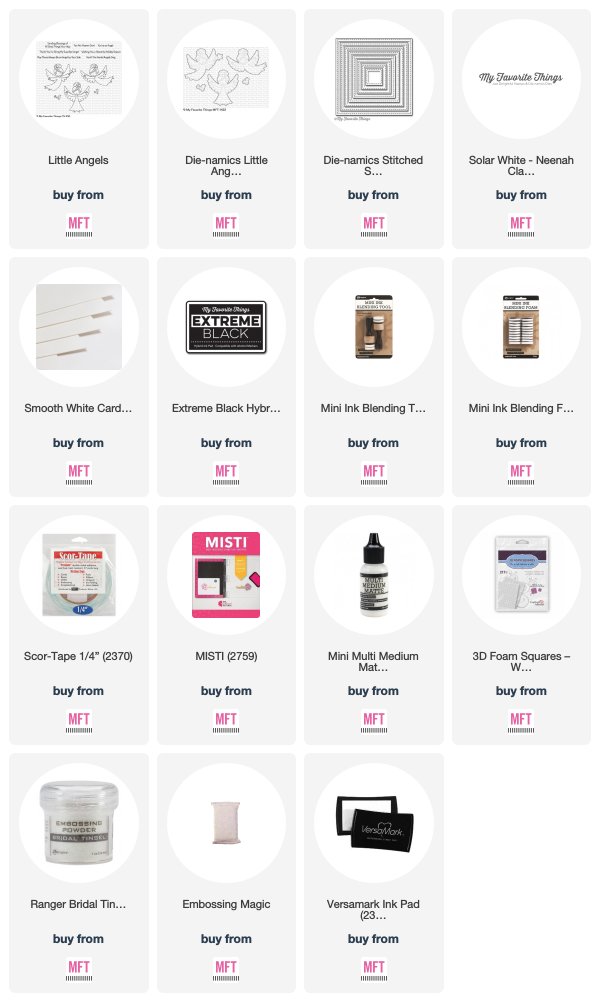
Little Angels - MFT November Release Countdown - Day 2

Thank you all for joining me today for Day 2 of the MFT Stamps November Release Countdown!  I have another brand new set to share with you today called Little Angels.  It's perfect for more than just the holidays as the sentiments are so versatile for numerous types of greeting cards.
 

Since the holiday mode is starting to get into full force, I went with a trio of angels for a starry night Christmas card.  My inspiration came from a little wall decoration that my mom would hang up to decorate our hallway every Christmas season.


I stamped all of my images with Black Ink and Copic Colored them.  I used the coordinating dies to cut them out and set them aside while I worked on my background.  For my background, I trimmed a few medium sized squares from a sheet of Neenah Solar White 110lb Card Stock and blended each panel with some Distress Inks (Stormy Sky, Blueprint Sketch, and Chipped Sapphire).
 

I then spritzed each piece with some water, blotted them with a paper towel and allowed them to dry.


Once completely dry,  I then used the Stitched Squares Die-namics to cut each piece to matching square pieces that would fit onto a top-folding letter sized card.  To add a starry effect, I splattered some white paint onto each square.


I stamped my sentiment into the lower center portion of the base of my card with Black Ink and attached the squares as evenly as I could with some adhesive.  Before adding my angels to the card, I heat embossed some Bridal Tinsel Embossing Powder to their wings for a nice sparkly shine.


There are only two more days until this newest release is available!  Stop by the MFT Blog and leave a comment there for another chance to win a $75 MFT Gift Voucher!


Thanks so much for stopping by!  If you liked this card and want some more crafty inspiration, don't forget to check out my INSTAGRAM feed!

Wishing you all a wonderful day and happy card making!

♥ Rachel