Hello everyone! I'd love to share with you today how to make a Flower Bouquet Box Card. Before we get started, I have couple of things that I'd like to mention. 1) If you can stamp and diecut, then you CAN make this card. 2) It's not as hard as it looks! and 3) There are a lot of step-by-step pictures in this blog. Some people like this, others prefer a video. I haven't gotten that far yet, but I hope to make some video tutorials at some point in the future!


I made this card for my mom for this upcoming Mother's Day. She loves flowers (she's actually a Master Gardener) and I love to go all out when making her a card. There is actually NO coloring at all in this card, so like I mentioned before, if you can stamp and diecut some flowers, then the rest is gluing the pieces together.

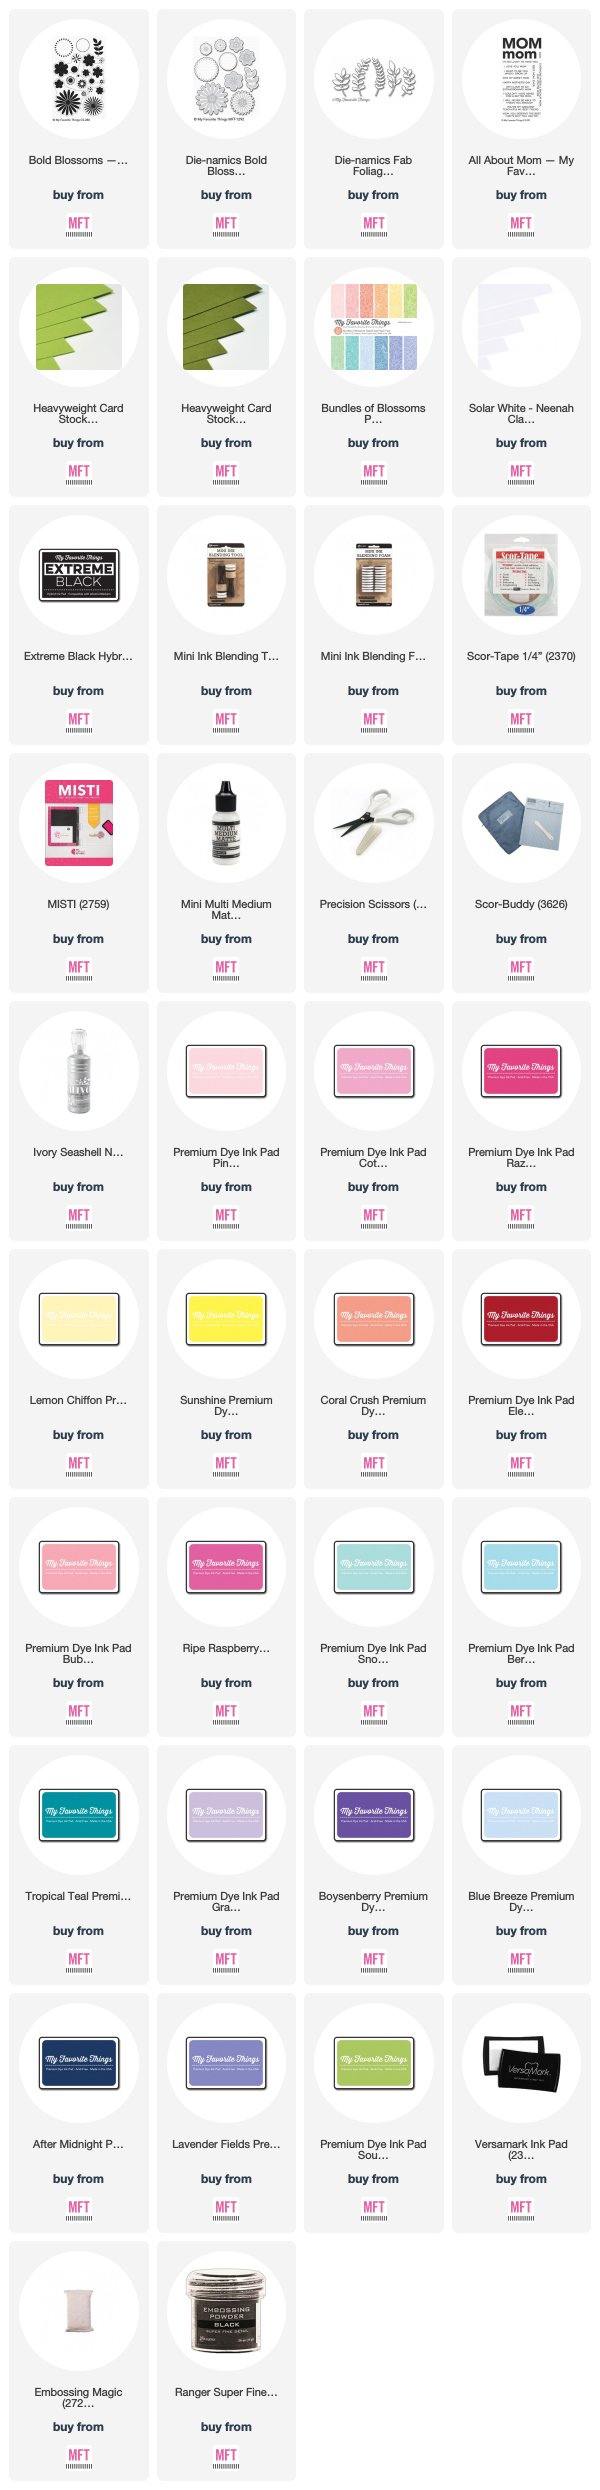
- A set of floral stamps and dies. I used the newly released Bold Blossoms set but MFT has so many other gorgeous floral stamp sets, that pretty much any of them will work.
- Ink (I like to use about 3 shades of each color that I used, a light, medium and dark)
- Diecutting machine
- Good pair of scissors
- Scoring Board
- Colored Cardstock
- Patterned Paper
- A strong adhesive (I prefer the Ranger Multi Medium Matte)
- Paper Trimmer
- Foliage or Leaf Dies (I used the Fab Foliage Die-namics)
- Misti Stamping Tool (this is not necessary, but I find that it helps me a lot when I want to layer stamps and get better coverage in the same spot)


I first stamped and diecut all of my flowers. I didn't use all of these, but it was pretty close. I then added some Ivory Seashell Nuvo Crystal Drops to the center of each flower and let them harden.

It's a simple detail yet it seems to add a lot to each flower.

I then made the box portion of my card. I used a 12"x12" piece of white scrapbook paper and trimmed it to 5.5"x12"

I then scored the paper on the long side at 2.75", 5.5", 8.25" and 11"

I then turned the paper and scored at 2.75"

Once I had my piece scored, I trimmed down 4 of the score lines until I reached the center. On the very end, I trimmed a little tab that holds the box card together.

This is what it should look like when folded.

Here's a second view. I next added some strong adhesive to that little flap and glued my box together.

Next, I cut 5 inside "shelves" for the card. Each piece was 1"x 3.75" long

I then scored each piece at 3/8" and 3 3/8"

I then folded each piece on each score line.

Because each piece would not fit if I left them that way, I trimmed off a little from each edge.

I then glued them into the box with some strong adhesive. Now, as you can see, I had added some patterned paper to the panels. However, I never permanently glue anything on until I'm sure that I like the colors, so I ended up changing this in the end.

For the panels, I cut some dark green (Jellybean Green) colored cardstock and some patterned paper from the Bundles of Blossoms Pastel Paper Pack. The dark green panels measured at 2.5" x 2.5" for the side panels and 2.5" x 4" for the back panel. The patterned paper panels were 2.25" x 2.25 " for the side panels and 2.25" x 3.75" for the rear panel.

I then glued them together as shown above.

Next, I diecut some foliage from Sour Apple and Jellybean Green cardstock.

I always like having more than I need so that I don't have to stop what I'm doing to go and diecut again once I have started gluing the flowers into the box.

The stems for the flowers are super easy. I simply used a paper trimmer to cut a bunch of ~.25" x 8" strips.

I then began to glue my flowers to the end of each strip and trim off the excess as necessary.

I worked from front to back on adding my flowers to the box. I waited to trim each stem until I knew where I was placing the flower in the box and saw how long I would need the stem to be.

There really is no correct way to glue the flowers into the box. Like I mentioned before, I worked from the front to the back and placed each flower where I thought looked best.

You can use as many or as little flowers as you desire. I like to "go big" when making a special paper bouquet though, so I used a lot.

As you can see, there really is no order to the stems. Like real flower bouquets, some stems overlap each other. But none of this will be seen from the outside of the box, so it's really not a big deal. Just make sure that you use a strong adhesive when attaching them. They can be glued to the front or back of any of the shelves. It's really up to you!

I like to add the foliage as I go along. It looks so much nicer once the leaves are added. I simply use glue to attach them to the back of individual flowers. Nothing fancy.

Lastly, I heat embossed my sentiment on the front panel of my card. I used the All About Mom Stamp Set and heat embossed it with Black Embossing Powder. Because my sentiment wouldn't fit in my panel, I ended up masking portions at at time in order to make it fit.

For instance, when I heat embossed the word "Happy", I covered or masked the rest of the words with some washi tape, put my VersaMark Ink onto the word "Happy" and removed the tape before stamping.

I then added my black embossing powder and heat set it. I repeated this process with the other two words.

Here's how the front panel looked when finished.

I know it may look like a lot, but the most tedious part of this card is the stamping and diecutting. The rest is just gluing the pieces into place. It's actually quite fun to do! I encourage you to give it a try. You may surprise yourself. I'd love to see what you create!

I hope you've enjoyed this tutorial! Head on over to the MFT Blog to see what techniques & tutorials some of the other designers have created!
Have a wonderful weekend and happy card making!
Rachel